Wednesday, 22 March 2023

Cleaning & Maintaining Your Favorite Leather Jacket

Leather jackets are bold and edgy statement pieces in any wardrobe and they can seriously bring almost any outfit to the next level. Wearing a leather jacket can make you look and feel amazing so that it can see a lot of regular use.


Unfortunately, with regular wear, genuine leather can become dry and cracked. Not to mention the other dirt and debris and stains that can develop around the surface. But how do your clean and care for your favorite statement piece? Keep reading to find out our best cleaning and care suggestions.

Cleaning Leather Jackets Properly


Cleaning and caring for your leather jacket can be a tricky process. In order to make sure your beloved jacket stays in great condition and looks incredible every time you wear it, you’ll need the proper techniques. Here are our best recommendations for cleaning your leather jacket, both inside and out.


Leather


When the time comes to clean your leather jacket, there are a few options you can decide to use. The first is a store-bought leather cleaning product, which can be effective and easy to use, but almost always comes with a learning curve. One benefit of a store-bought product is that many kits come with everything you’ll need, including cleaners and conditioners as well as a cleaning brush or sponge. Finding a highly rated product or kit can be a great way to save time and money.


The second option is simple household cleaning products that every home is likely to have: dish soap and vinegar. In order to properly clean and care for your leather jacket, you’ll want to make sure you’re using the right amount of water and soap or vinegar. To help take the guesswork out of this process, here is our recommendation for cleaning:

  • Pour warm water into a bowl and add 2 or 3 drops of a mild dish soap. Alternatively, you can mix together a 50/50 solution of warm water and white vinegar. This is an effective cleaning solution, but can dry out the leather and will require you to follow with conditioning.
  • Dip a soft cloth or sponge into the mixture. Be careful not to soak or saturate the cloth or sponge and wring out the excess before applying it to your jacket.
  • Use small, circular motions around the surface of the leather to remove surface dirt and grime. Pay attention to not over-saturate or rub the leather excessively when cleaning.
  • With a new clean and dry cloth, blot the surface of the jacket and wipe away any remaining soapy water. Allow the jacket to fully air dry before conditioning.
  • We highly suggest placing your jacket on a soft, padded hanger while it dries to avoid misshapen shoulders. You should also avoid placing your jacket in direct sunlight while it dries as this can cause excessive drying and cracks in the leather.


Lining


Once the outside of your jacket has been cleaned and dried, it’s time to take a look inside. The interior of your jacket likely consists of a lining, and that lining needs a cleaning and refreshing. Here is how to clean your jacket’s lining using regular household cleaning products:

  • Turn your jacket inside out for proper cleaning. Fill a bowl with warm water and add a few drops of mild dish soap. You can also use the same vinegar solution you used on the exterior for added stain and odor-fighting.
  • Use a soft cloth or sponge dipped in the cleaning solution, but not soaked or saturated, to spot clean and treat stains on the surface of the lining. Pay extra care around the underarms and collar.
  • Ensure that there is no excess soap residue on the lining by using a sponge or cloth dipped only in water to wipe the soap away.
  • Use a clean and dry cloth to blot the surface of the lining dry. Allow the lining to air dry completely before properly turning the jacket out. Again, we highly suggest placing your jacket on a soft, padded hanger while it dries to avoid misshapen shoulders.


Cleaning Common Stains on a Leather Jacket
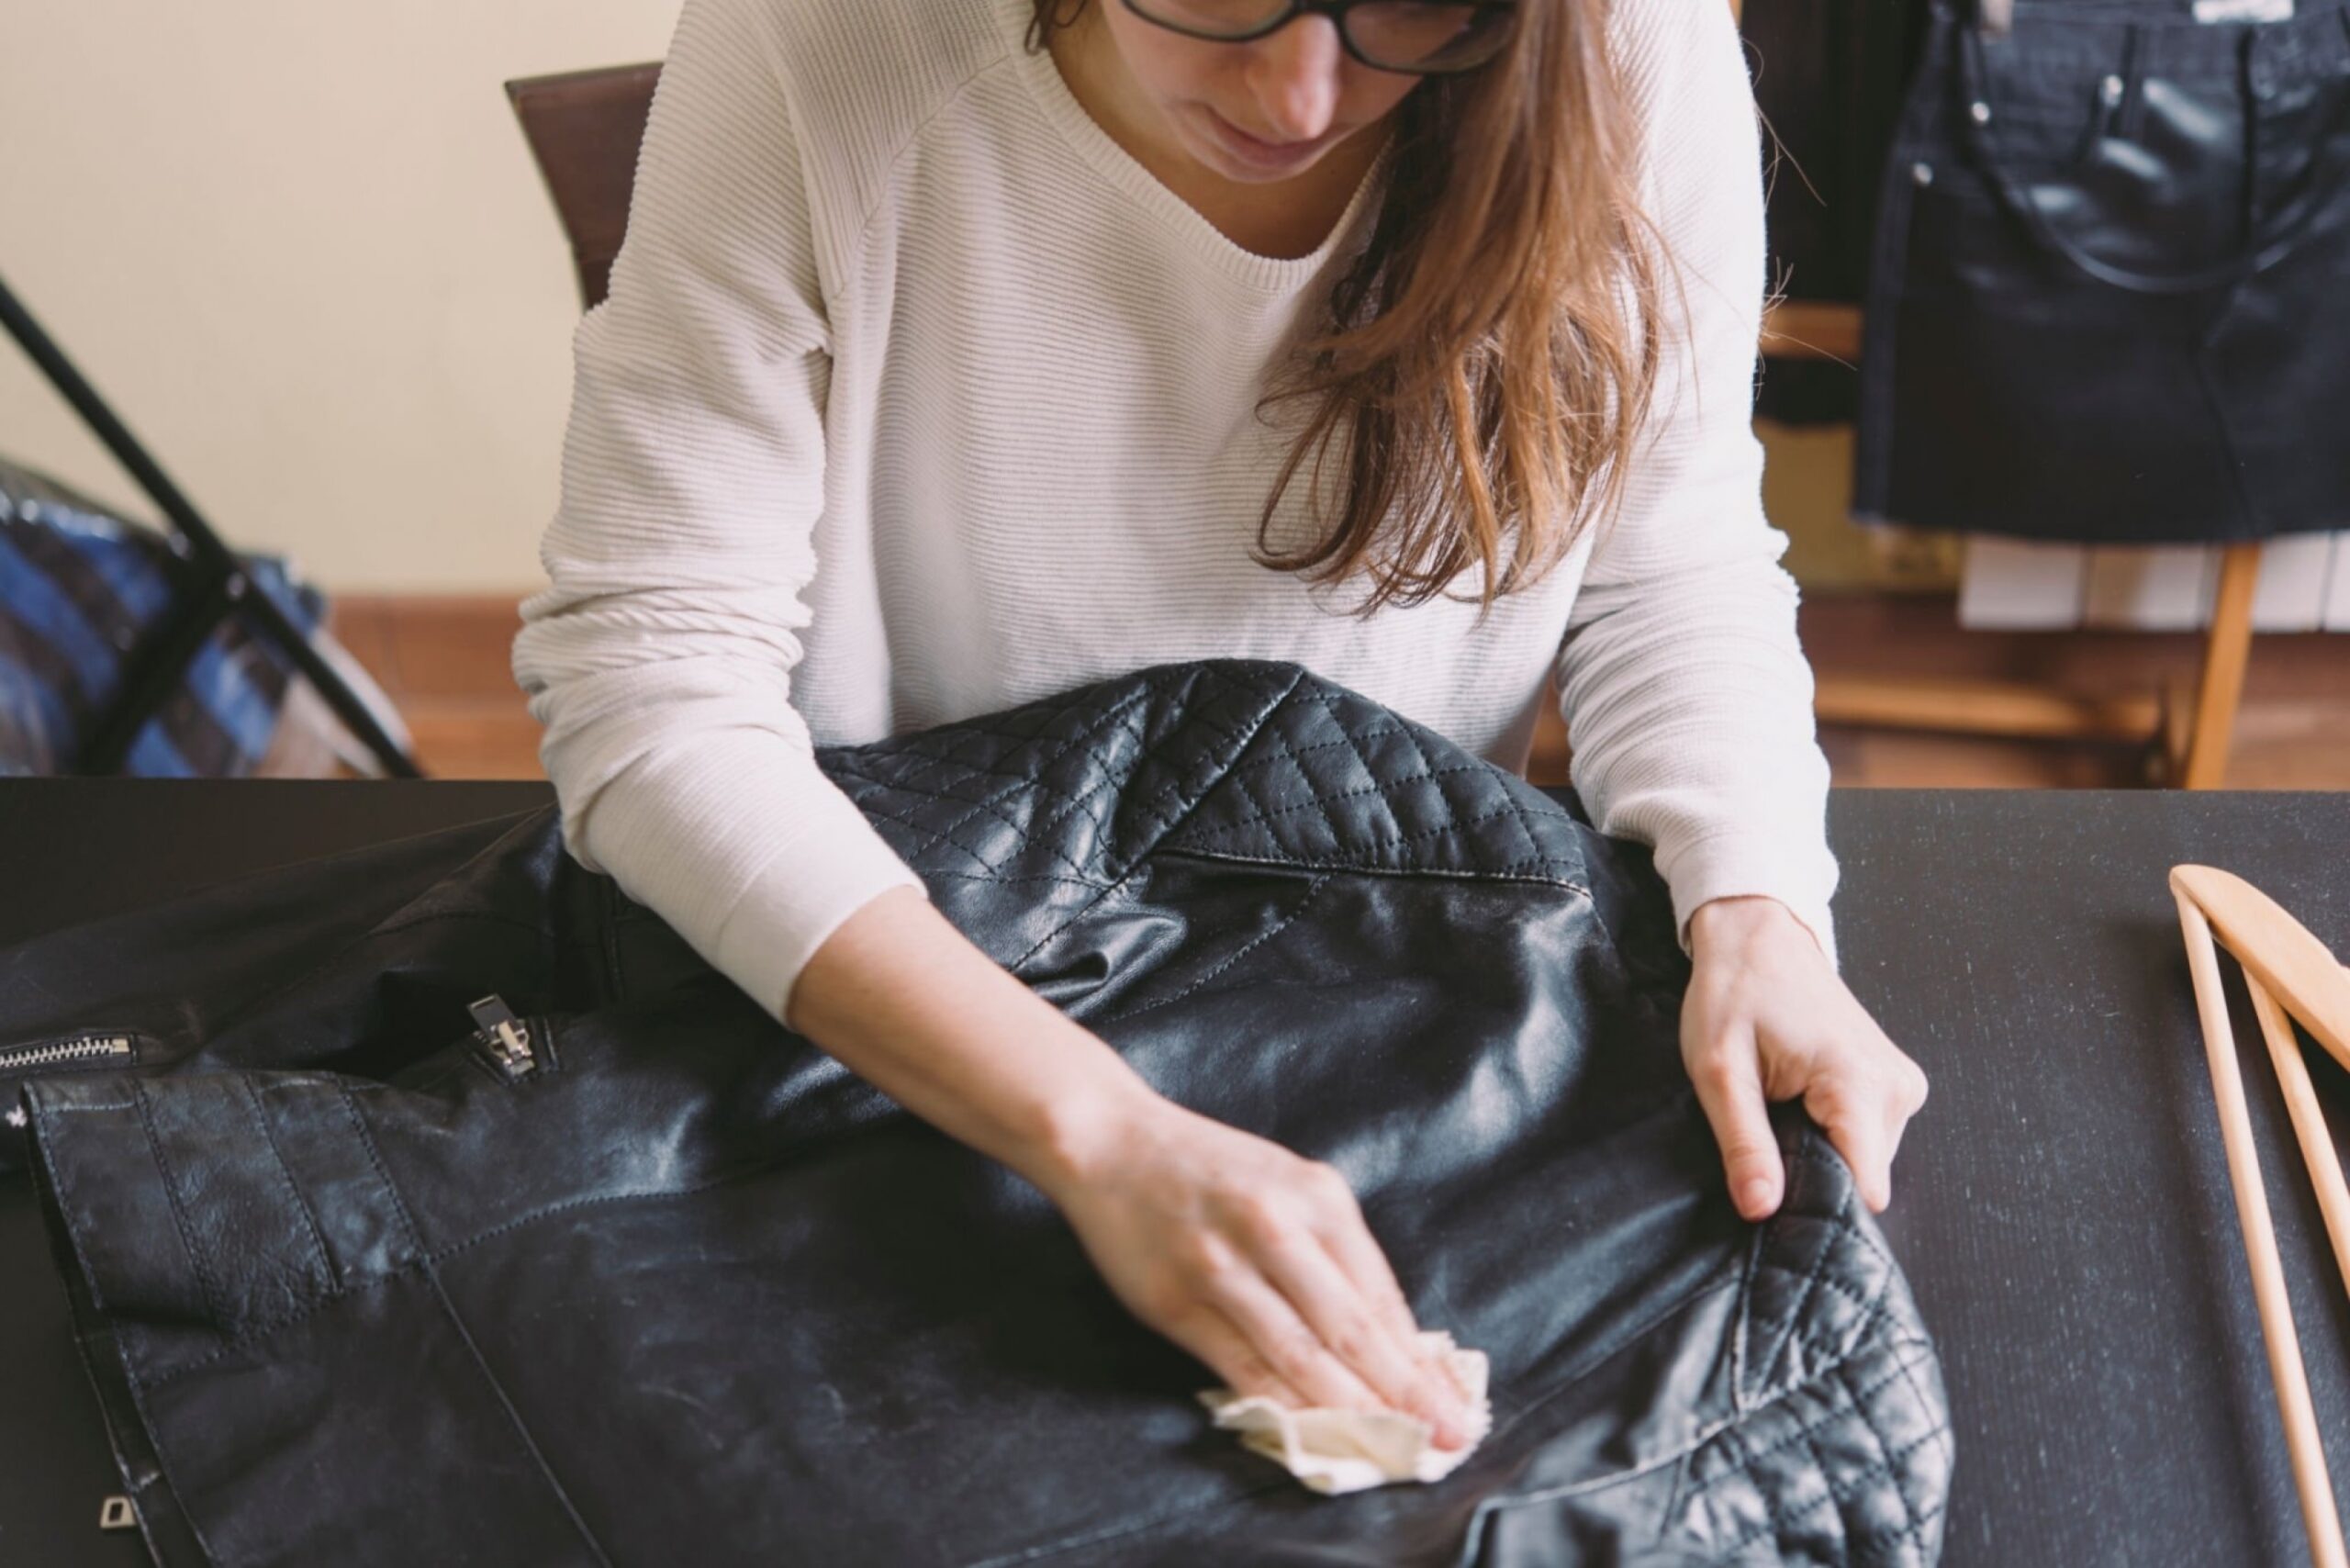
 

Woman cleaning leather jacket


When you wear your leather jacket regularly, there is almost no way to avoid certain stains. Here is our easy guide for cleaning a few of the most common stains from your leather jacket:


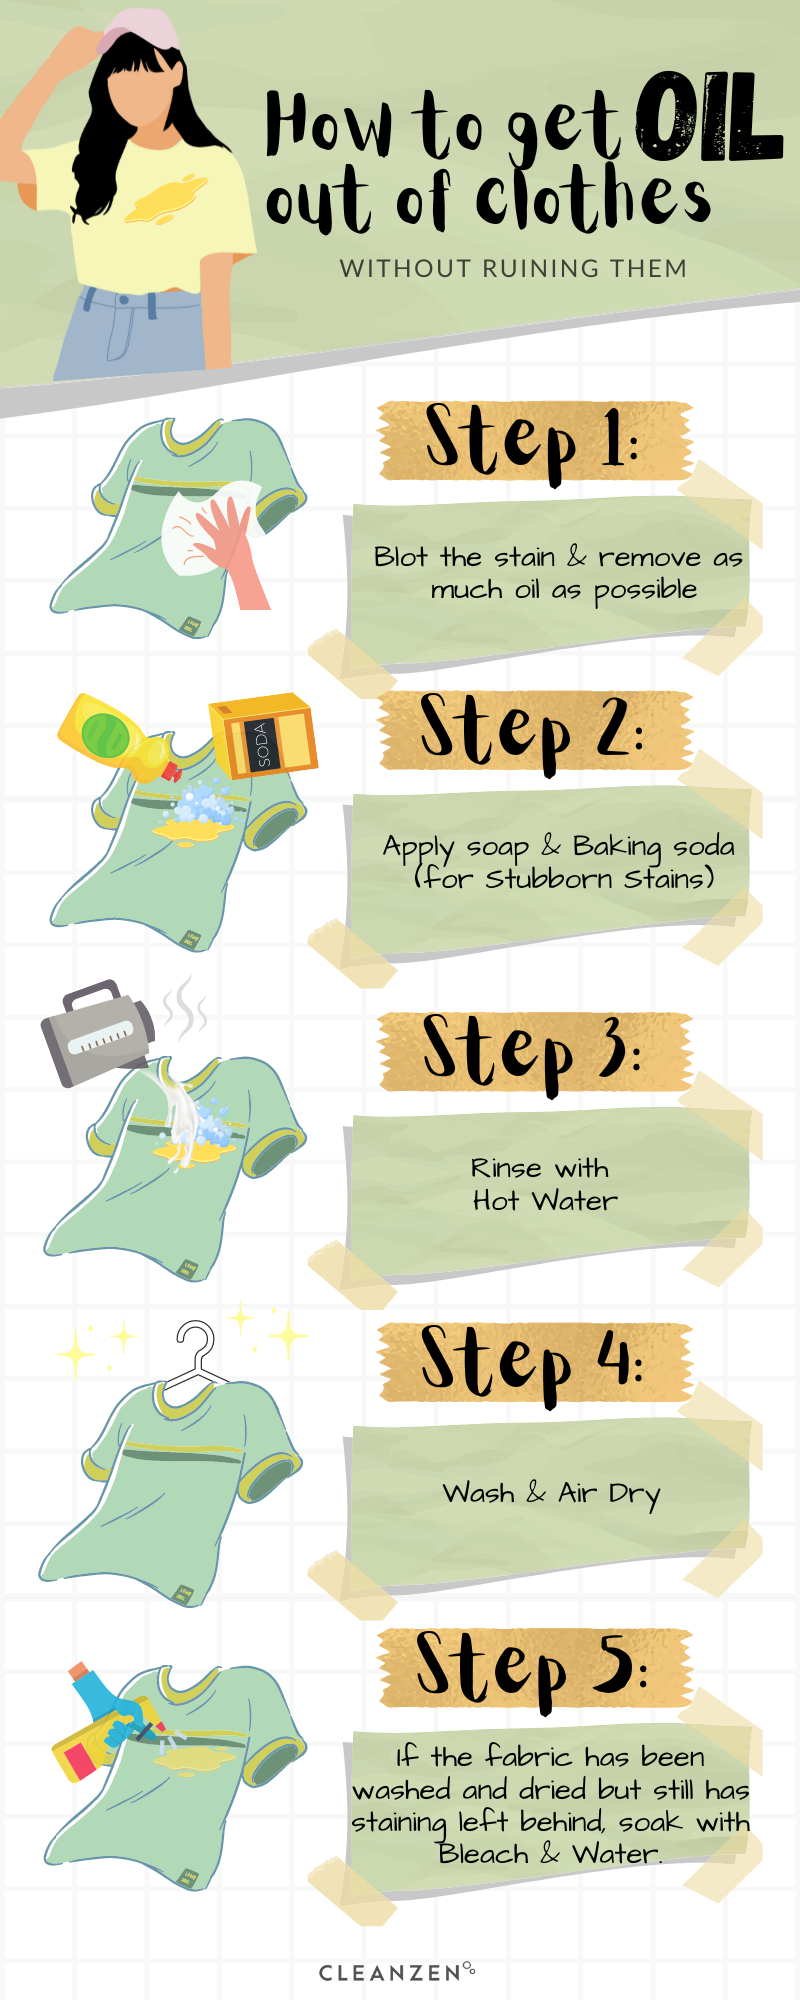
Oil & Grease


The best way to treat and clean a oil or grease stain on leather is with baking soda or another absorbent powder like cornstarch. Here is how to treat this type of stain:

  • If the stain is fresh, use a cloth to blot and absorb as much of the oil as possible.
  • Sprinkle the powder of your choice, we highly suggest baking soda, directly onto the remaining stain.
  • Use a soft cloth to rub the powder into the stain and allow the powder to sit on the stain for a few hours, or overnight.
  • After the powder has worked to lift the stain, wipe it away with a clean, soft cloth and then spot-clean the stain with warm soapy water.


Ink


One of the more stubborn stains is ink, but fortunately even the most stubborn ink stains are no match for nail polish remover. Here’s what to do:

  • If the stain is fresh, use a cotton ball or swab to blot away any excess ink on the surface of the jacket.
  • Dip a cotton swab into a bit of acetone-based nail polish remover. Be sure not to saturate the swab as too much nail polish remover can cause the ink to bleed deeper into the leather.
  • Use the swab to gently blot the ink stain until it is lifted as much as possible. Again, make sure not to use too much nail polish remover as to not saturate the leather.
  • To clean and remove the excess nail polish remover, use a soft, damp cloth to blot to surface of the leather before blotting it dry with a dry cloth.


Mold & Mildew


Unfortunately, with time and regular wear, even our favorite leather jackets run the risk of developing mold and mildew staining and stink. To treat your jacket for mold and mildew, here’s what to do:

  • Lay your jacket on a flat surface and smooth it out to thoroughly check for mold around the surface.
  • In a bowl, mix together a 50/50 solution of rubbing alcohol and water.
  • Use a soft cloth dipped in this solution, not saturated, to wipe the affected areas of the surface of the jacket.
  • Once the mold and mildew have been treated and removed, use a fresh damp cloth to wipe the treated areas clean.
  • Leave the jacket on the flat surface, out of direct sunlight, to fully air dry before hanging it.


Conditioning and Protecting Leather Jackets

 

woman looking through window while standing at home


DIY Conditioner


There are a few methods of conditioning leather using both store-bought and household products. If you don’t have access to a leather protectant product, there are various DIY conditioners you can create. Here are some of the more popular and effective of those methods:

  • Mix together a solution of 1 part white vinegar and 2 parts linseed oil and apply this to the surface of your jacket using a soft clean cloth. Wait 15 minutes and then buff the surface of your jacket with a fresh cloth.
  • Use a small amount of coconut oil or flaxseed oil on a cloth to buff the surface of the jacket. Both coconut and flaxseed oil are the best household oils to use on leather as they are hypoallergenic and won’t cause damage in the long run.
  • Mix together 1 part beeswax and cocoa butter with ½ part almond oil, and heat the mixture in a bowl or on the stove.
  • A petroleum gel like Vaseline is also a great and effective leather conditioner found in most homes.


Waterproofing


Most leather cleaning kits come with a waterproofing product that you can use to further protect your leather jacket. However, if you don’t have access to a cleaning kit with a waterproofing product, you’ll want to shop around and invest in an alternative. There are 2 main products you should look into to waterproof your leather jacket.


The first is a wax waterproofing product like beeswax. In order to treat and protect your leather jacket with beeswax, your need a bar of the wax and a heat gun or high-heat hairdryer. All you’ll need to do is rub the wax around your jacket to thoroughly coat the surface, and then use the heat gun or hairdryer to melt the wax onto the leather.


The second product is simple and easy to use on most leather surfaces including your jacket. A good waterproofing spray can be highly effective and a great way to save your leather jacket and furniture in the future. Be sure to read and follow the instructions on the product very carefully and to always test it on a small area before using it all around the surface of your favorite leather jacket.


FAQs
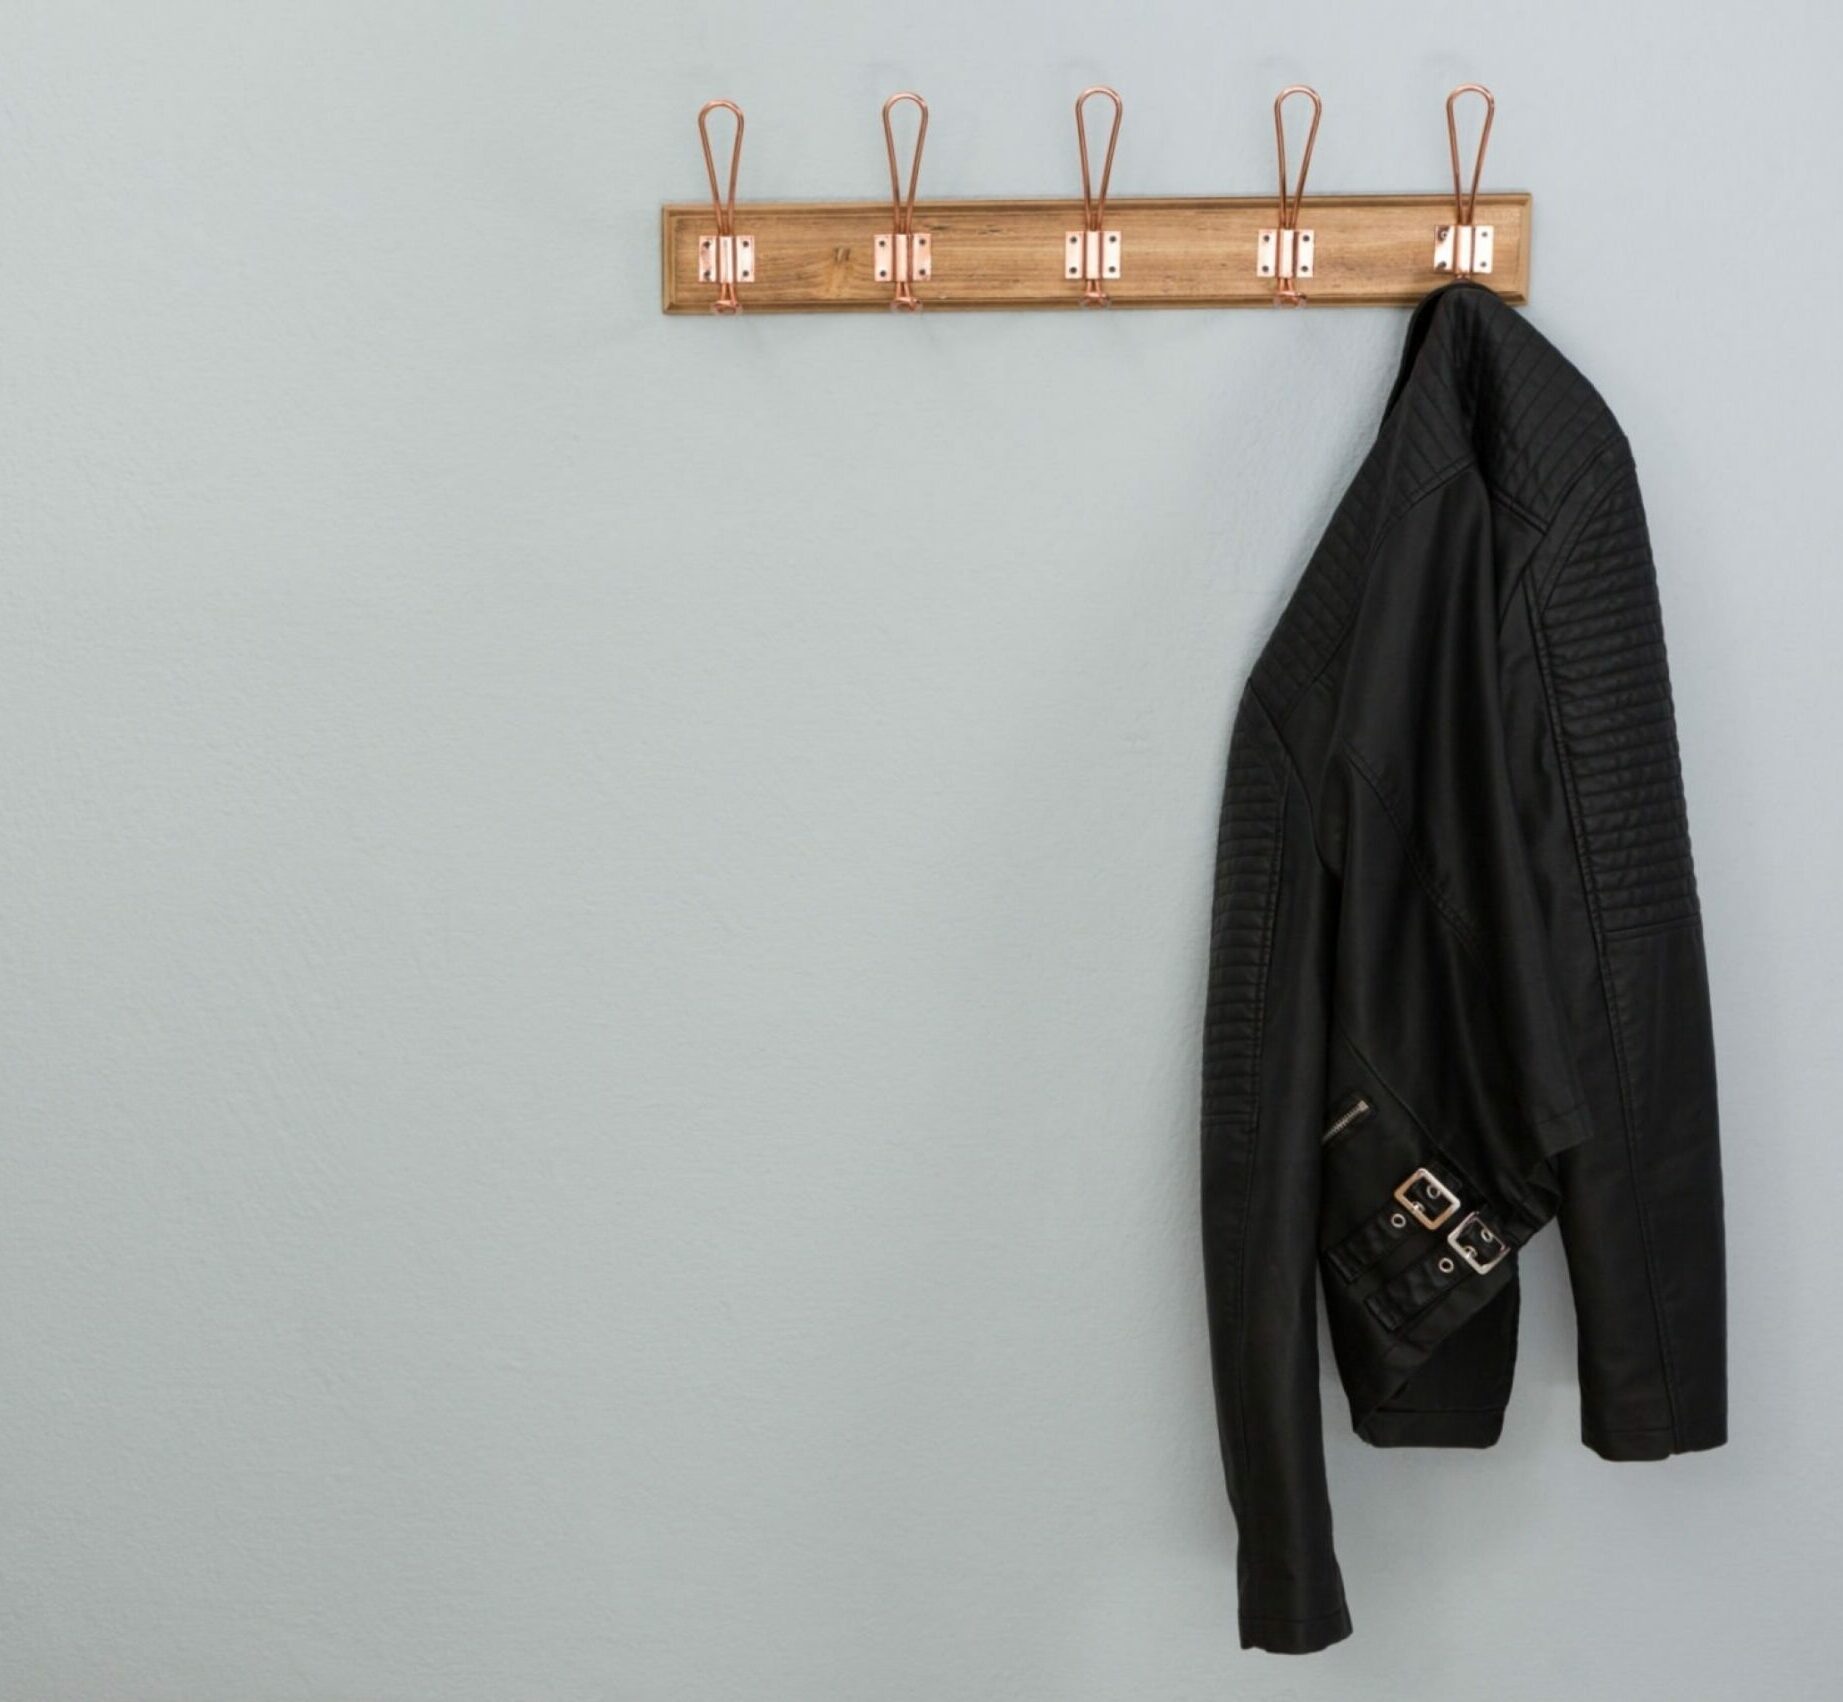
 

Leather jacket hanging on hook


Can I wash my leather jacket in the washing machine?

You cannot wash a leather jacket in the washing machine. Extensive and prolonged exposure to water will damage leather beyond repair and you will ultimately have to fully replace your jacket.


Is leather ruined if it gets wet?

Getting leather wet can damage the surface and cause it to dry out and form cracks. Water can also create stains and warping on the surface of the leather, so it is highly suggested to protect your leather with a wax or waterproofing spray.


How do you restore dry leather?

To restore dried leather, you should first make sure that it is thoroughly cleaned and then apply a conditioner or petroleum jelly like Vaseline to soften and loosen the leather. Dry and cracked leather can be avoided and treated with regular cleaning and conditioning practices.


How have you been cleaning and maintaining your leather jacket? Share your tips and tricks in the comments below, we’d love to hear from you! For more cleaning tips and tricks, you can check out our Boston Housekeeping blog or see what cleaning services we offer to find out how we can keep your home looking just as incredible as your wardrobe.

The post Cleaning & Maintaining Your Favorite Leather Jacket appeared first on Cleanzen.

from Cleanzen https://cleanzen.com/blog/how-to-clean-a-leather-jacket/
via IFTTT

from Cleanzen Cleaning Services https://cleanzencleaningservices0.blogspot.com/2023/03/cleaning-maintaining-your-favorite.html
via IFTTT

from
https://cleanzencleaningservices0.wordpress.com/2023/03/22/cleaning-maintaining-your-favorite-leather-jacket/

from Gabriela Bragg https://gabrielabragg.blogspot.com/2023/03/cleaning-maintaining-your-favorite.html
via IFTTT

from Gabriela Bragg https://gabrielabragg.wordpress.com/2023/03/22/cleaning-maintaining-your-favorite-leather-jacket/
via IFTTT

from Emilio Butler https://emiliobutler.blogspot.com/2023/03/cleaning-maintaining-your-favorite.html
via IFTTT

from
https://emiliobutler.wordpress.com/2023/03/23/cleaning-maintaining-your-favorite-leather-jacket/

from Cindy Roberts https://cindyroberts0.blogspot.com/2023/03/cleaning-maintaining-your-favorite.html
via IFTTT


from
https://cindyroberts00.wordpress.com/2023/03/23/cleaning-maintaining-your-favorite-leather-jacket/

Wednesday, 15 March 2023

10 Tips to Kickstart Your Spring Cleaning in 2023

Spring is just around the corner and with the warmer weather comes a fresh necessity for a clean and tidy home. The changing seasons bring new life and new opportunities to us all, and unfortunately this almost means allergies. But before you find yourself becoming a sniffling and drowsy mess, its time for some cleaning.


There is no time like the present to knock out your annual spring cleaning checklist and do some serious decluttering around the house. To help you get rolling and stay motivated, we’ve compiled a few of our favorite tips and tricks so that you’ll have an arsenal of cleaning hacks at your disposal for this year’s spring cleaning around your home.


Related: The Ultimate Spring Cleaning Checklist (Printable Infographic)


How to Prep for Spring Cleaning


In order to make sure you’re fully prepared and ready to get down to business, you should make sure you have everything you’ll need. From products to equipment, let’s take a second to outline what you’ll want to have on hand for this cleaning project. Here is a general checklist of supplies you’ll need:

  • Rubber gloves
  • Microfiber cloths
  • Sponges and brushes
  • Duster tools
  • Garbage bags
  • Vacuum and attachments
  • Wet and or dry mop
  • Squeegee
  • Glass cleaner
  • Disinfectant
  • Multi-surface cleaner
  • Dusting spray
  • Appliance cleaner
  • White vinegar
  • Baking soda
  • Optional: Boxes for donations

You may not need every single one of these products and tools, or you may need them all and more. Every home is different and won’t be cleaned in the same way, which means that there is no right or wrong way to fully clean your home. However you clean your home is up to you, but we like to give the best advice we can when it comes to those who may be newer at keeping up with cleaning and upkeep around the house.


1. Plan Ahead


Before you jump into your spring cleaning, take a moment to wander your home and make a plan. Whether that means customizing a checklist for each room or sitting down and delegating tasks to everyone in the home, going in with a rough idea of what needs to be done can make a difference. If you live with multiple people, having a plan can keep everyone focused and on task, and can even make the cleaning process fun if you turn it into a game of sorts. Not only will this help you stay on task, it can help you to stay motivated as you cross more and more of your cleaning task list.


2. Start Simple


woman is cleaning room


We suggest starting the process within the kitchen or the bathrooms, but whichever room of your home you start cleaning is up to you. It is a good idea to also start by tackling the more obvious tasks around the home as a whole before focusing on the larger and more tedious projects. This can be dusting, vacuuming, sweeping, picking up laundry, wiping up crumbs and debris, or staring a load of laundry to be switched out for another round later. Starting with the simplest and most obvious tasks will make more of the deeper cleaning projects more identifiable and accessible.


3 .Declutter as You Clean


Spring cleaning is an excellent time to do some extensive and ruthless decluttering. Each room can contain numerous expired and perishable items and clothing that no longer fits or is stained and damaged. Now is the time to go through your drawers, closets, pantry, and refrigerator to make sure anything that no longer serves a purpose gets the boot. There’s no better way to bring in warmer weather than with a clear space.


4. Work Top to Bottom


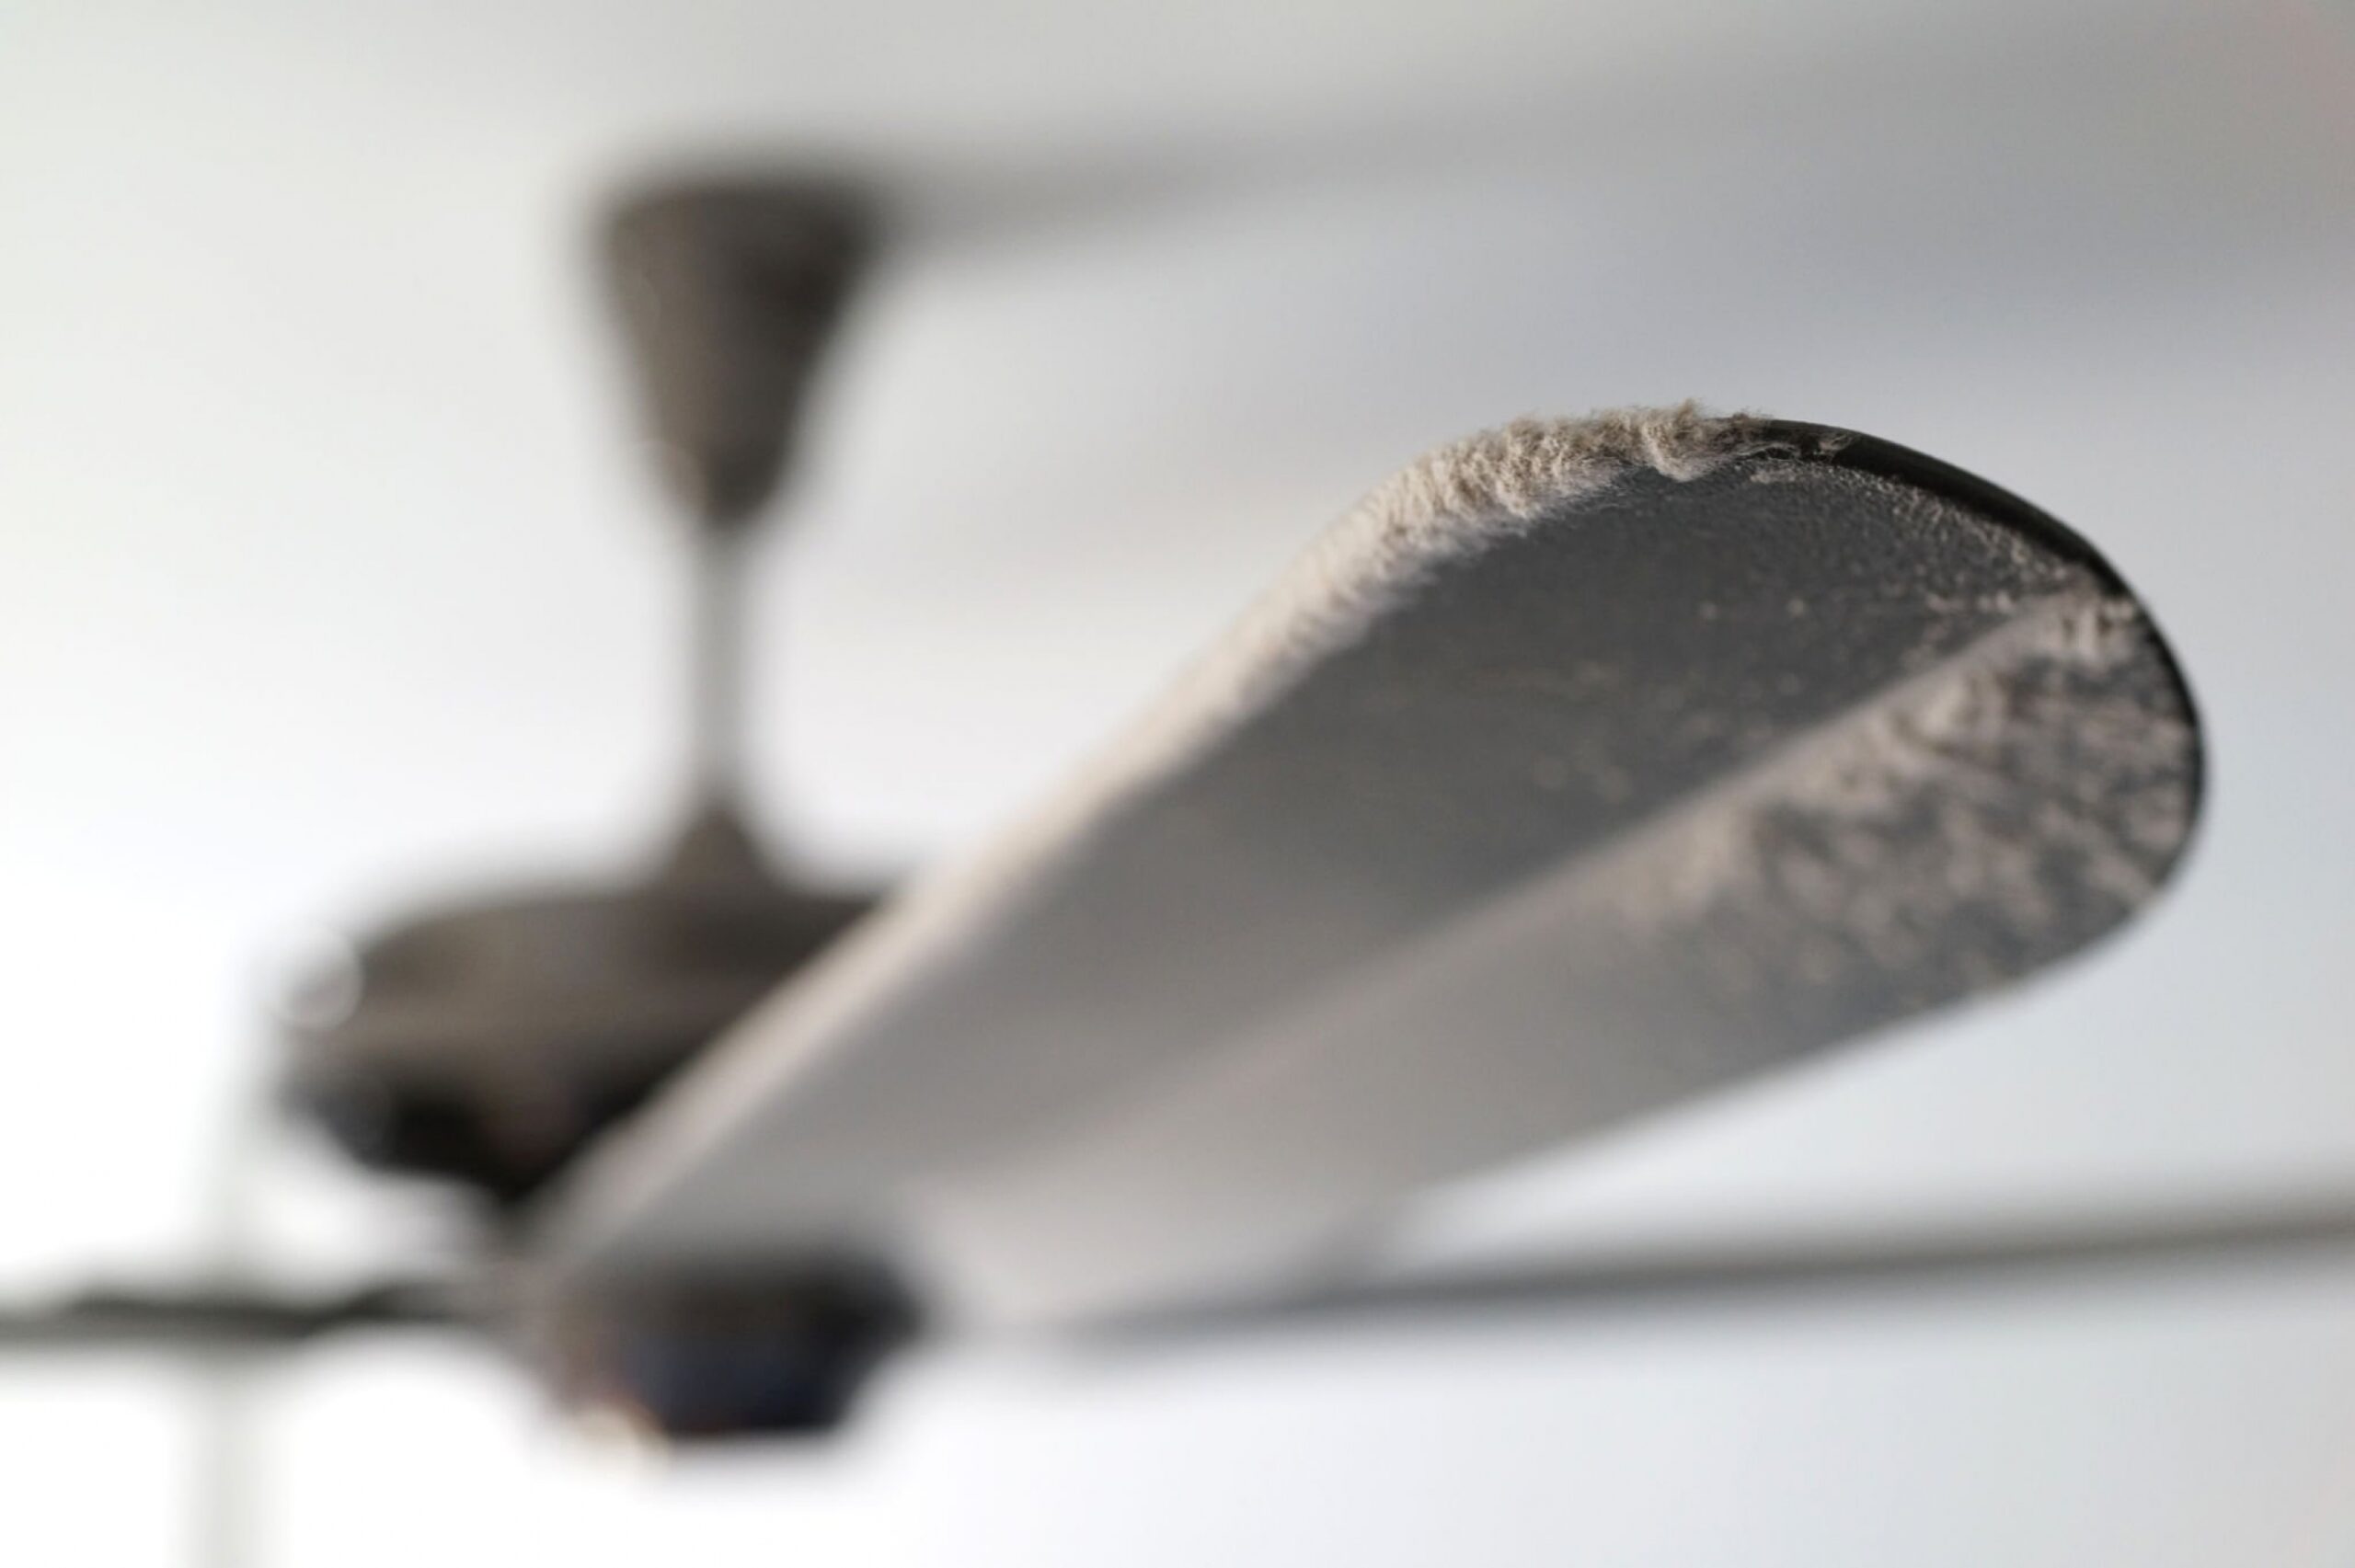
Dusty Ceiling Fan


When cleaning, the best rule of thumb is to clean from high to low, that means starting upstairs and working down as well as starting in each room by dusting from ceiling to floor. By cleaning from top to bottom, you are able to ensure that no dust is left on any surface in the room. This is also a great way to save time and effort during the cleaning process and work efficiently.


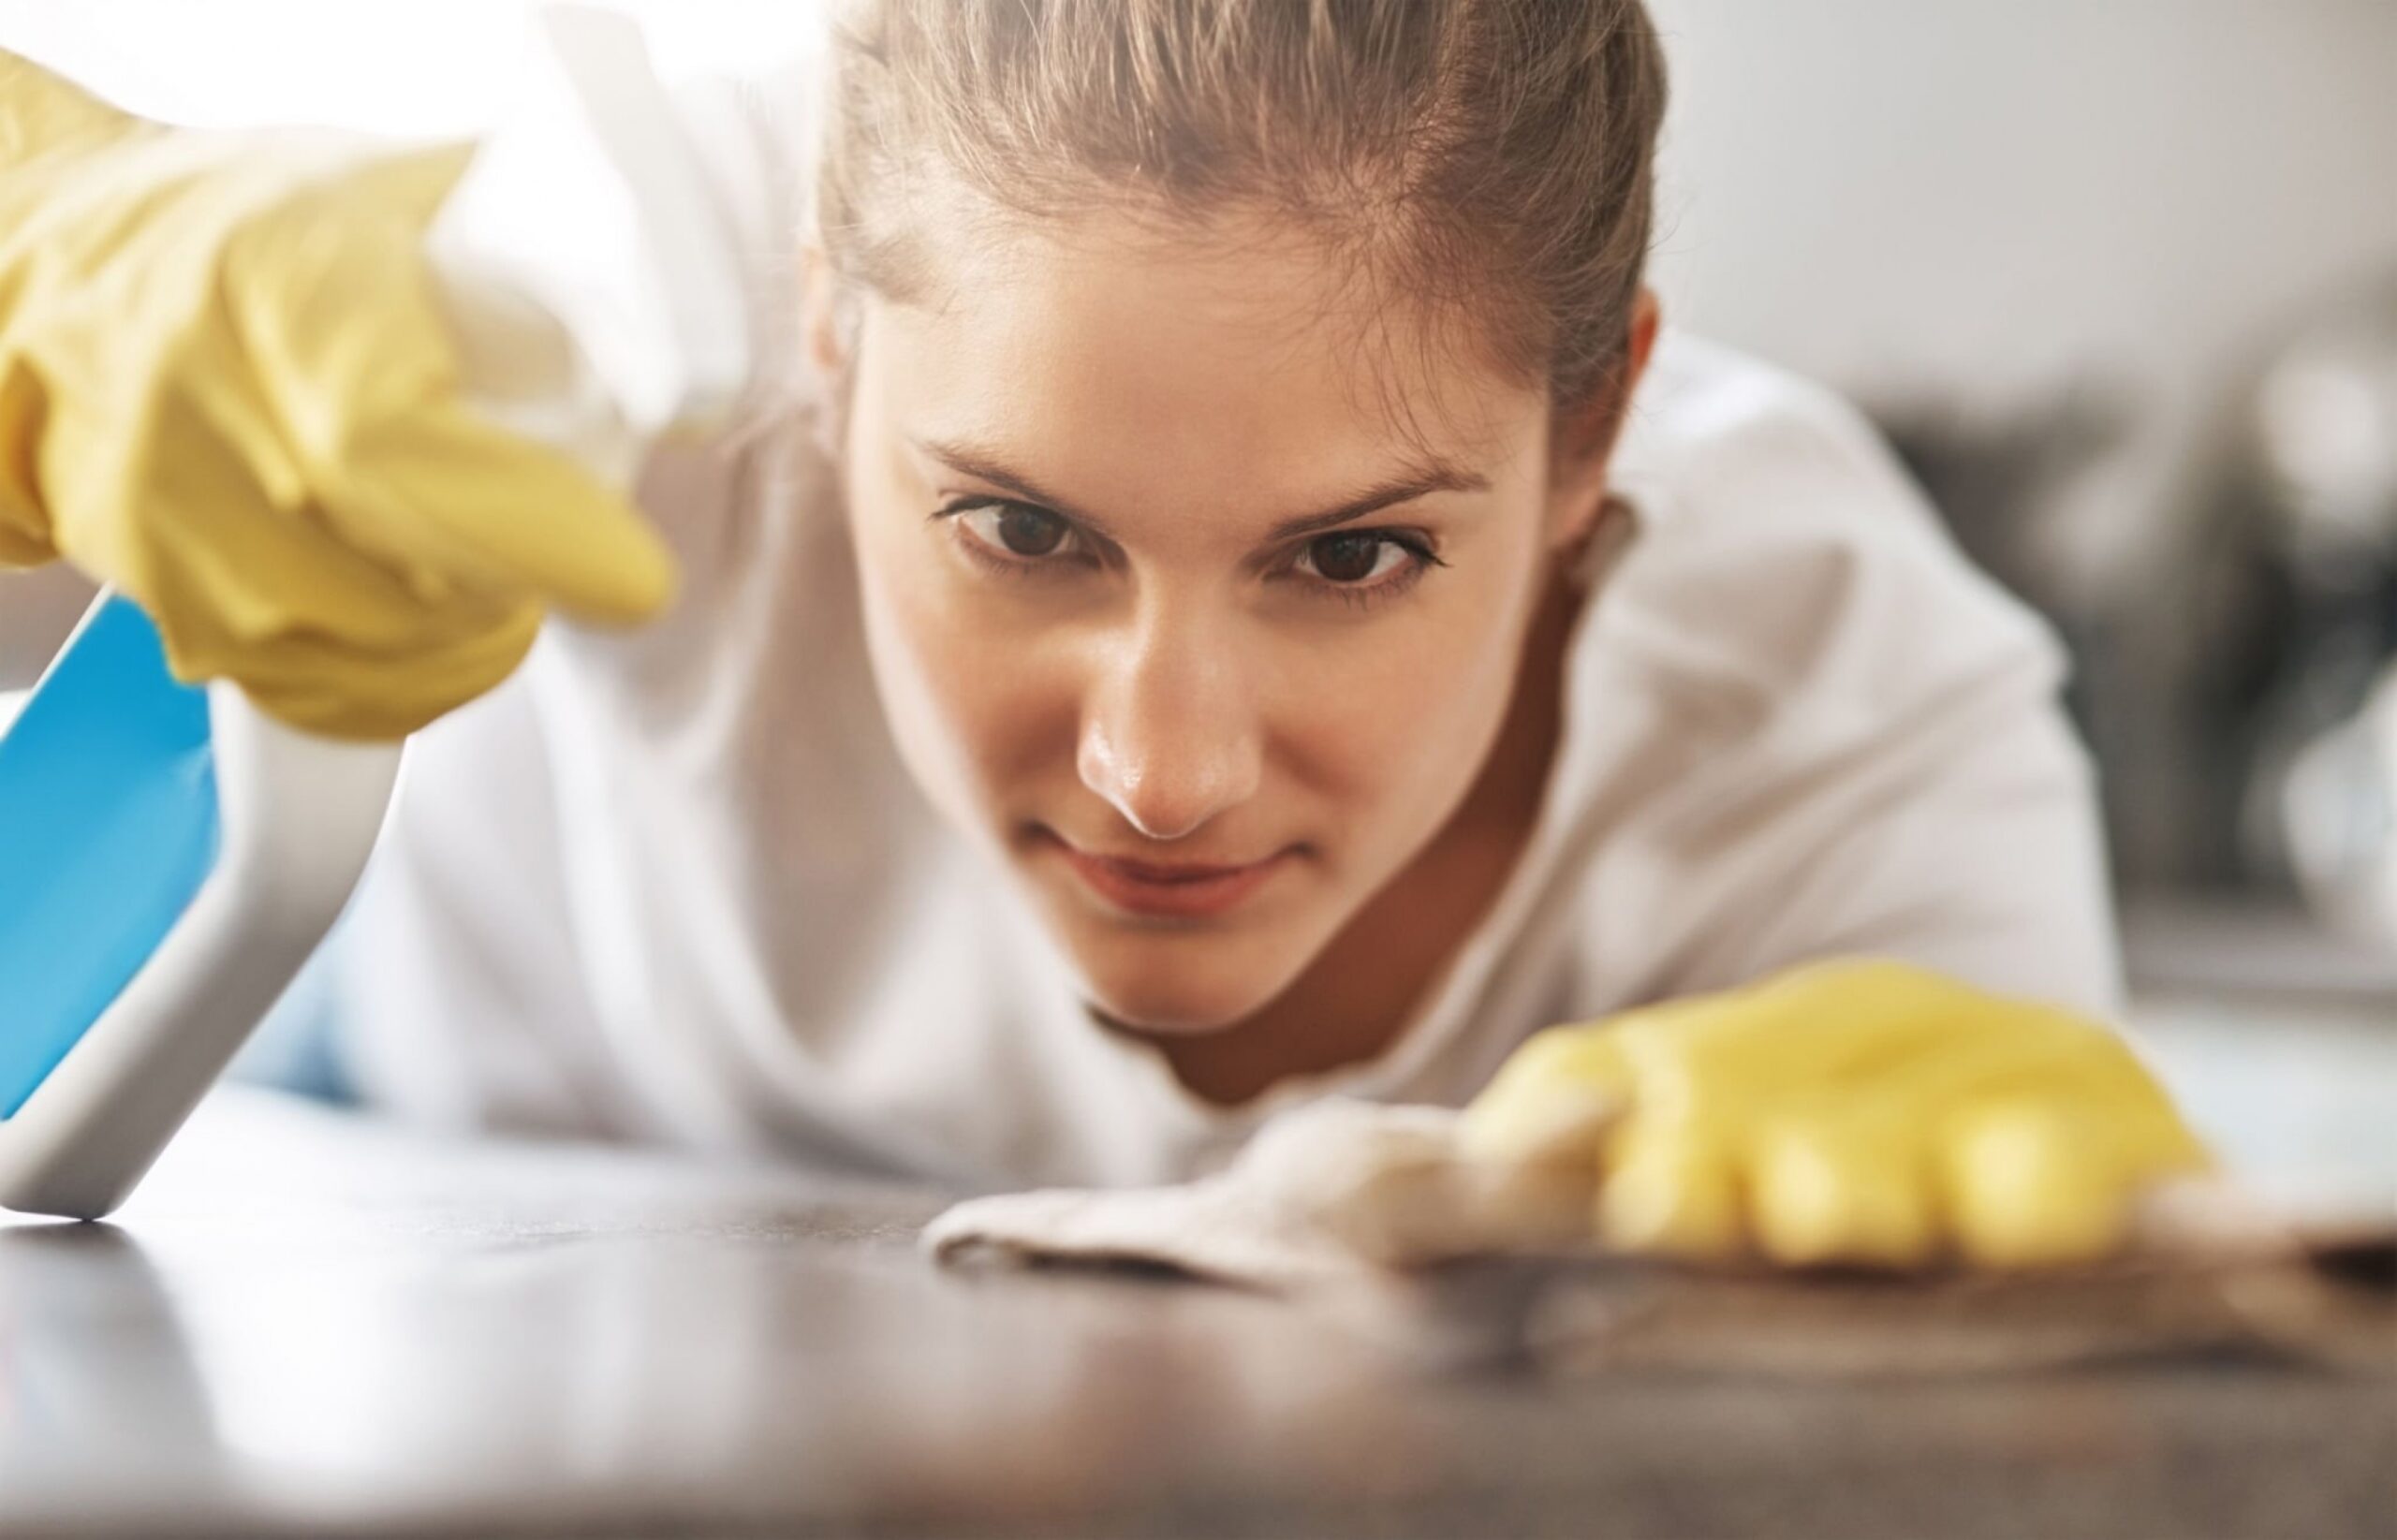
5. Bust Through the Dust


One of the key tasks in every room is dusting. The best way to control the buildup of dust and other allergens in your home is with regular cleaning, but sometimes it can be left to accumulate. Now is the time to be thorough and detail-oriented in each room to make sure every surface is clean and clear of dust.


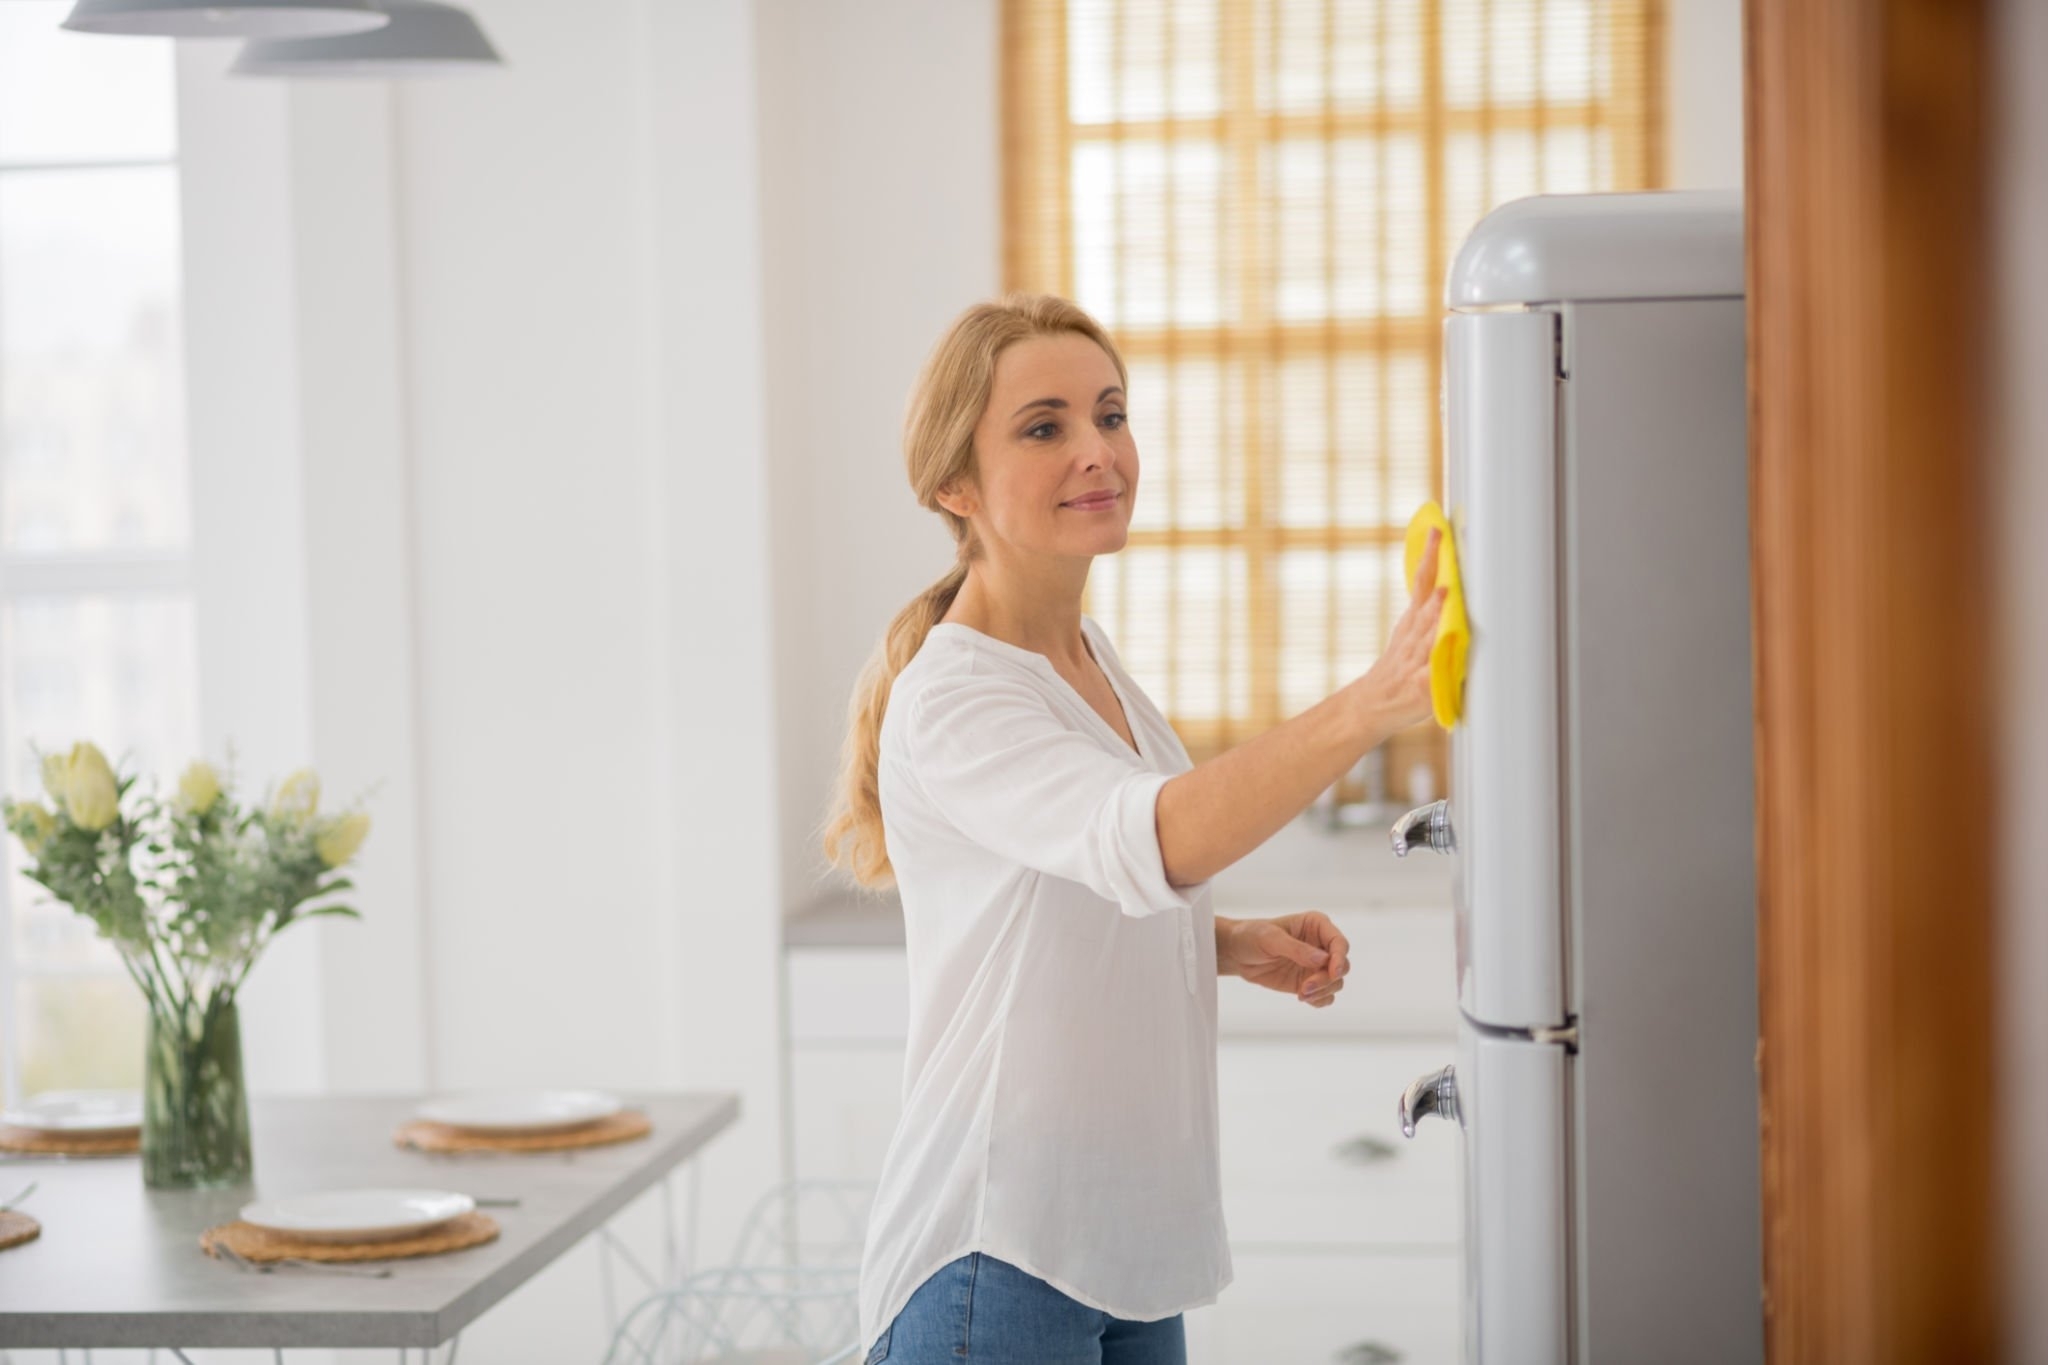
6. Freshen Up the Fridge


Your refrigerator is in constant use and can very easily become cluttered with leftovers and expired foods. Spring cleaning is the perfect time to deep clean and organize your fridge and freezer. Take an hour or so to empty things out and really scrub, deodorize, and and sanitize each self and drawer. It’s important to keep the spaces in which food is kept clean and clear of bacteria so that you and your family is safe and healthy.


7. Clear the Junk Drawers


Every home has a junk drawer, a black hole that seems to contain the most random assortment of items from around the house. Sometimes junk drawers can become junk rooms, and that’s okay. Now is the best time to tackle those problematic spaces head on by emptying them out and making sure everything is returned to its proper place in your home, thrown out, and sold or donated. Show that junk drawer or room who’s boss!


8. Don’t Forget the Details


Once you’ve cleared and cleaned the surfaces and appliances around the house, it would be a good idea to check over the more tedious cleaning tasks. This can include:

  • Cleaning rugs and doormats
  • Cleaning the inside and outside of windows
  • Wiping down walls, baseboards, and trim
  • Cleaning and sanitizing toys
  • Cleaning outdoor furniture
  • Cleaning and deodorizing sinks
  • Sanitizing cutting boards
  • Cleaning tiles and grout
  • Replacing or cleaning HVAC air filters
  • Cleaning or repairing your cleaning tools and equipment


9. Take Time to Reorganize


While you’re taking time to be thorough and ruthless in your spring cleaning and decluttering, you can also take this time to reorganize. Whether this means investing in a more functional system within your closets and pantry or just sorting items and clothing in a more efficient way, take this as an opportunity! There is no better time to fully upgrade your home for a more efficient life.


10. Disinfect Deeper Than Ever


woman cleaning her home


Disinfecting around the home is one of the most important tasks when cleaning. Even if its already a part of your regular cleaning routine, you should always take time to disinfect the surfaces around your house. Make sure to give extra time and attention to the high-touch and high-traffic surfaces like remotes, door handles, and light switches when you disinfect so that you know your family will be safe and healthy for the warmer months.


How to Stay Motivated to Spring Clean


Modern new light interior of kitchen with white furniture and dining table


If you’ve read through the tips and tricks and find yourself more overwhelmed than when you started, take a breath and don’t stress. Remember that we said that there is no right or wrong way to clean your home and that however you choose to clean your space is up to you. We know cleaning the whole house can be a daunting task, so allow us to offer some motivation and a few tips to help get you started:

  • Remember to clean at your own speed, it isn’t a race and you don’t have to exhaust yourself to accomplish everything in one day. You can create a schedule and set goals for yourself and anyone else in the home to help you to start and finish the job at hand. Find what works for you and stick with it until the work is done.
  • Brighten up the space and your mood before you get started and as you work. Open up the windows to let in more natural light and turn on your favorite music to hype yourself up. You’ll find yourself working more efficiently and with more energy when you are in a sunny and energizing environment.
  • Browse social media for some inspiration and put yourself in a mindset that is motivated to clean and see results. Cleaning can be a great way to reduce stress and be mindful of the items you bring in and keep in your home, so take some time to make a mental note of why you are cleaning and what your end goal is.


No matter if you’ve been cleaning for years or if this will be your first round of cleaning in a new space, spring cleaning is the best time to jumpstart the weekly and daily cleaning routines in your home. What kinds of spring cleaning tips and tricks do you use around your home? Share your advice in the comments, we’d love to hear from you!


If spring cleaning is simply not your forte but you’re in desperate need for some help keeping up with your home, we’ve got your back. You can check out Cleanzen’s Spring Cleaning services to find out how our services can help you around your home. Contact us today to find out what other services we can offer your home or business.

The post 10 Tips to Kickstart Your Spring Cleaning in 2023 appeared first on Cleanzen.

from Cleanzen https://cleanzen.com/blog/spring-cleaning-tips-for-2023/
via IFTTT

from Cleanzen Cleaning Services https://cleanzencleaningservices0.blogspot.com/2023/03/10-tips-to-kickstart-your-spring.html
via IFTTT

from
https://cleanzencleaningservices0.wordpress.com/2023/03/15/10-tips-to-kickstart-your-spring-cleaning-in-2023/

from Gabriela Bragg https://gabrielabragg.blogspot.com/2023/03/10-tips-to-kickstart-your-spring.html
via IFTTT

from Gabriela Bragg https://gabrielabragg.wordpress.com/2023/03/15/10-tips-to-kickstart-your-spring-cleaning-in-2023/
via IFTTT

from Emilio Butler https://emiliobutler.blogspot.com/2023/03/10-tips-to-kickstart-your-spring.html
via IFTTT

from
https://emiliobutler.wordpress.com/2023/03/16/10-tips-to-kickstart-your-spring-cleaning-in-2023/

from Cindy Roberts https://cindyroberts0.blogspot.com/2023/03/10-tips-to-kickstart-your-spring.html
via IFTTT


from
https://cindyroberts00.wordpress.com/2023/03/16/10-tips-to-kickstart-your-spring-cleaning-in-2023/

Wednesday, 8 March 2023

A DIY Guide to Removing Stains from Wood Floors

Hardwood floors look beautiful in almost every home, but no matter how much you clean them some spots just refuse to be clean. Stains can wind up on any floor, even wood, so it is best to be prepared when you inevitably find a few. To help, we’ve created this DIY guide to assist you in keeping your floors clean and stain-free.

Type of Stains


Damaged Hardwood Floor


Before you try to remove any stains from your wood floors, you should probably be aware of the kind of stain you’ll be removing. These are the most common kinds of stains you may find on your wood floors and furniture, we’ll get into how to treat and remove them later.


1. White Water Marks & Rings

These stains usually form on wood floors and furniture when any wet or damp cup, glass, or fabric is left on the surface of the wood. The stains appear white or lighter in color when the moisture mixes with the finish or wax on the wood.


2. Dark Water Stains

These stains form from moisture or dampness, similar to the formation of lighter stains, or from oxidation on the wood. The darkness of the stain indicates that moisture has penetrated deeper into the wood and will likely require more care to remove it.


3. Heat Stains

When something hot, like a mug or candle, is placed on the surface of the wood it expands. This allows the moisture created by heat and steam to settle deeper within the wood leaving behind light and cloudy discoloration and stains.


DIY Stain Removal


Room with wooden flooring


Now that you have a rough idea of the kind of stains you’ll be dealing with, we can discuss removal. There are many different ways to remove the various stains we mentioned, but not every method works for every stain. Here are our best recommendations for removing stains from wood floors:


Mayonnaise

One of the simplest ways to treat darker stains is with mayonnaise, no matter how much you love or hate it. Here’s what to do:

  • Use a clean cloth to wipe a small amount of mayo in a hidden area to test before treating the stain itself. If there’s discoloration from this test, we suggest trying a different method.
  • If the mayo doesn’t leave any discoloration, wipe a generous amount directly on and around the stained area you’re trying to treat.
  • Allow the mayo to sit on the stain for a few hours, or overnight for best results, reapply if it dries up too quickly.
  • In the morning, use a fresh and damp cloth to remove the mayo and check the state of the stain. Note: If there is still discoloration from a dried or old stain, you may have to try a different method.


Toothpaste

Toothpaste can be a surprising stain removal method, but it works we promise. This works best on lighter water stains or stains that have dried up, but remember to use a non-whitening and non-gel variety for the best results. Here’s what to do:

  • Squeeze a small bit of toothpaste onto a soft and clean cloth.
  • Lightly buff the toothpaste onto the surface of the stained wood, making sure to follow the grain. Note: Don’t rub the stained wood too hard with the toothpaste or you may worsen the appearance of the stain or damage the finish on the wood.
  • Allow the toothpaste to sit on the stain for about a minute before removing it with a lightly dampened cloth.
  • Take a moment to assess the stain and repeat the process if necessary.


Clothing Iron

electrical steam iron on white background

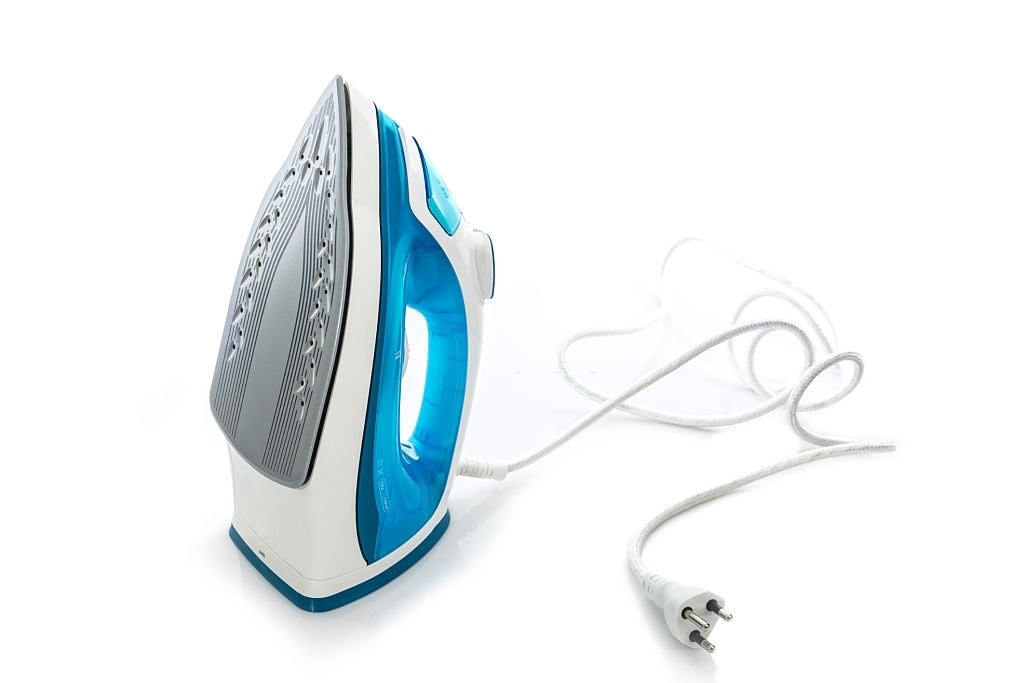
If you catch a fresh or still damp water stain on your wood floors, you’re in luck but you’ll want to move quickly to make sure it doesn’t set in. One way to remove the moisture is by using heat from and iron, or hairdryer, to evaporate it. You’ll need to be careful not to damage the wood in the process, so follow these instructions carefully:

  • Make sure there is no water within the iron, you don’t need any steam releasing during this process.
  • Place a cotton rag or old t-shirt over the stain.
  • Turn on the iron and make sure it is set to the lowest heat setting.
  • Pass the iron gently over the surface of the cloth or t-shirt for a few seconds, making sure to check on the stain frequently.
  • Alternatively, turn on the hairdryer to the lowest heat setting and wave it directly over the stain, no cotton barrier needed, for a few seconds at a time. Note: For both the iron and the hairdryer, be careful not to allow the heat to linger on the wood for more than a few seconds so as to not further damage the wood and allow moisture deeper into the pores.
  • Check the state of the stain frequently and allow the surface of the wood to cool before attempting the method again.


White Vinegar

For darker stains on wood floors, we highly recommend white vinegar. The acidity makes this both effective and safe to use on wooden floors, plus its a great disinfectant. Here’s the best way to utilize vinegar on dark stains:

  • For fresher and lighter stains, we suggest diluting your white vinegar in some water before treating the stain.
  • For darker and more set in stains, you can use undiluted white vinegar to treat the stain.
  • Allow a few cloths or paper towels, depending on what you have available or prefer, to soak in the vinegar or vinegar solution.
  • Place the cloths or paper towels directly over the stained wood and allow them to sit for about half an hour.
  • Remove the cloths or paper towels and use a water dampened cloth to wipe the surface of the stain before leaving it to dry for another half an hour.
  • Once the effected area is completely dry, you can check for any residual staining and repeat the process if you need to.


Hydrogen Peroxide

Like vinegar, hydrogen peroxide is great at treating darker stains on wood. However, when you use this method make sure that you only use 3% hydrogen peroxide as higher concentrations will permanently discolor and ruin wood. Here is how to properly use hydrogen peroxide to treat darker stains on wood:

  • Before treating the actual stain, use a cloth dampened with hydrogen peroxide to wipe a small and hidden area to test for discoloration.
  • Gently press a soft cloth dampened with a generous amount of hydrogen peroxide directly onto the stained wood.
  • Rewet the cloth if necessary, then place the cloth on the stain for a few hours or overnight.
  • Remove the cloth and check the stain in the morning, then use a lightly water dampened cloth to wipe the surface of the wood and allow it to fully dry.
  • Once the area is completely dry, you can repeat the method if you need to until the stain is fully removed.


Toothpaste & Baking Soda

One of the best ways to treat a heat stain on wood floors is by mixing toothpaste and baking soda. Here’s what to do:

  • Start by using a damp cloth to wipe the surface of the wood and then allowing the area to dry completely.
  • Using a non-whitening and non-gel toothpaste, squeeze a small amount into a small bowl or onto a plate and mix in a generous amount of baking soda.
  • Use a soft cloth to rub the paste directly onto the stain and allow the paste to sit for about 10 minutes.
  • Use a fresh damp cloth to wipe away the paste and clean the surface of the wood.
  • Allow the area to dry completely before repeating the process if you need to until the stain has faded.


Things to Remember


woman cleaning floor at home


Wood floors are gorgeous and can really warm up a home, but they can be stained surprisingly easily. There are a few things to keep in mind when managing upkeep and treating any stains you may find:

  • First and foremost, act as fast as possible when cleaning up any liquid spills on wood floors. The longer moisture sits on the surface of wood, the harder it is to clean up without the risk of staining.
  • When cleaning up stains, do your best to avoid using anything abrasive to scrub the wood floor. Using anything like steel wool or hard bristle brushes risks damaging or even stripping the finish from the wood.
  • Don’t be afraid to sand and refinish an area if the staining is bad enough. While it may not be preferable, it can be more effective and less expensive than calling in a professional.
  • Despite our previous suggestion, calling professionals when all else fails is always a safe choice. Especially if you don’t have mush experience or knowledge when it comes to wood floors.


FAQs


What not to use on hardwood floors?

When cleaning hardwood floors, avoid using any harsh cleaners like ammonia or alkaline products as these can dull and scratch the finish on the wood.


Does baking soda remove stains from hardwood floors?

Baking soda should only be used in small amounts combined with other products to treat stains on wood floors. It should never be used to clean wood floors on its own or combined with vinegar.


Can you use dishwashing liquid to clean hardwood floors?

Dishwashing liquid is mild enough to be safe to use on hardwood floors and effective enough to be recommended by professionals. You can add a few tablespoons of dishsoap to a gallon of water to clean and mop your floors.


Is it okay to use hot water on wood floors?

If you are looking to clean and mop your wood floors, you should not use hot water to do so. Always use warm water, not hot, when mopping and never allow water to stand on hardwood floors or you risk extensively ruining the finish of the wood and the wood itself.


Do you have any stain fighting tips that have worked for your wood floors? Have you made any mistakes and want to make sure no one else faces similar issues? Share your experiences and tips in the comments below, we’d love to hear from you!


If you’re looking for some help when it comes to keeping your wood floors looking amazing and stain-free, call us! Our maid services in Miami could be just what you need, so check out our website and find out what kind of services we can offer you.

The post A DIY Guide to Removing Stains from Wood Floors appeared first on Cleanzen.

from Cleanzen https://cleanzen.com/blog/how-to-remove-stains-from-wood-floors/
via IFTTT

from Cleanzen Cleaning Services https://cleanzencleaningservices0.blogspot.com/2023/03/a-diy-guide-to-removing-stains-from.html
via IFTTT

from
https://cleanzencleaningservices0.wordpress.com/2023/03/08/a-diy-guide-to-removing-stains-from-wood-floors/

from Gabriela Bragg https://gabrielabragg.blogspot.com/2023/03/a-diy-guide-to-removing-stains-from.html
via IFTTT

from Gabriela Bragg https://gabrielabragg.wordpress.com/2023/03/08/a-diy-guide-to-removing-stains-from-wood-floors/
via IFTTT

from Emilio Butler https://emiliobutler.blogspot.com/2023/03/a-diy-guide-to-removing-stains-from.html
via IFTTT

from
https://emiliobutler.wordpress.com/2023/03/09/a-diy-guide-to-removing-stains-from-wood-floors/

from Cindy Roberts https://cindyroberts0.blogspot.com/2023/03/a-diy-guide-to-removing-stains-from.html
via IFTTT


from
https://cindyroberts00.wordpress.com/2023/03/09/a-diy-guide-to-removing-stains-from-wood-floors/

Wednesday, 1 March 2023

Grubby TV Screen? Here’s How to Fix It!

Our TVs are used almost as much as, if not more than, our smartphones and tablets. With regular use comes regular messes and dust buildup on and around the TV screen, especially with all the many sports events and reality TV we’ve been watching.


No matter what model of TV sits in your home, old or new, the screen will need some cleaning and dusting on a regular basis. We’ve put together our best tips and tricks for cleaning your TV screen, remotes, and external speakers properly and safely, plus 2 quick household recipes for DIY screen-safe cleaners. Keep reading to find out how you can keep your TV screen clean and streak-free.

Best Cleaning Methods


Before you get started with cleaning your TV screen, you should make sure you have the supplies you’ll need. Here are the basics:

  • Microfiber cloths
  • A screen-safe cleaning solution
    • If you’re curious about what you can use as a cleaning solution, here are 2 quick DIY solutions you can use for your newer model TVs:
      • Mix equal amounts of white vinegar and distilled water in a spray bottle.
      • Mix together 1 part distilled water with 4 parts 70% rubbing alcohol.
      • Note: Do not use a rubbing alcohol of any higher percentage than 70% as they can damage the TV screen.
  • Rubbing alcohol (for older TVs)

Once you have everything you need and have mixed up your DIY cleaner, its time to get started with the cleaning process.


Flat-Screen Plasma, LED, LCD and OLED TVs


Modern Living Room Interior With Smart Tv, Sofa, Floor Lamp And Potted Plant


Newer model TVs often have flat and delicate surfaces that require a careful hand and extra care. Here is the best and safest way to clean these more delicate pieces of electronics:

  • Make sure the TV is completely turned off and cool before cleaning. You can unplug your device, but it usually isn’t necessary for newer model TVs.
  • Use a microfiber cloth to first carefully dust off the surface of the TV screen.
  • Spray a small amount of screen-safe cleaner, or one of the DIY cleaners above, onto a fresh, dry microfiber cloth. Do not spray or apply cleaner directly to the TV screen.
  • Wipe the cleaner onto the screen in a side-to-side motion and then up and down. Overlapping strokes, not circular motions, are the best way to avoid streaks on shiny TV screens and surfaces.
  • Make sure the surface of the TV screen is completely dry and clear before either repeating the cleaning process or plugging it back in and turning it on.


Tube Televisions


Older TVs, like cathode ray tube (CRT) TVs, are also daily easy to clean, but they do require a little extra attention to detail. Here is the proper way to clean older model and tube TVs:

  • Turn off and unplug the TV and allow it to cool is it is warm to the touch. Unlike modern TVs, unplugging these TVs is required so make sure your device is not connected to power before you start cleaning it.
  • Use a microfiber cloth to dust the surface of the TV screen. You can also take a moment to dust around the device itself.
  • Apply a cleaning solution to a fresh microfiber cloth. To clean the surface, you can either use one of the DIY cleaning solutions above or 70% rubbing alcohol on the cloth or as a presoaked wipe if the screen is particularly grubby.
    • Note: In a pinch, you can use a very small amount of glass cleaner to clean glass TV screens on older devices only.
  • Wipe the cleaning solution onto the screen in back-and-forth then up-and-down strokes. Remember not to use circular motions when cleaning the screen.
  • Allow the surface of the TV screen to fully air dry before checking for additional smudges and streaks.
  • Once the screen is completely dry, you can repeat the cleaning process if needed. If the screen needs not additional cleaning, simply finish by using a microfiber cloth to buff the surface to remove stray fingerprints or streaks.


Stubborn Spots & Streak Free Cleaning


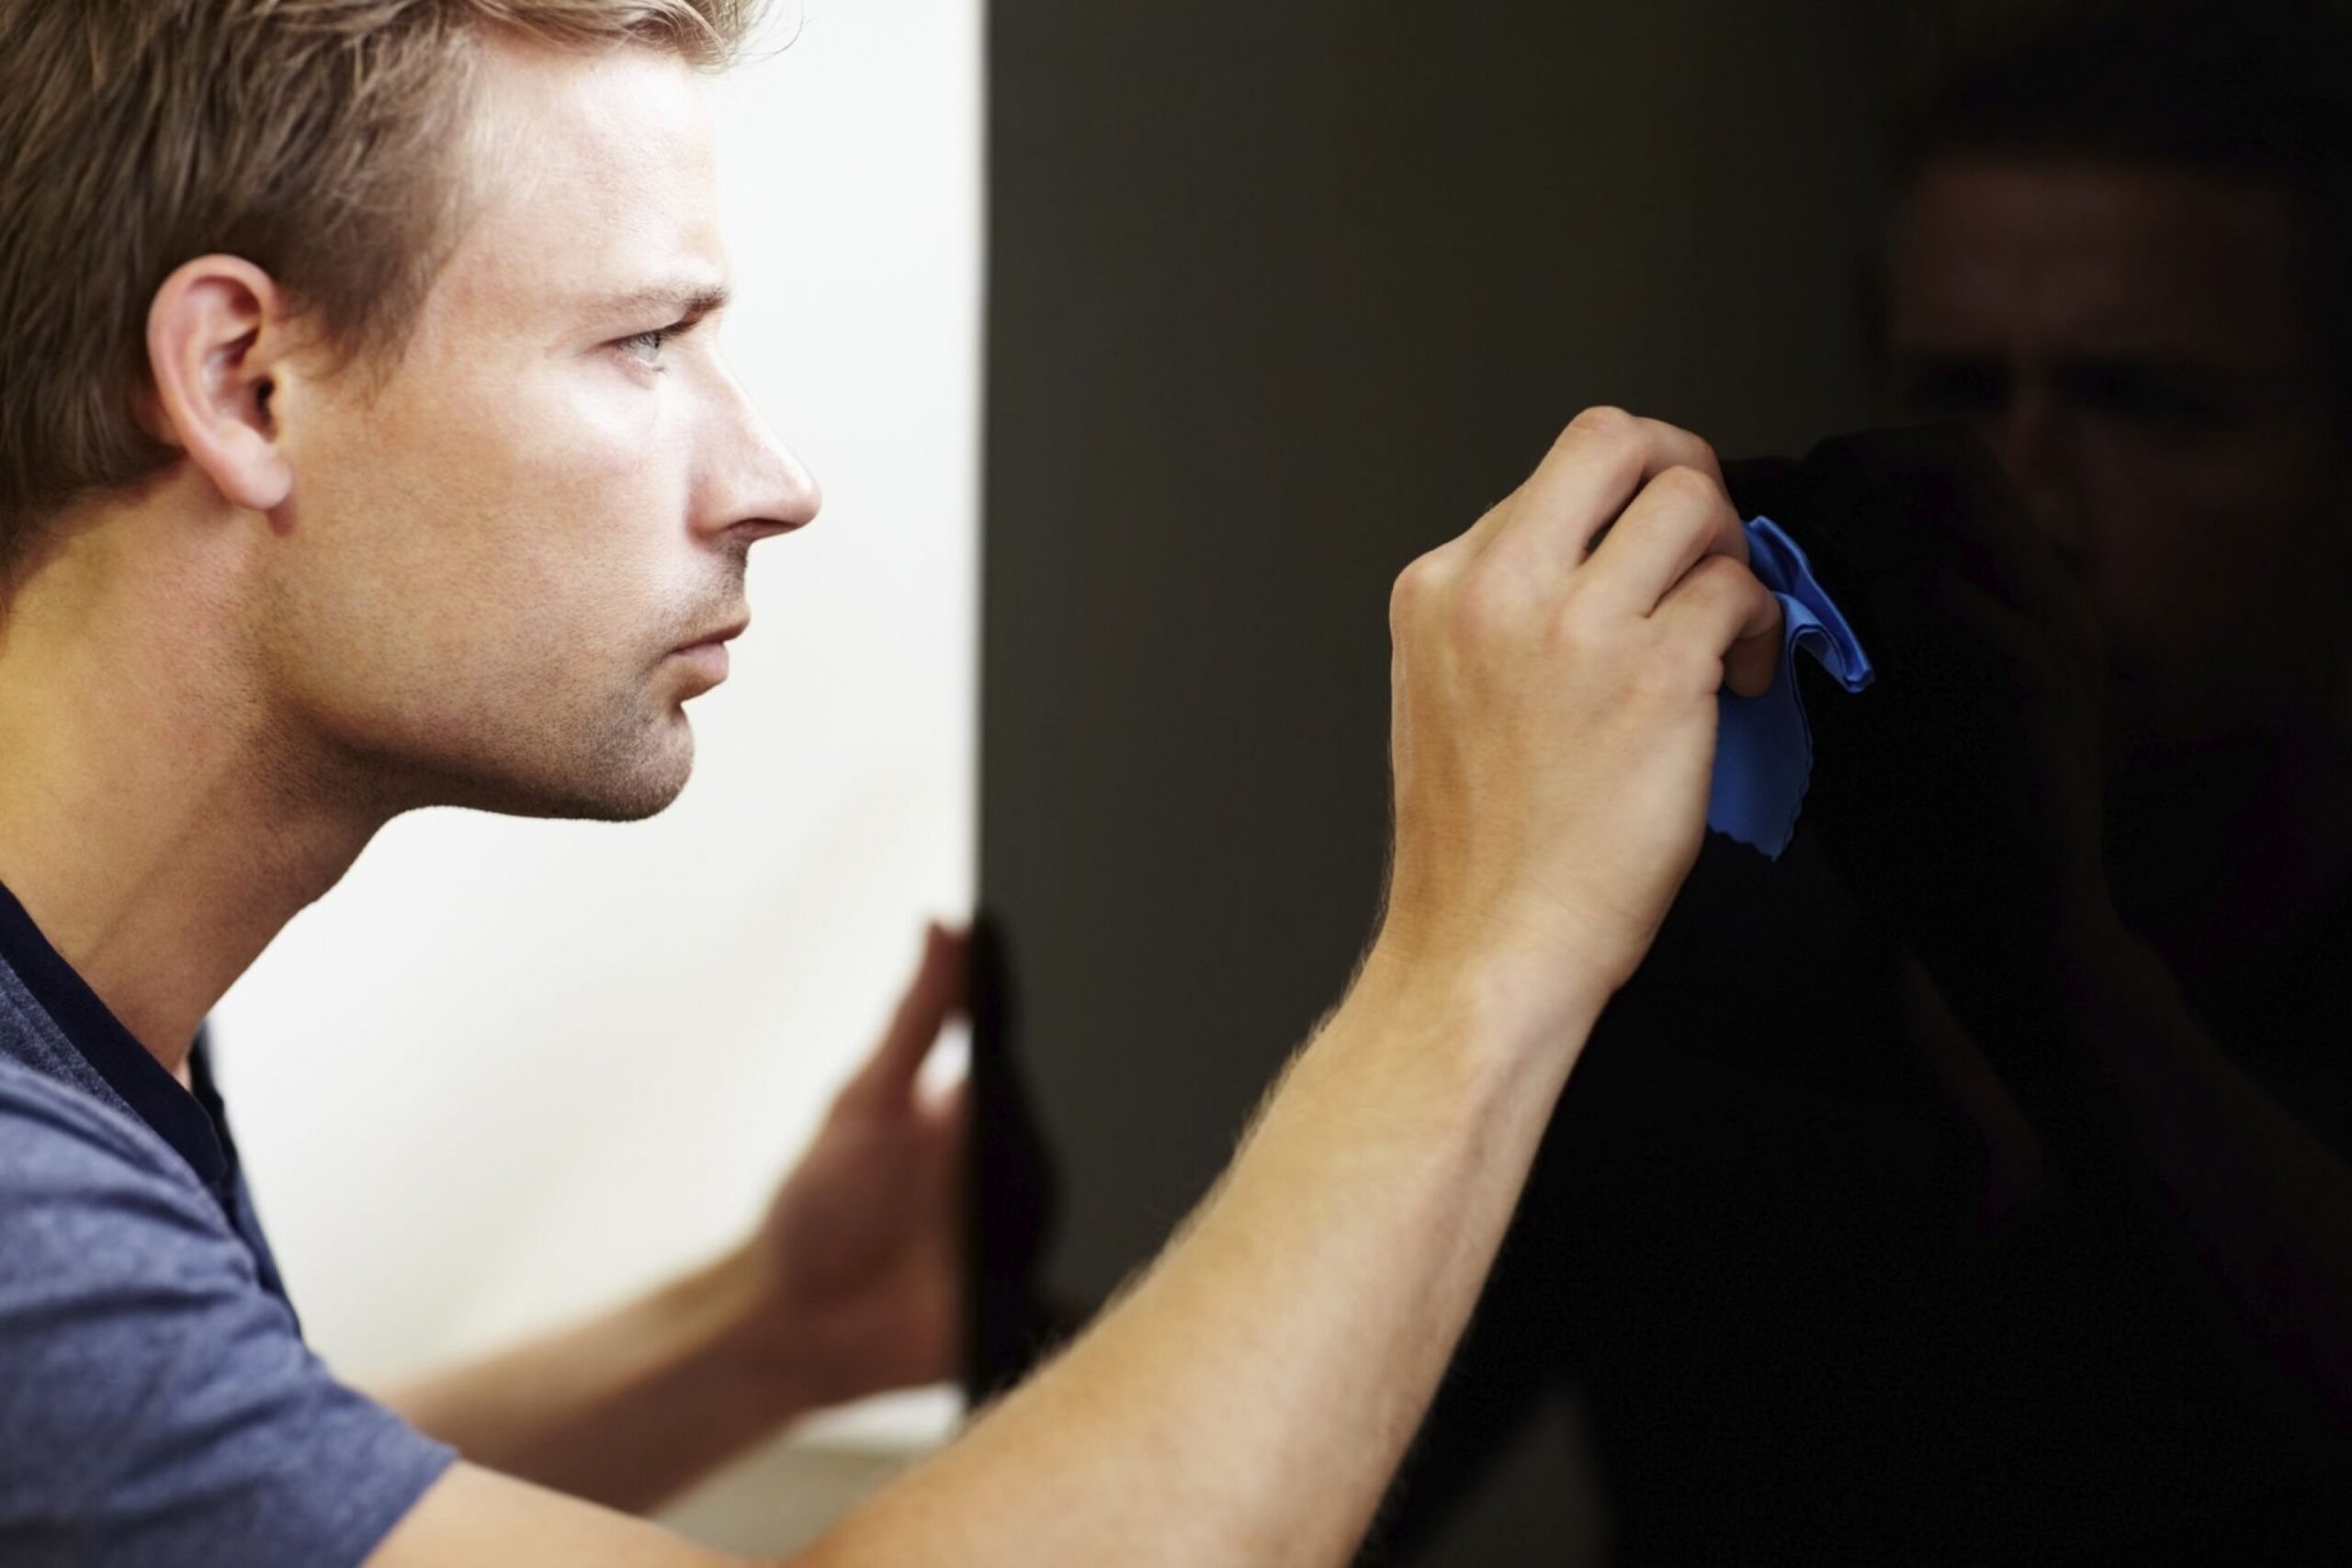
Young man cleaning the screen of his smart TV


If you find some stubborn fingerprints or sticky spots around your TV screen, that’s okay, life happens. For the best results when treating these stubborn spots, here’s what to do:

  • Mix a few drops of mild dish soap in some distilled water, only a very small amount of soap will be needed.
  • Dip a microfiber cloth into the soapy water and wring out the excess before using the cloth.
  • Use the dampened cloth to gently wipe away the grimy stains or smudges, taking care to not use too much water on the surface.
  • Allow the surface to air dry before checking for additional spots or streaks. If you are spot cleaning an older TV screen, you can use a fresh microfiber cloth to buff the surface free of streaks.

Cleaning Remotes & Speakers


If you have extra accessories for your TV like remotes and speakers, you’ll probably want to give those a once over cleaning as well. While they don’t have screens, they’re still sensitive electronics so you’ll have to use care when cleaning them. Here are some best practice cleaning tips for remotes and speakers:


Remotes


remote control sitting on a couch in an empty modern living room


Thankfully for everyone, remotes are actually really easy to clean. All you’ll really need is your go-to disinfecting wipes or spray and a cloth. Here’s how to clean your remote without damaging it:

  • Take out the batteries from your remote and set them aside.
  • Gently tap the remote, button side down, on a table or other flat surface to loosen and dislodge any crumbs or other debris.
  • For cleaning, you can either use a pre-soaked disinfectant wipe or a cloth that you can spray disinfectant onto. Make sure the wipe or cloth is not soaked and dripping wet by wringing it out before using it.
  • Wipe the disinfectant around the entire surface of the remote, paying particular attention to the spaces between buttons.
    • You can use a toothpick or your fingernail to dislodge stubborn debris from under and around the buttons.
  • Once the remote has been thoroughly cleaned and disinfected, you can set it aside to completely air dry.
    • If you’d like to go the extra mile, you can test the batteries you removed to make sure they’re still good or if they need to be replaced.
  • Check that the remote is completely dry and then replace to batteries into the device.


Speakers


If you have set up external speakers for your TV, now is a good time to makes sure they’re clean and dusted. These are pretty sensitive devices, so here is how to properly clean and care for your speakers:

  • Before any cleaning or dusting, make sure to check for any cleaning guidelines within the owner’s manual for the speakers. This is always best practices for pieces of sensitive electronics and equipment.
  • Unplug or remove the batteries from the speakers so that the devices are not connected to power while you are cleaning them.
  • If the fabric covers of the speakers can be removed, go ahead and take those off to be cleaned separately.
    • We recommend using your vacuum’s upholstery attachment to carefully clean and dust the fabric covers.
  • If the fabric covers cannot be removed, you can use a lint roller or your vacuum hose with the upholstery attachment to remove any dust and debris from the surface of the speakers.
  • If your speakers are solid and do not have a fabric cover, you can use a lightly moistened microfiber cloth to dust and clean the surface of the device.
  • Allow the speakers to dry if necessary before replacing the removed batteries or plugging the devices back in.


Extra Tips for Cleaning TV Screens


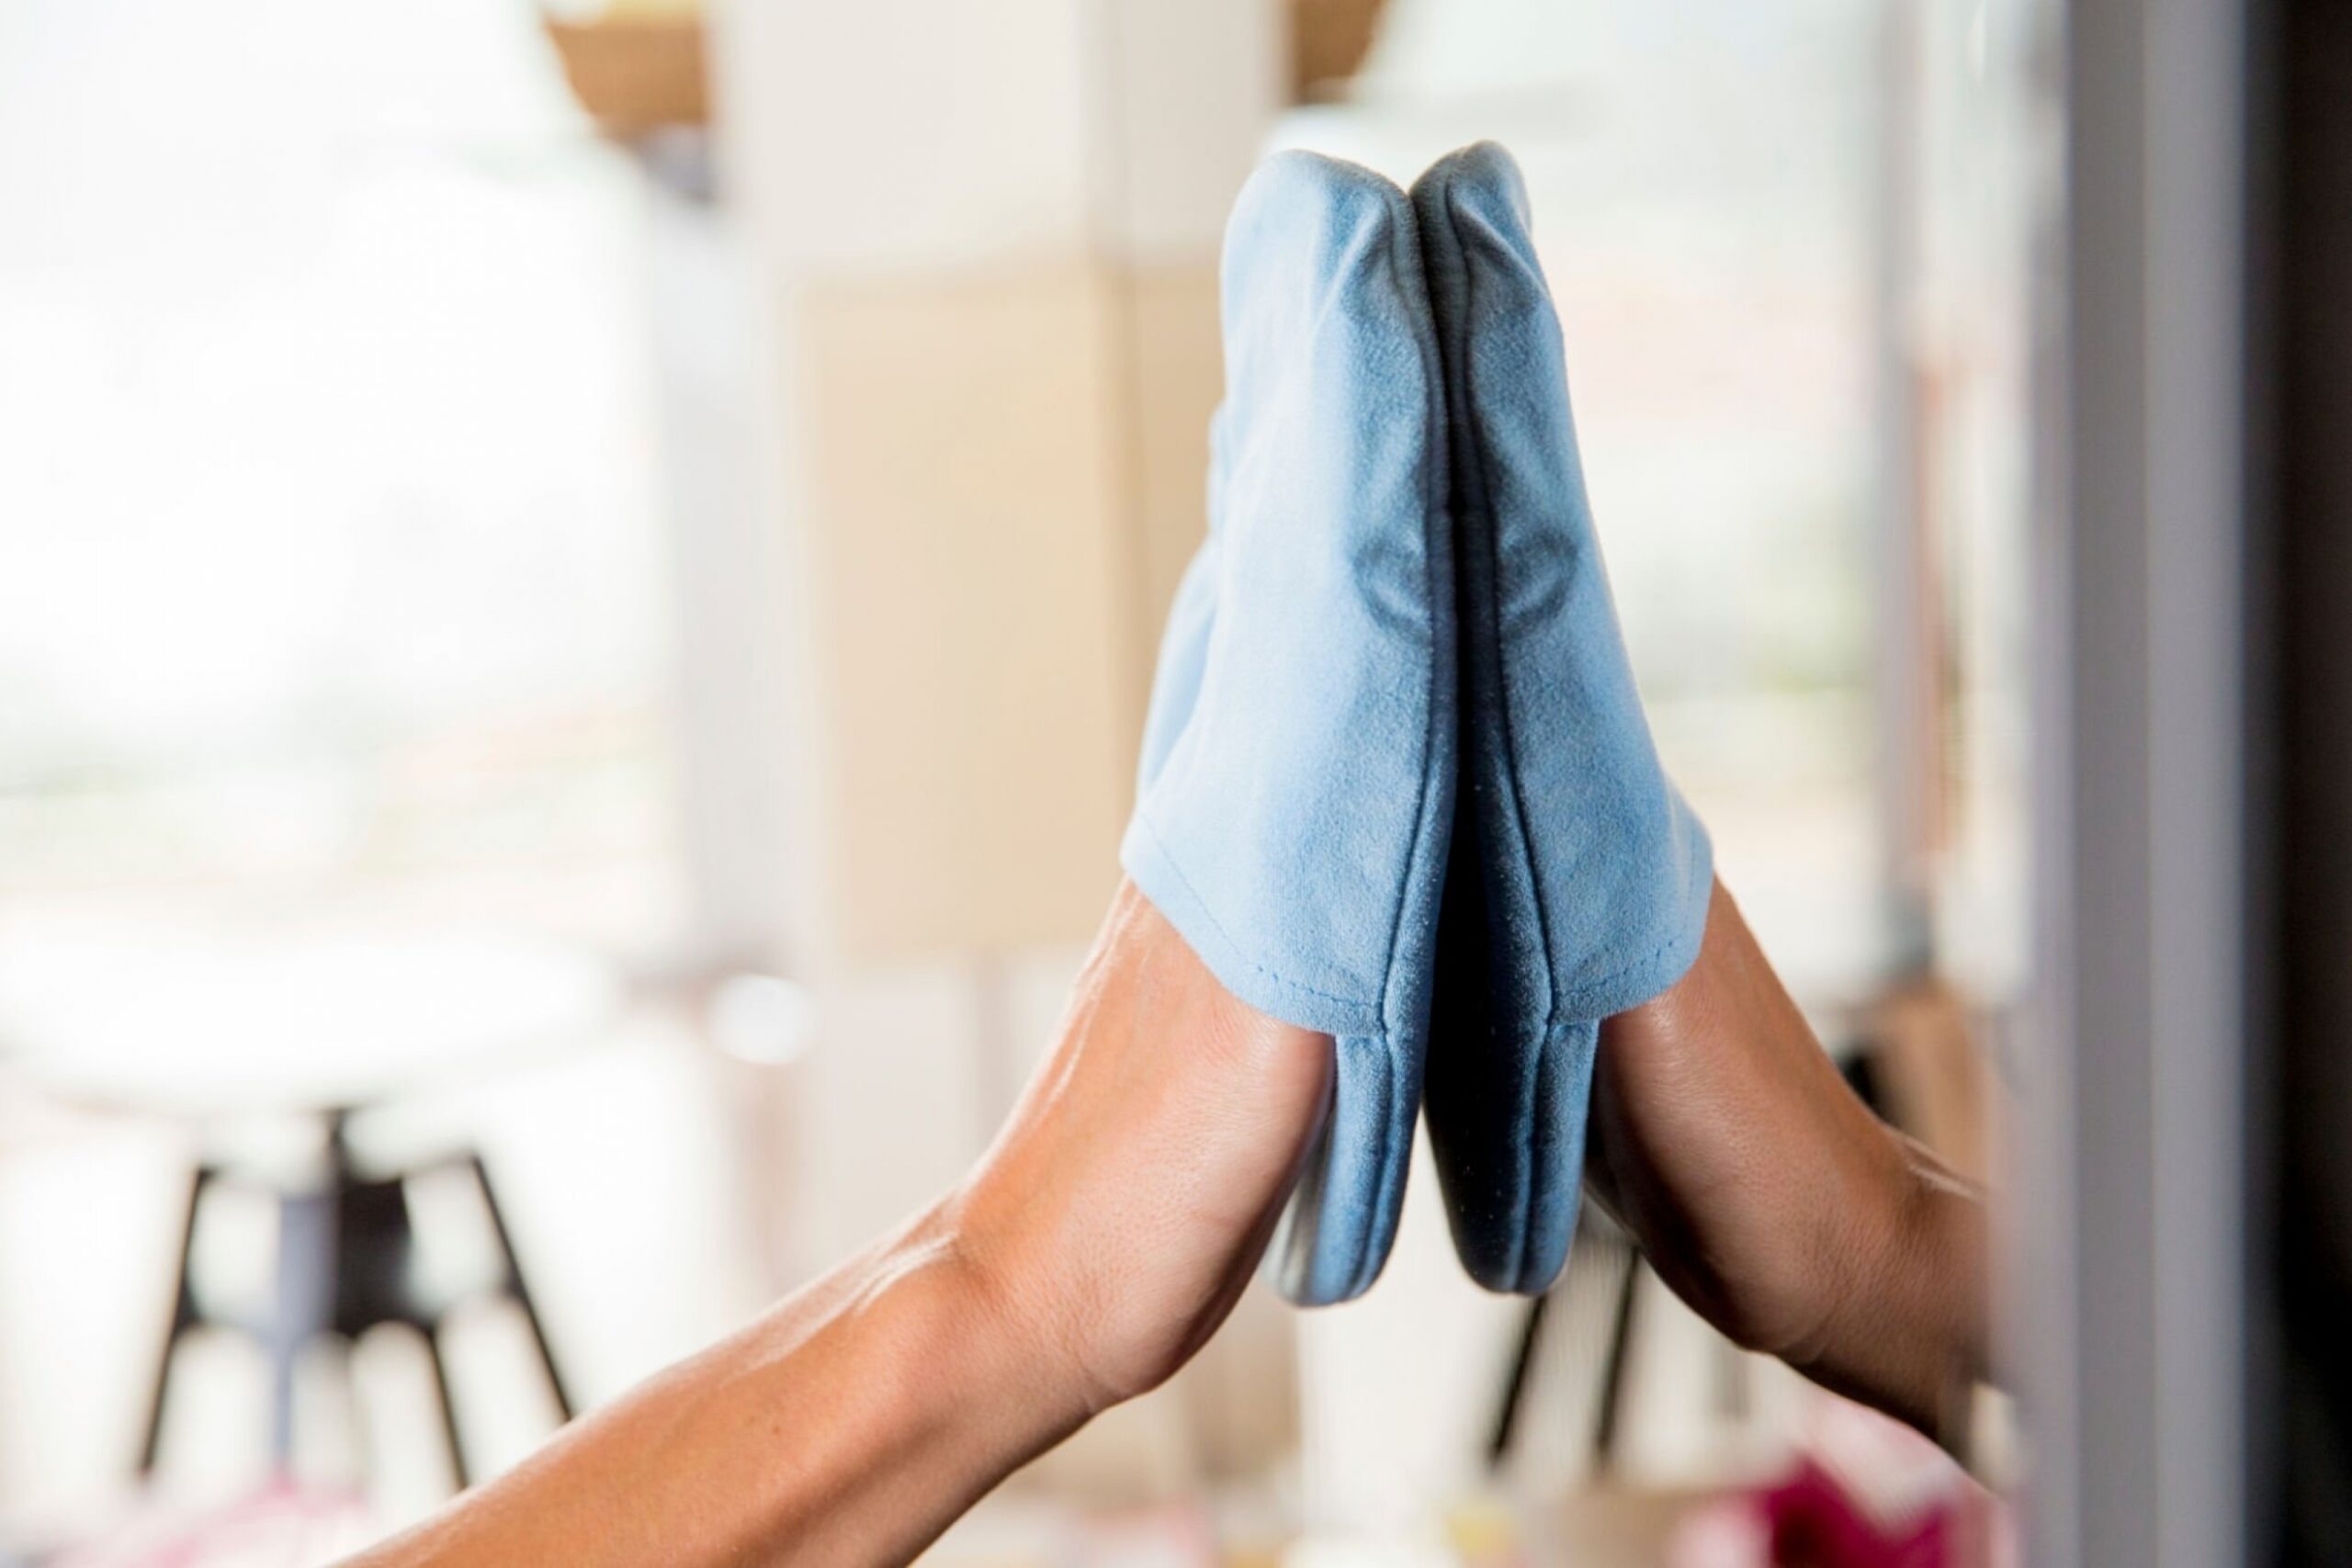
Cleaning a Flat TV screen with a cleaning glove


With regular care and cleaning, your TV screens should be looking their very best. If you’re looking to make sure your TVs, remotes, and a speakers look and operate at their best, here are a few extra tips and tricks to incorporate into your regular cleaning routine:

  • You should clean your TV screen about once a week to regularly remove fingerprints, streaks, smudges, and other mysterious stains that may appear.
  • Use your vacuum hose to suck up the dust and debris from any wires and ports behind the TV itself when you clean it to ensure that everything stays in good working condition.
  • Avoid cleaning your TV screens with harsh chemical cleaners and products. Substances you should never use to clean your modern TV screens include:
    • Ammonia
    • Acetone
    • Rubbing alcohol
  • Never spray cleaning solutions directly onto the screen itself, no matter if the TV is a newer model or an older one. Remember to spray the solution onto a cloth and wipe the cloth on the screen to clean it.
  • Remember to dust the TV screen before cleaning it, and also remember to not use too much pressure when wiping away stubborn fingerprints or stains from the screen.


FAQs


What household product can I use to clean my TV screen?

You can use an equal mixture of white vinegar and water, distilled if possible, to clean your TV screen. Make sure that you apply the solution to a microfiber cloth and not directly to the screen itself so as to not damage the device.


What can I spray on my flat screen TV screen to clean it?

You should never spray any cleaning solution directly onto your TV screen. The safest cleaning solutions to use are screen or glasses cleaner, or a mixture of vinegar and distilled water, both of which should be applied to a microfiber cloth in order to clean the TV screen.


Can you use alcohol wipes on TV screens?

Premoistened alcohol wipes that utilize no higher than 70% isopropyl alcohol can be used to clean many TV screens, but better methods are recommended. Most professionals advise against using alcohol based products to clean modern TV screens, some make sure to check your TV’s user manual for cleaning and upkeep information.


Can I use glasses cleaner on my TV screen?

Glasses cleaner is safe and can be used on most TV screens when used with a soft microfiber cloth. Be sure to not spray the cleaner directly onto the screen when cleaning.


What can ruin a TV screen?

Heavy finger pressure, spraying liquid cleaning products directly onto the screen, moving the screen panel, and use of any heat can very easily ruin and warp your TV screen. When you are looking to clean your TV screen, always consult the owner’s manual and professional cleaning guides before any cleaning is done on or around the screen.


Back view of a family watching TV at home


With regular cleaning and dusting, your TV screen will be looking clear and free of stray smudges just in time for your next binge-watch or movie night. What kind of screen cleaning tips do you use for your TV screens? Have you made any cleaning mistakes and want to share some advice? Leave a comment below, we’d love to hear from you!


If you’re looking for some extra help around your home, we’re here to help. You can check out our website to read our blog posts or see what kind of services we can offer you. If you’re in need of some high quality cleaning around your office space or business, please check out our commercial cleaning services Denver and book your cleaning services today!

The post Grubby TV Screen? Here’s How to Fix It! appeared first on Cleanzen.

from Cleanzen https://cleanzen.com/blog/how-to-clean-tv-screen/
via IFTTT

from Cleanzen Cleaning Services https://cleanzencleaningservices0.blogspot.com/2023/03/grubby-tv-screen-heres-how-to-fix-it.html
via IFTTT

from
https://cleanzencleaningservices0.wordpress.com/2023/03/01/grubby-tv-screen-heres-how-to-fix-it/

from Gabriela Bragg https://gabrielabragg.blogspot.com/2023/03/grubby-tv-screen-heres-how-to-fix-it.html
via IFTTT

from Gabriela Bragg https://gabrielabragg.wordpress.com/2023/03/02/grubby-tv-screen-heres-how-to-fix-it/
via IFTTT

from Emilio Butler https://emiliobutler.blogspot.com/2023/03/grubby-tv-screen-heres-how-to-fix-it.html
via IFTTT

from
https://emiliobutler.wordpress.com/2023/03/02/grubby-tv-screen-heres-how-to-fix-it/

from Cindy Roberts https://cindyroberts0.blogspot.com/2023/03/grubby-tv-screen-heres-how-to-fix-it.html
via IFTTT


from
https://cindyroberts00.wordpress.com/2023/03/02/grubby-tv-screen-heres-how-to-fix-it/

Wednesday, 22 February 2023

10 Genius Tips for Packing for Your Move

Moving is a huge task for everyone, especially if you’re going through the whole process on your own. There always seems to be too many items to pack away and too little space in the boxes, not to mention the random items that tend to appear as soon as the boxes are sealed.


While there is no universally correct way to pack for a move, there are some ways you can make the whole process more efficient and less stressful. Here are a few of our best-recommended tips and tricks for packing for your upcoming move.

1. Have a Plan


Before you start throwing things into boxes just to get them out of the way, take a moment to organize and plan the process. First and foremost, you’ll need to make sure you have everything you’re going to need for the packing process before you actually start packing. Here is a small list of packing essentials:

  • Sturdy multi-sized boxes
  • Durable packing tape
  • Bubble wrap or paper cushioning
  • Label stickers
  • Permanent markers
  • Moving blankets
  • Color coding materials
  • Notepad or binder

Once you have all your materials on hand and ready to go, you should make a plan for how you’re going to be packing each room as well as how you’ll be sorting each item. Placing things into boxes simply however they fit isn’t particularly safe or efficient, it is best to be mindful of how you pack up the rooms of your home. Plan for the boxes you’ll need for each room as well as how to make sure any delicate or sentimental items are safe when moving.


2. Purge While You Pack


Moving is the best time to get rid of non-essential clothing and home goods from around the home. Throwing out, donating, or selling items you don’t want to bring with you to your new space or won’t have room for is the best way to minimize the hassle of packing and unpacking. Set aside some space to organize things you plan on getting rid of or are on the fence about bringing, and until you make a decision or are ready to say goodbye, it’ll all be out of the way of the rest of your packing.


You should start the purging process as soon as possible, too. In fact, the best time to start is a few months ahead of your big move so that you won’t be in a rush while making choices and risking any mistakes along the way. Be thorough and motivated when decluttering so that you’ll only be bringing the good stuff that makes you and your family happy into your new home.


3. Make a List


Mom makes list while preparing to move to new home


You made your plan for packing up each room already, but how do you know what to pack in each room and in what order? Now is the time to sit down and organize a list of the items that will be packed up in each room, as well as items that you’ll be saving for the final moving day. This way you’ll be able to cross things off and make a note of what still needs to be done so you won’t be running around trying to figure out why certain things haven’t been packed yet.


The more organized and thoughtful you are about the packing process, the less stressful and chaotic the unpacking process will be. Remember that you are basically saving your future self a huge amount of time and headaches when you make notes and lists. Be meticulous and over-prepared now so that you’ll be ready for everything later.


4. Round Up Cables


Electronics and their respective wires and chargers can easily take up tons of space when packing up the house. Plus if you’re anything of a pack-rat, you might have a pile of cables and cords that you haven’t figured out how to use around the house in some time. To make packing these lengthy and mismatched wires a simple task, try these tips:

  • Sort them out by capability
  • Keep current spare phone chargers in an accessible location
  • Make sure wires are untangled before wrapping or rolling them up
  • Use a twist or zip tie to secure cords
  • Place cords in labeled bags to save space
  • Keep bags of cords with corresponding electronics


5. No “Almost Empties”


We mentioned decluttering earlier, but here’s something to keep in mind when it comes to the bathroom and kitchen in particular. If you have any items that have been so close to empty or sat broken in a drawer for far too long, it’s time to toss them out. These little “almost empties” and broken or worn-out items don’t need to take up any space in a box or bag that is already near capacity. Here is a little example of the items that don’t need priority space in your moving boxes:

  • Mealtime leftovers
  • Close to empty condiments
  • Cleaning supplies on their last use
  • Worn out and stained towels
  • Large bottles with little product
  • Thoroughly squeezed tubes of toothpaste
  • Broken tools or electronics


6. Label EVERYTHING


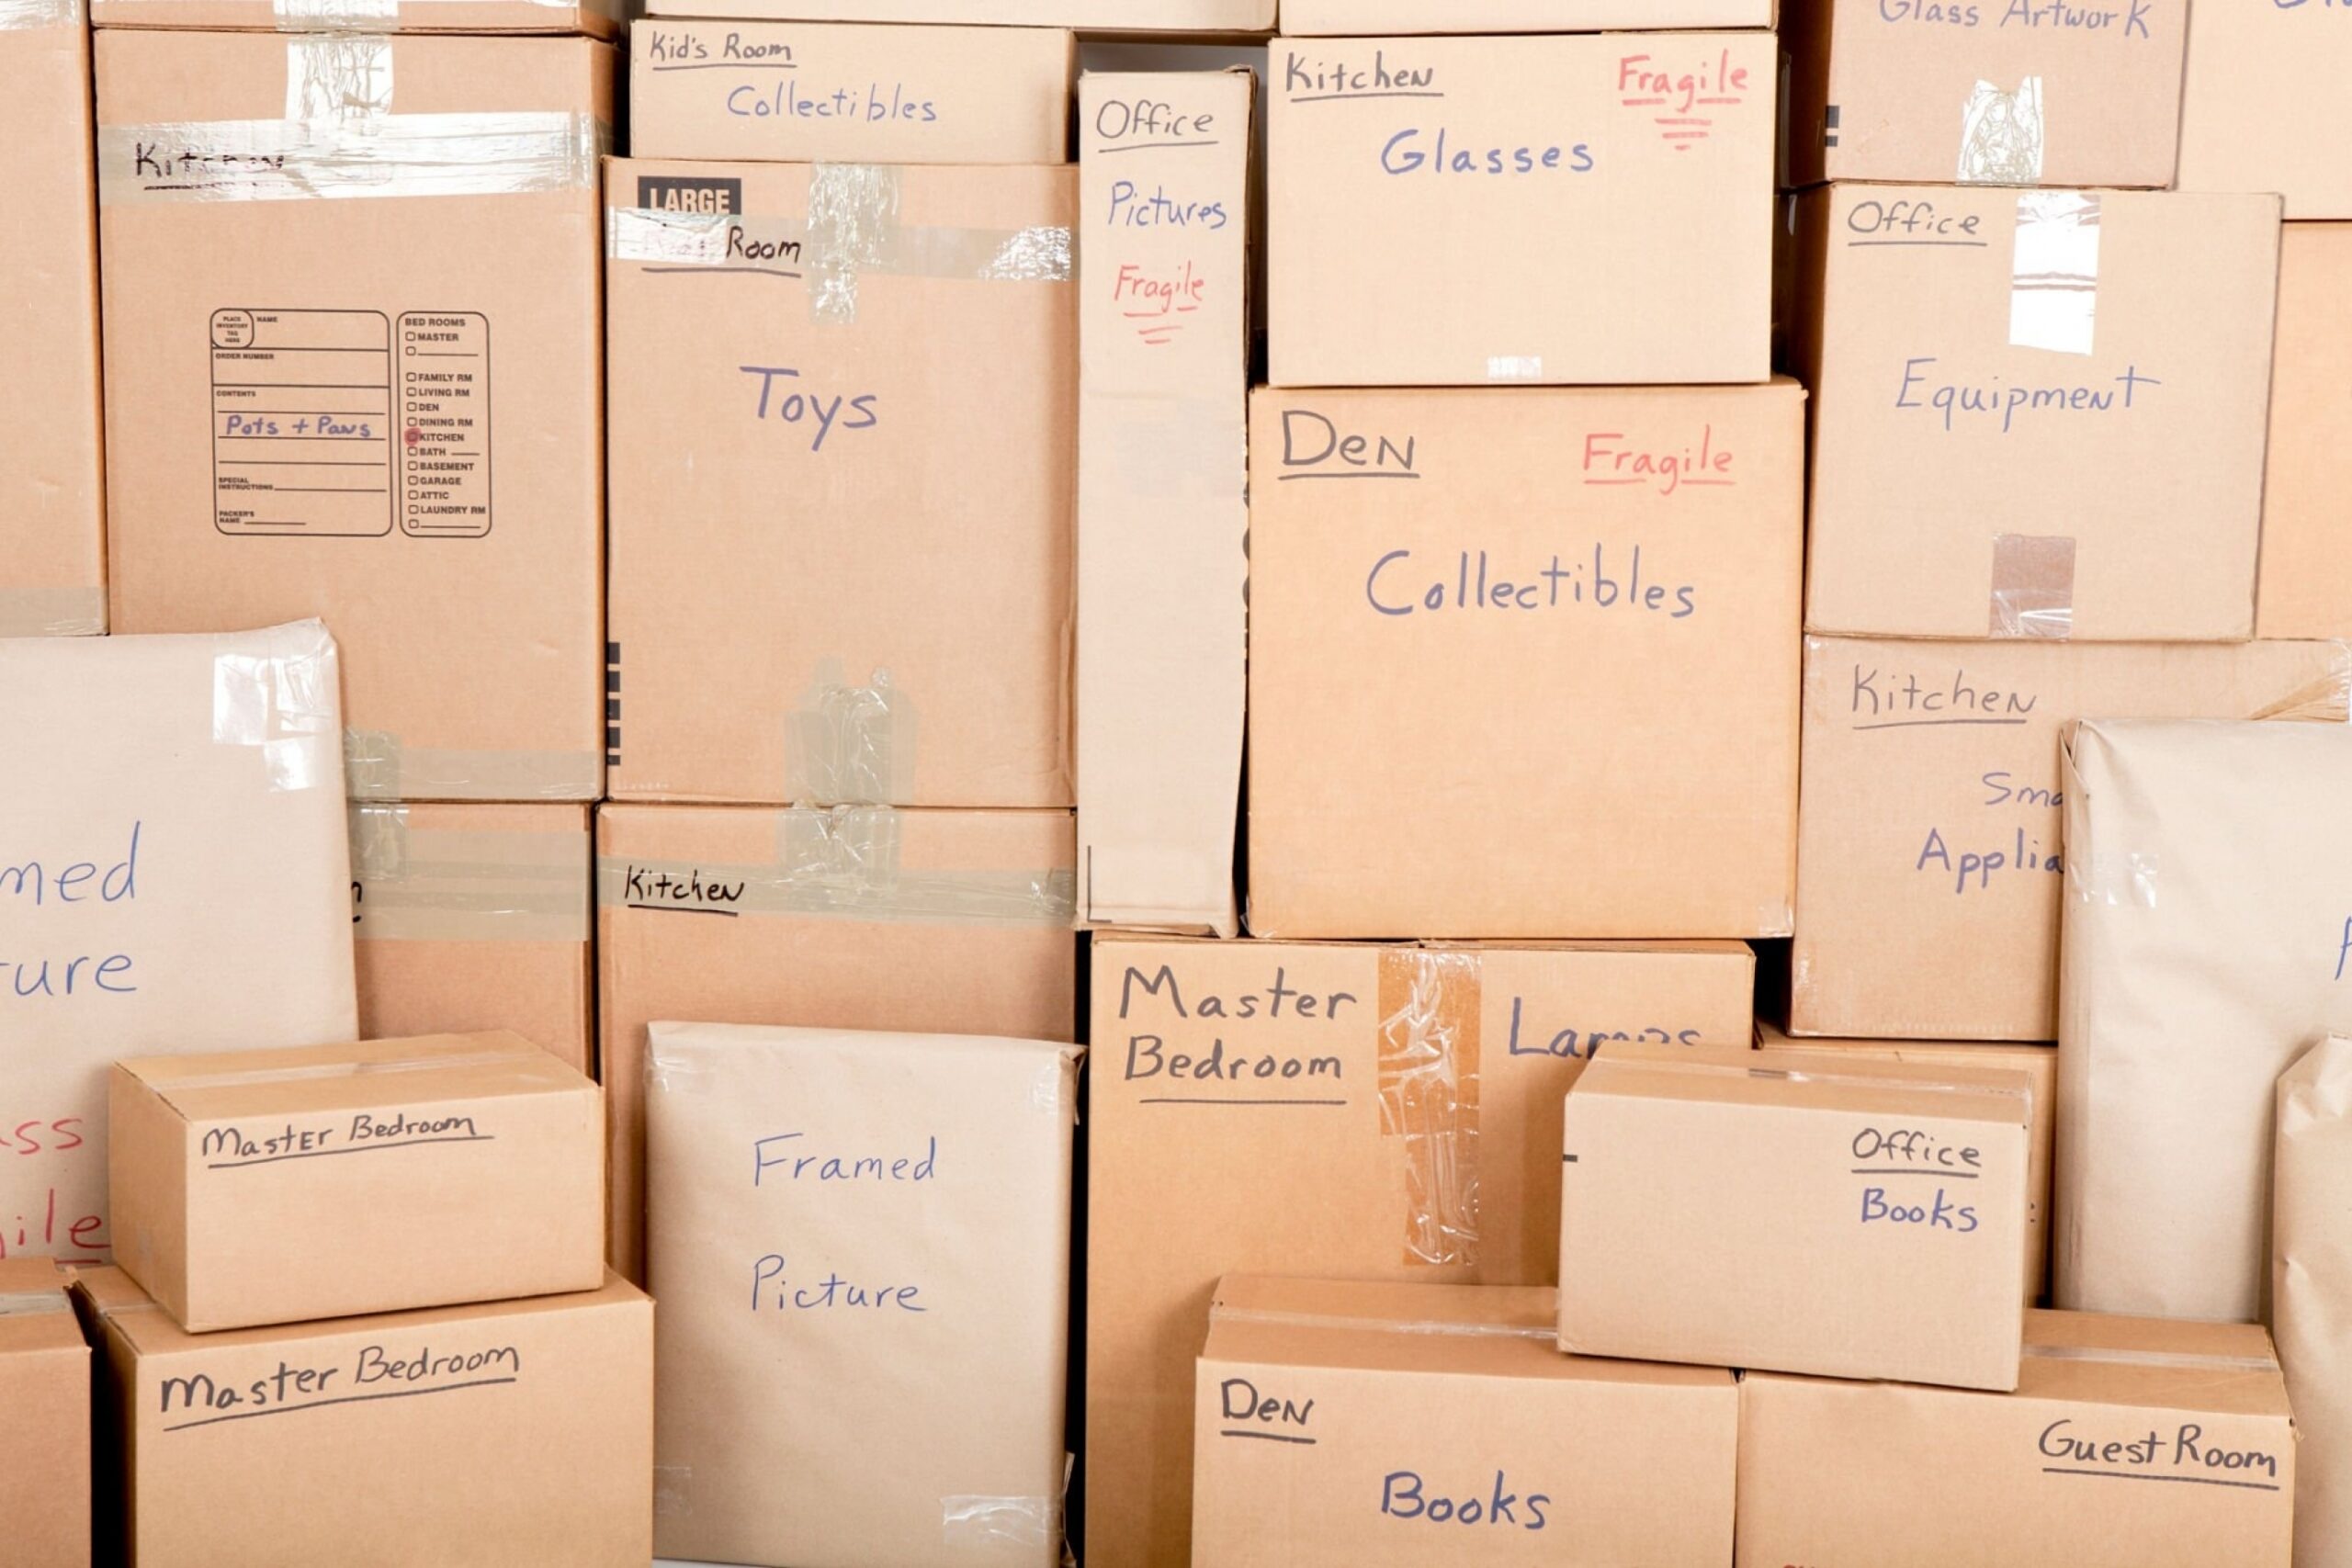
Moving boxes


This little tip should basically be a no-brainer: put labels on every box and bag you fill. Future you should have no questions as to where something is or what’s in a particular box. Label the top and sides of each box so that everything can be sorted and organized properly at any stage of the process. Make a system for packing up each room and make sure everything is labeled accurately. You should also make sure that boxes containing glass and other fragile items are clearly and obviously labeled so that there is no risk of anything breaking.


You can also simplify things by creating a color-coding or numbering system for rooms or zones within your current and new homes. Grab a set of colored stickers or markers and map out how everything can be organized and unpacked when it comes time for that. We’ll say it again: remember to save your future self a headache!


7. Know the Contents


When you’re packing your moving boxes in each room, make a note of what you’re placing in each one. We suggest having a physical list of the contents of each box so that you know exactly where everything is. You can keep track of everything best when you have a color coding system or number assigned to each box, that way you can make sure every box goes to the right room when you’re starting to unpack.


Another great reason to have a list of each box’s contents is so that if you hire a moving company, the movers know to be careful when moving your items into and out of their truck. You’ll also be able to tell if any items or whole boxes are missing after you’ve moved and be able to let the company know what you’re looking for. It is best to be prepared for anything, especially when moving.


8. Save the Essentials for Last


As you get closer and closer to moving day, you’ll probably start to notice how empty your home feels when everything is being packed away. However, not everything in the home should be tucked neatly away. Your toiletries, frozen and refrigerated food, in-season clothing, medications, and kid/pet supplies should remain unpacked until the day of the move. What would be the use of packing all your clothes away if you’re still going to need to wear them?


No one likes living out of boxes, so remember to set your daily essential items aside while you pack up everything else. We suggest having a designated space or room in which everyone can set aside some clothes, electronics, supplies, and toiletries so that everything you don’t need to pack yet is out of the way.


9. Keep Cleaning Supplies Handy


When you clear a room of everything that can be packed up and removed, you’ll likely notice how much dust and debris has accumulated. Ideally, you’ll also notice that you now have access to areas of the room that haven’t received TLC in years. Our tip is to keep your cleaning supplies and equipment unpacked and at the ready so that you’ll be able to give each room a deep clean once it’s been completely packed up.

Here are some cleaning essentials to have on hand before moving day:

  • Multi-surface cleaner
  • Glass cleaner
  • Shower/ tub cleaner
  • Cleaning rags or paper towels
  • Disinfectant spray/ wipes
  • Rubber gloves
  • Vacuum
  • Broom/ sweeper mop
  • Carpet cleaner
  • Mop


10. Make an Unpacking Plan


One of the best ways to simplify the unpacking process once you’ve transferred all of your belongings to your new space, is by having a plan. If you’re lucky enough to have access to your new home before you officially move out of your old one, you can start the unpacking process anytime you want!


Try setting goals or having an organizational motivation when you unpack, you’ll get the job done in no time. Better yet, before you unpack, make sure you have bins, shelves, and other organizational tools for around the house to keep everything looking as tidy as possible. Welcome to your new home!


Benefits


Family group of four putting hands up for success in moving in day


If you’re wondering why you should even bother putting in extra time and effort when packing for a move, allow us to resolve that. We know packing can be a pain and can often become chaotic and overwhelming, but imagine if there was no rhyme or reason for the way you packed your moving boxes. Unpacking would be just as hectic, fragile items could break during the move, sentimental family belongings could be lost, and your new home could become even more of a mess than your old one.


When you create and utilize a system for packing each room and item within your old home, you are more mindful and careful with the things you love. Moving is an opportunity to get organized and declutter down to the essentials so that you can come into your new space with a clear mind and tidy atmosphere. Take some time to throw out the old so that you can truly start fresh with the new!


FAQ


Where do I start decluttering for a move?

When you are starting to declutter your home before a move, you should always start in the room you and your family use the least so that you have a space to set aside your essential items for later. Once your essentials are out of the way, decluttering and packing each room will be easier.


What do movers move first?

Professional movers will almost always move the largest and heaviest items in the home, like furniture and appliances, first. This is to ensure that there will be space on their truck for other pieces of furniture and moving boxes.


How do I start a moving plan?

When creating a plan for moving, always start by creating a room-by-room packing checklist and set aside a budget for a moving company and packing supplies. You’ll also want to start decluttering every room of your home as early as possible so that you’ll only be packing necessities.


What order should you move stuff in?

When moving, you should move your larger furniture and appliances first, followed by smaller and non-essential items. If you aren’t bringing appliances, you should still ensure that your larger furniture is loaded onto the moving truck first so that there is room for smaller furniture and boxes later on.


What should you not do when moving?

The most important things you should never do is not allow yourself enough time to pack properly and not packing with care or purpose. Packing moving boxes is a very important part of the moving process and can even make or break the whole moving experience.


woman moving into a new apartment


Are you planning and packing for a big move soon? What kind of packing and planning tips have you come across and would like to share? Tell us about your tips and tricks in the comments below, we love hearing from our readers and clients!


If you’re looking for more helpful guides for around the house, or if you’re in the market for a move-out or move-in cleaning for your home, new or old, we’ve got you covered! Check out www.cleanzen.com/chicago to read more from our cleaning and lifestyle blog or to browse our selection of cleaning services. Contact us today to see how we can help you out around the house!

The post 10 Genius Tips for Packing for Your Move appeared first on Cleanzen.

from Cleanzen https://cleanzen.com/blog/how-to-organize-your-move/
via IFTTT

from Cleanzen Cleaning Services https://cleanzencleaningservices0.blogspot.com/2023/02/10-genius-tips-for-packing-for-your-move.html
via IFTTT

from
https://cleanzencleaningservices0.wordpress.com/2023/02/22/10-genius-tips-for-packing-for-your-move/

from Gabriela Bragg https://gabrielabragg.blogspot.com/2023/02/10-genius-tips-for-packing-for-your-move.html
via IFTTT

from Gabriela Bragg https://gabrielabragg.wordpress.com/2023/02/22/10-genius-tips-for-packing-for-your-move/
via IFTTT

from Emilio Butler https://emiliobutler.blogspot.com/2023/02/10-genius-tips-for-packing-for-your-move.html
via IFTTT

from
https://emiliobutler.wordpress.com/2023/02/23/10-genius-tips-for-packing-for-your-move/

from Cindy Roberts https://cindyroberts0.blogspot.com/2023/02/10-genius-tips-for-packing-for-your-move.html
via IFTTT


from
https://cindyroberts00.wordpress.com/2023/02/23/10-genius-tips-for-packing-for-your-move/

Wednesday, 15 February 2023

Speed Clean your Home in 20 Minutes (Daily Cleaning Guide)

Cleaning up around the house can be time consuming and tedious, especially when you do it all in one day. What if we told you that there was a better way to tidy? All you have to do is break down your usual checklist into different days and you’ll be able to get more done in less time each day. We’ve put together a handy cleaning guide to help you figure out how to break up your cleaning tasks for the week, all you have to do is tailor it to fit your home and your schedule.

Every Day


While breaking most of your to-do list into smaller lists for different days is the best way to make cleaning more manageable, there are still things you’ll want to take care of every day. These are the tasks around the house that you’ll want to make sure you tackle every day:

  • Wipe down countertops and high-touch surfaces
  • Do the dishes after each meal
  • Sweep or vacuum around the kitchen and high-traffic areas
  • Make the beds in every bedroom
  • Put everything where it belongs
  • Clean the kitchen table after each meal
  • Use a squeegee or cloth to remove water after a shower or bath
  • Clean spills and sticky spots

For the remaining tasks on your regular checklist, we can break them down and assign a set of tasks to each day of the week. You’ll want to try and keep your daily cleaning tasks simple and manageable each day so that you aren’t taking up too much of your time each day. You can follow our basic guide below, and use it to help you create your own daily checklist for the week.


Monday


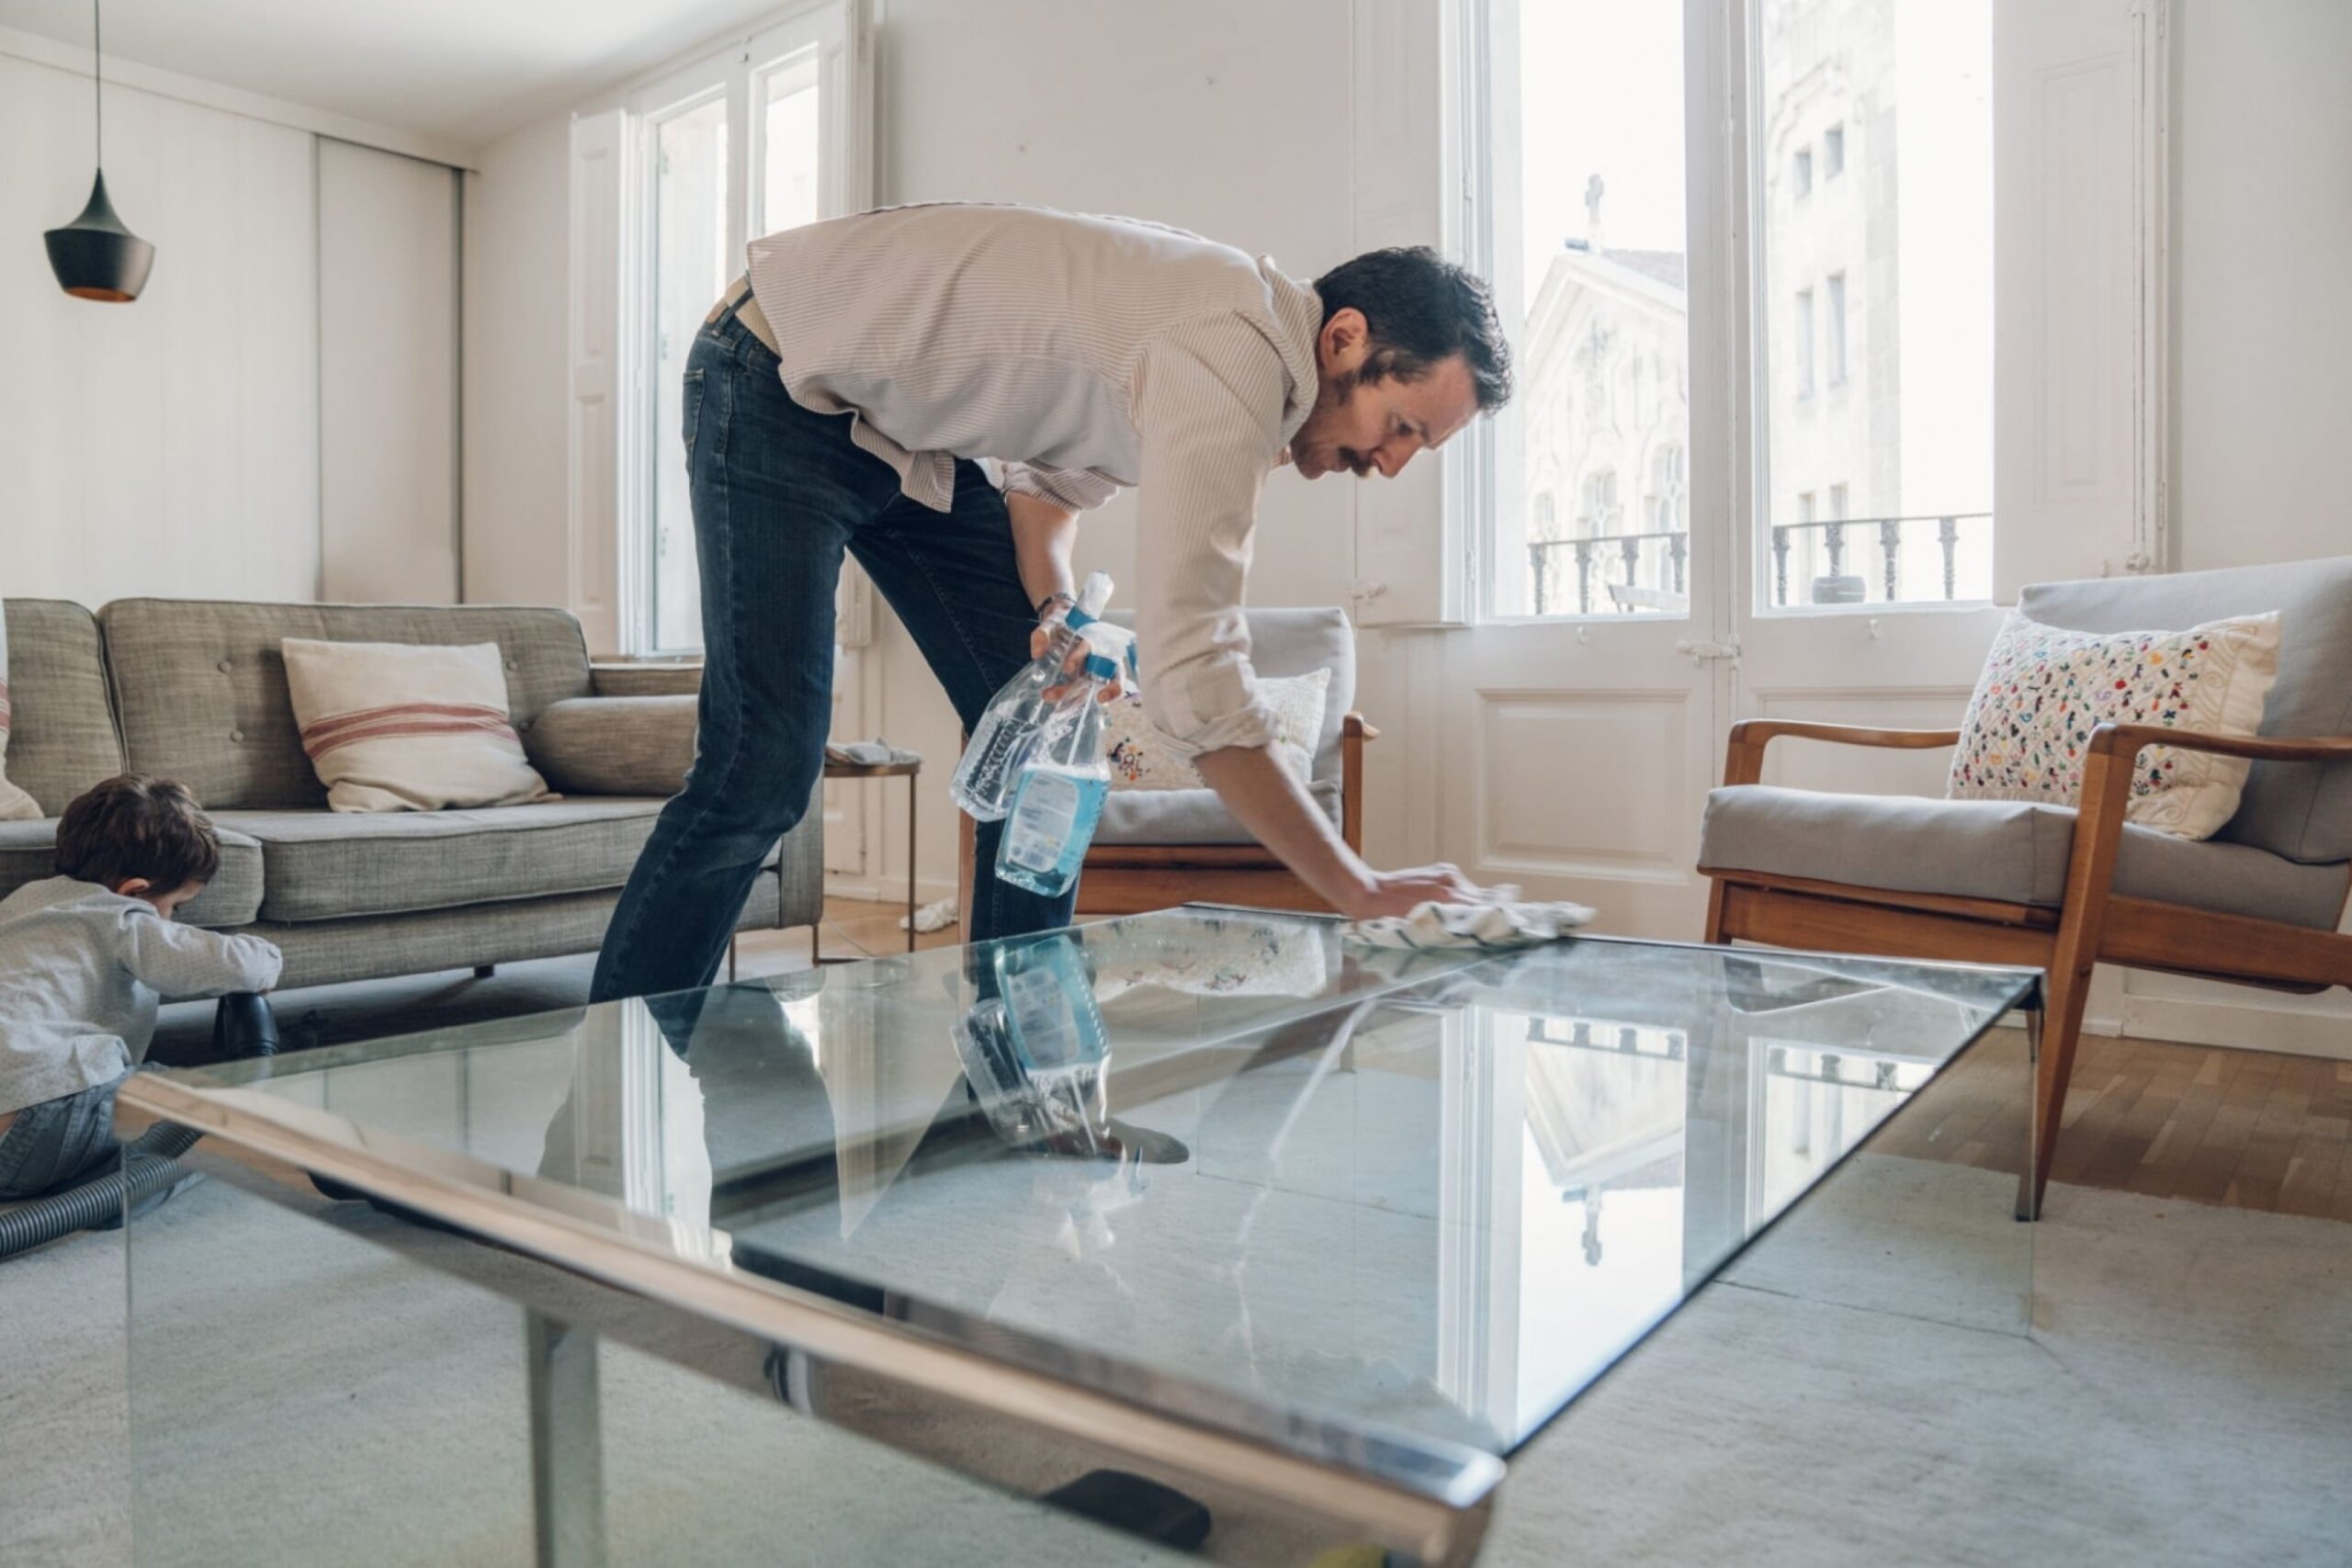
Man cleaning table on living room


On Mondays, you can keep things simple and make sure your home is tidy and ready for the week ahead. Try sticking to these tasks:

  • Dust around the living room, from ceilings to baseboards
  • Clean glass surfaces and mirrors
  • Load and run the dishwasher
  • Pick up clothing and do laundry for the week.


Tuesday


On Tuesdays, you can tackle some of the crud and clutter from around the house.

  • Declutter and throw away expired food
  • Empty trashcans around the house
  • Clean the sinks and toilets
  • Mop or vacuum all the floors and carpets


Wednesday


woman carrying a pile of towels while doing laundry at home


Wednesdays are great for mid-week tidying and making sure everyone in the home knows to keep it clean.

  • Dust and wipe down cabinets
  • Organize the paper clutter around the house (bills, mail, cards, etc.)
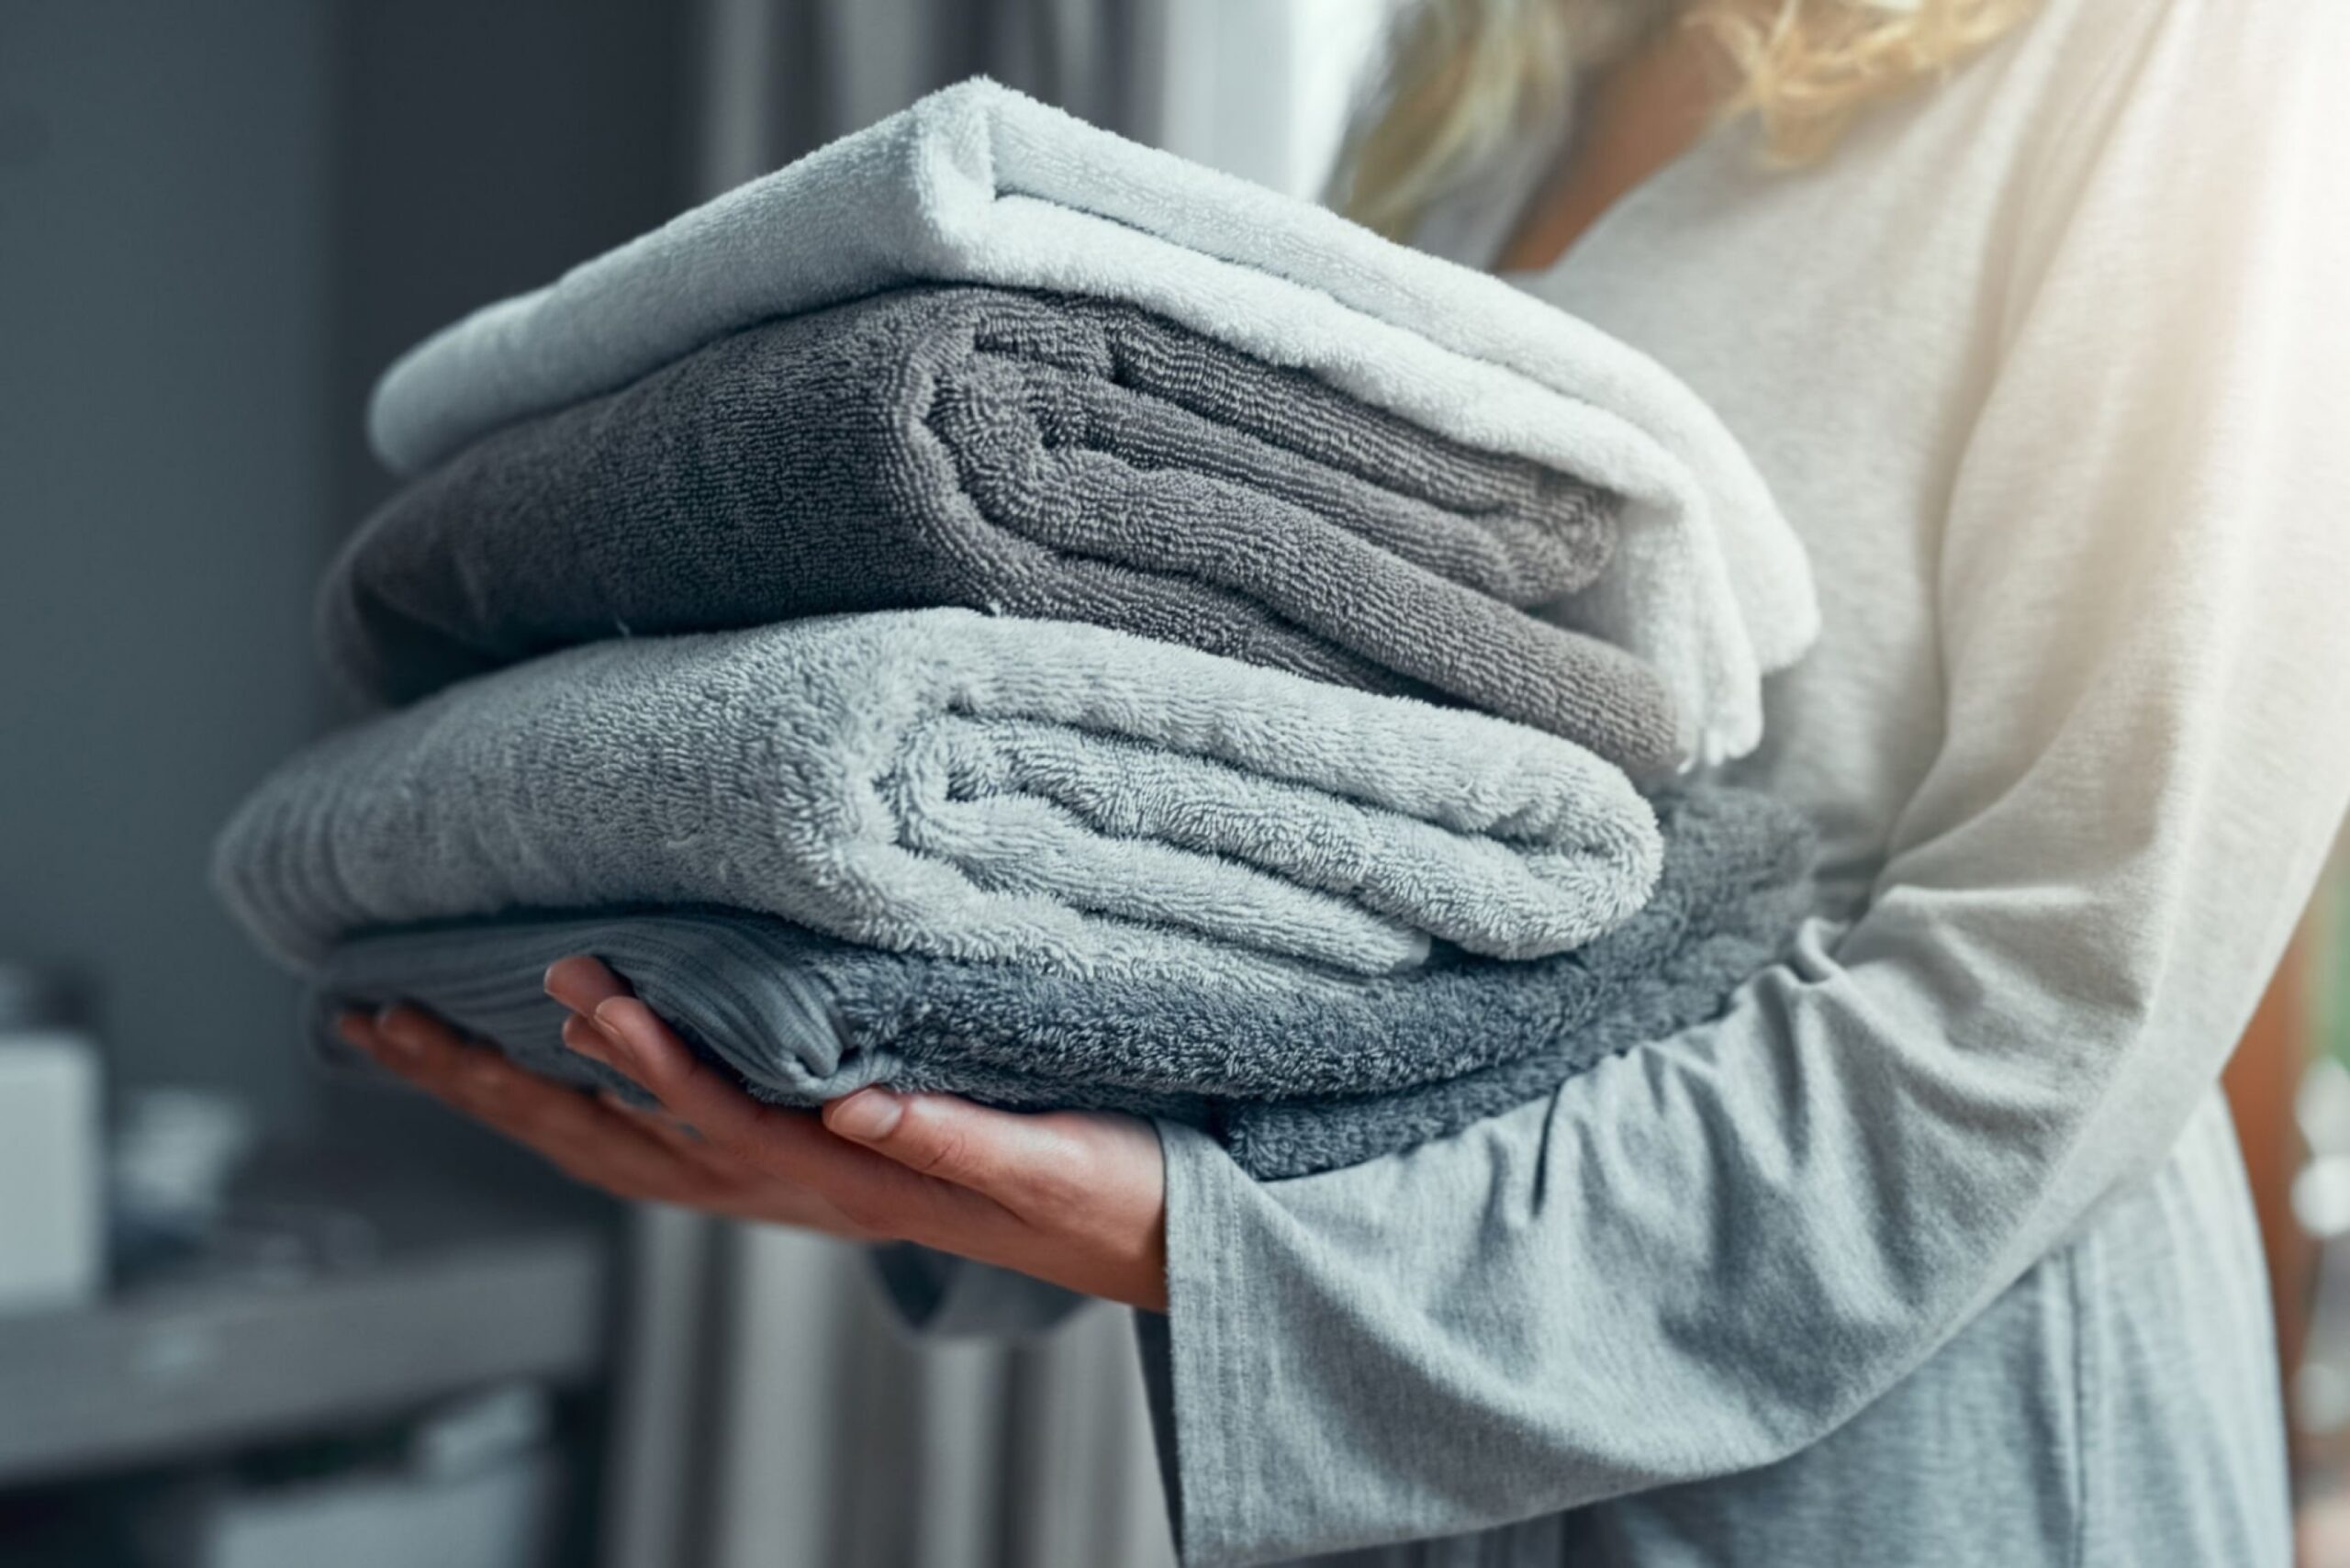
  • Wash and fold/ rehang towels
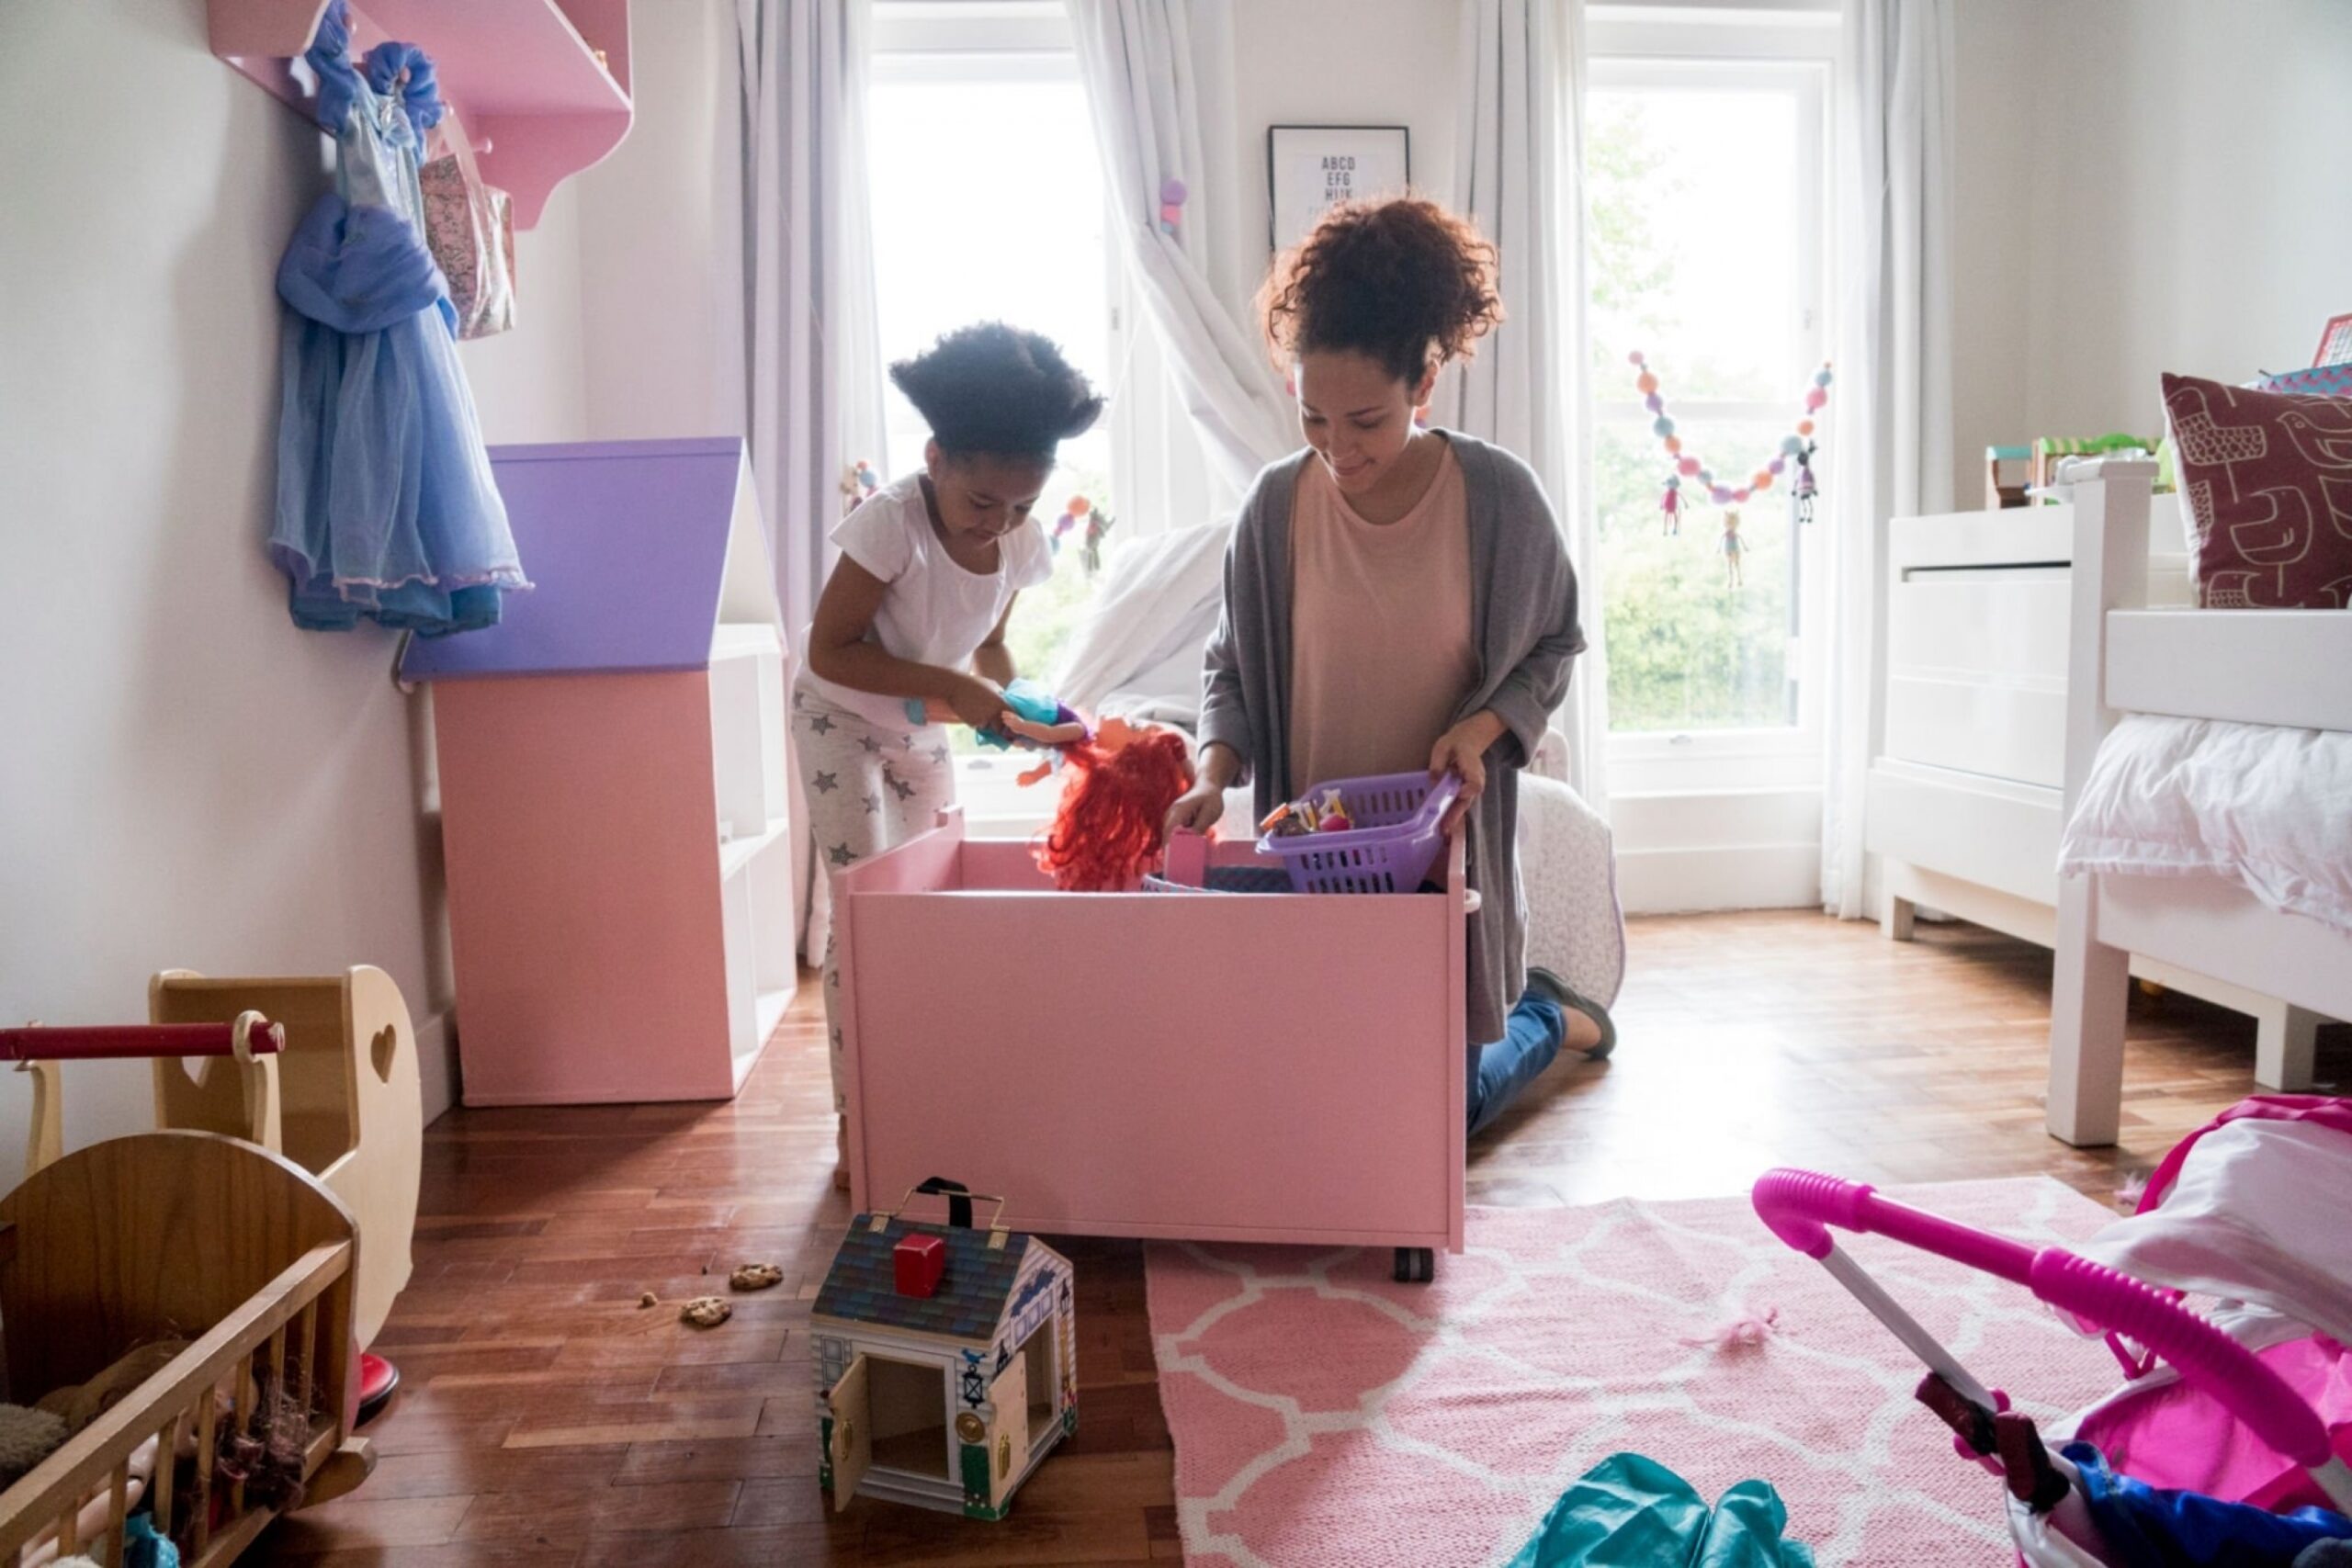
  • Pick up kids’/pets’ toys from around the house and put them away


Thursday


On Thursdays you can make sure both the inside and outside of the home look their best and get some attention.

  • Clean in and around the microwave
  • Fold up and put away/reset throw blankets and pillows in the living room
  • Clean the shower or tub
  • Tidy up around the garage and front porch


Friday


Woman Removes Trash Bag From Can


Finally, Fridays are perfect for making sure the house is ready for the weekend and for potential guests or just resetting for the next week ahead.

  • Organize the fridge and pantry
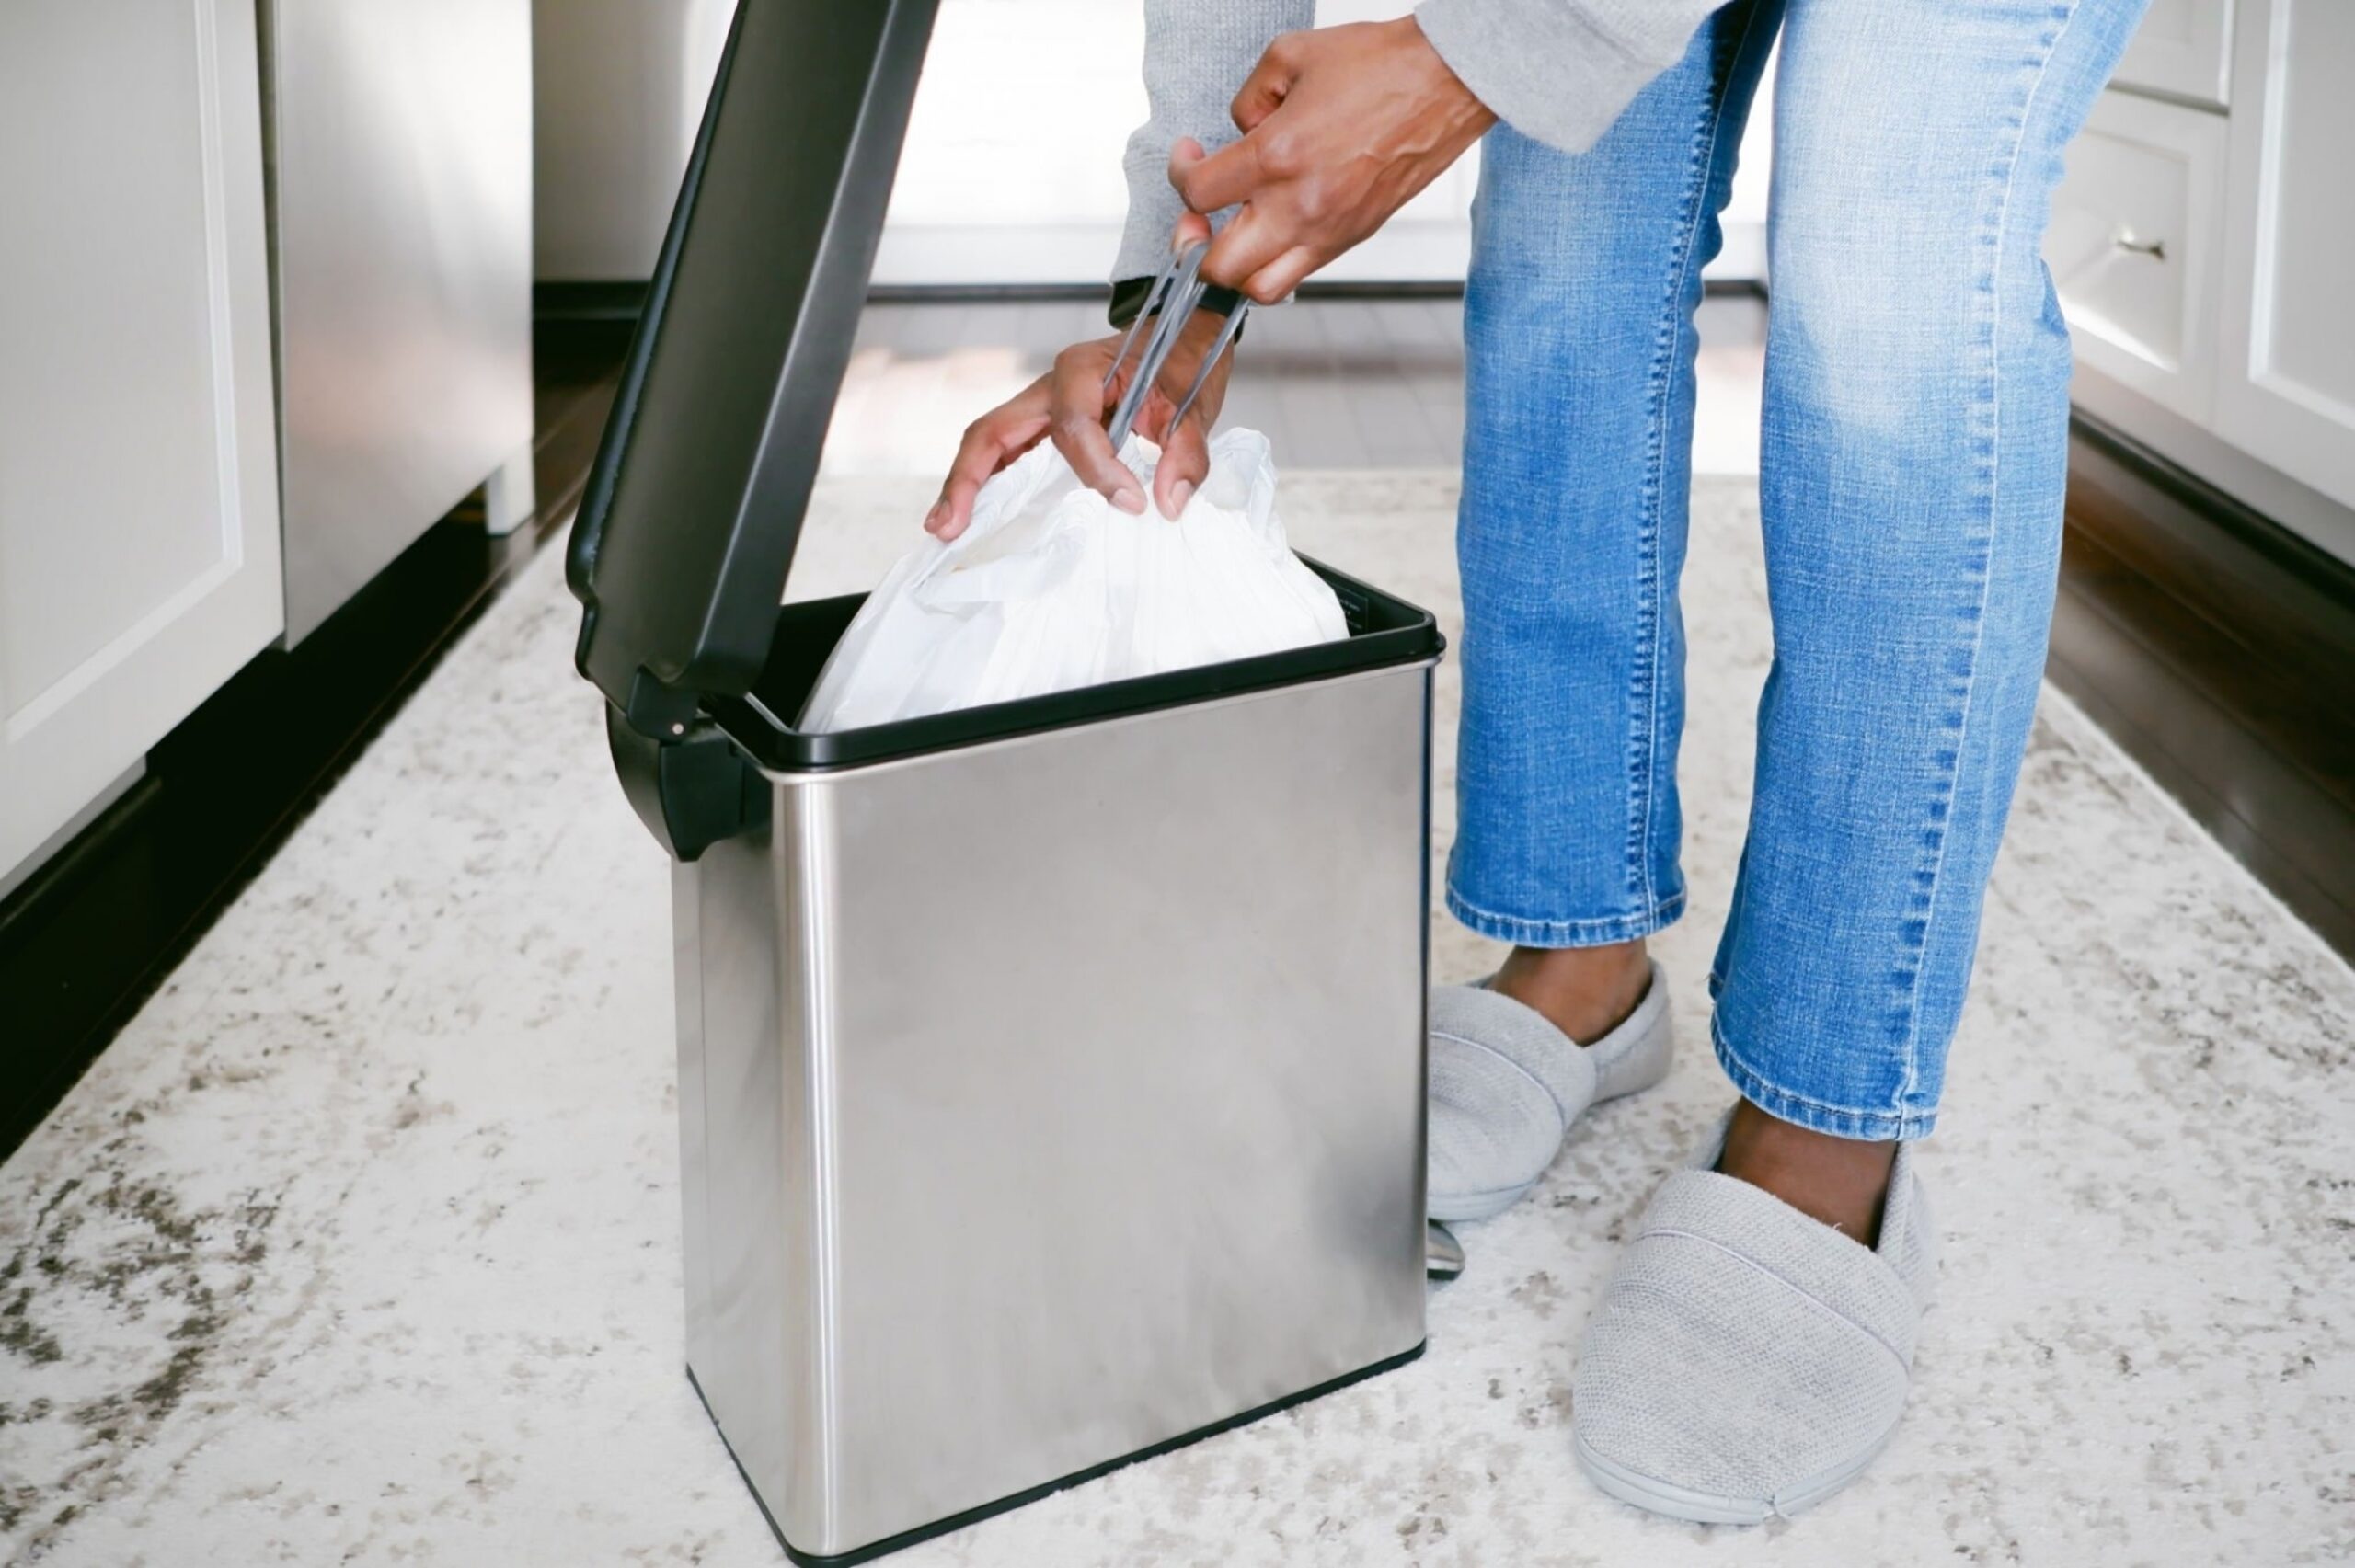
  • Take out the trash from around the house for the week
  • Wash and refresh bathmats and curtains
  • Sanitize and disinfect high-touch items (phones, remote lights, etc.)


Don’t Forget Deep Cleans


When you need to give your home a little extra care and attention throughout the week, that’s okay. Every home is different and some may require more upkeep and care than others. Here are a few more in-depth cleaning tasks you can add to your daily routine when you need a deeper clean:

  • Get rid of musty smells in the dishwasher and washing machine by cleaning them
  • Empty out the fridge and freezer and clean the shelves and drawers
  • Move and clean under large furniture
  • Clean and degrease the inside of the oven and your range hood
  • Clean and descale hot water kettles and coffee makers
  • Wash your bedding and deodorize the mattress
  • Check and clear the house’s gutters
  • Wash and clean the windows
  • Clean outdoor furniture and cooking surfaces


Quick Tips and Tricks


Mother and daughter picking up toys from container


Now that you have a general idea of how you can create your daily cleaning checklist for you home, you’re well on your way to living clean. But how can you further simplify the cleaning process around the house? Allow us to offer some of our favorite tips and tricks for keeping cleaning easy each week:

  • Keep cleaning supplies in the bathrooms for easier access
  • Clean up as you cook
  • Have laundry baskets handy in bathrooms and or bedrooms
  • Stick to a no-shoes policy to minimize dirt and mud around the house
  • Keep clutter off kitchen counters
  • Take the extra minute to put things away when you’re finished with them
  • Put away and hang clothes as soon as they’re clean
  • Multitask as much as possible when cleaning
  • Teach kids to put their toys away when they’re done playing
  • Consider investing in tools like a robot vacuum or self-cleaning litter box
  • Have shower cleaner at the ready when you’re done bathing


FAQ


What is a house cleaning checklist?

A house cleaning checklist is a wonderful and effective way to keep tasks organized and clear when cleaning up around the house. It is also a great way to get everyone involved by dividing tasks by room or by difficulty so that even kids can help out.


How do I make a daily cleaning checklist?

You can create your own daily cleaning checklist by looking around each room to see what needs to be done, writing them down in a list, and then dividing tasks by frequency, how long they’ll take to finish, or by family member.


What is the 20-10 method of cleaning?

You can follow the 20-10 method, created by Rachel Hoffman, by working on your cleaning tasks for 20 minutes and then taking a 10 minute break before starting your next set of tasks. This is a great way to stay motivated and focused on cleaning when you have a lot to tackle.


How can I clean my room in 15 minutes?

The best way to clean up any room in 15 minutes is by picking up clothes, putting items back where they belong, gathering bits of trash, resetting pillows and blankets or making the bed, wiping down surfaces, and sweeping or vacuuming. A quick 15 minute tidy is a good way to make sure your home looks more presentable and ready for potential guests.


What are the 8 steps in cleaning?


Mother with her little daughter is indoors at home together


The 8 steps you can follow for cleaning any room are:

  • Have all your tools and supplies ready
  • Tackle the clutter
  • Dust and vacuum from top to bottom
  • Wipe down surfaces and clean glass an mirrors
  • Disinfect high-touch surfaces and items
  • Scrub toilets, sinks, and tubs
  • Sweep and mop in that order
  • Make sure everything is in its proper place


How do I clean my whole house?

To clean your whole house, work efficiently by starting with bathrooms, then the kitchen, hallways and entries, the living room, and finally bedrooms. You’ll also want to make sure to clean the home and each room from top to bottom to ensure that there is no residual dust and debris after you’ve finished.


How can I clean my house in 10 minutes?

If you’re in a hurry and need to clean your whole home in 10 minutes, here is what you should prioritize:

  • Clear and wipe kitchen and bathroom counters
  • Dust lights, shelves, baseboards and other clear surfaces
  • Spray or apply cleaner to showers/tubs and toilets and allow it to soak while you clean the sinks and mirrors.
  • If you have time, do a sweep or vacuum around the entryways and carpets.


We hope this little guide helps you keep your home looking and feeling tidier throughout the week. Remember that you can change and organize your list however you need to so that it fits your home and schedule. How does your checklist look? What kinds of cleaning tasks do you include in your daily cleaning routine? Share your routine and even your best tips and tricks with us in the comments below, we love to see how you stay tidy!


For more cleaning tips and to find out how we can help you around the house, check out our homepage. You’ll be able to find out what services we offer, schedule an appointment or book our cleaning services, and even read through our blog to see how you can keep your home looking and feeling amazing on your own. Contact us today to find out how we can help!

The post Speed Clean your Home in 20 Minutes (Daily Cleaning Guide) appeared first on Cleanzen.

from Cleanzen https://cleanzen.com/blog/daily-cleaning-checklist/
via IFTTT

from Cleanzen Cleaning Services https://cleanzencleaningservices0.blogspot.com/2023/02/speed-clean-your-home-in-20-minutes.html
via IFTTT

from
https://cleanzencleaningservices0.wordpress.com/2023/02/15/speed-clean-your-home-in-20-minutes-daily-cleaning-guide/

from Gabriela Bragg https://gabrielabragg.blogspot.com/2023/02/speed-clean-your-home-in-20-minutes.html
via IFTTT

from Gabriela Bragg https://gabrielabragg.wordpress.com/2023/02/16/speed-clean-your-home-in-20-minutes-daily-cleaning-guide/
via IFTTT

from Emilio Butler https://emiliobutler.blogspot.com/2023/02/speed-clean-your-home-in-20-minutes.html
via IFTTT

from
https://emiliobutler.wordpress.com/2023/02/16/speed-clean-your-home-in-20-minutes-daily-cleaning-guide/

from Cindy Roberts https://cindyroberts0.blogspot.com/2023/02/speed-clean-your-home-in-20-minutes.html
via IFTTT


from
https://cindyroberts00.wordpress.com/2023/02/16/speed-clean-your-home-in-20-minutes-daily-cleaning-guide/

Wednesday, 8 February 2023

The Ultimate Guide to Cleaning Your Windows

Cleaning windows can be a struggle, especially when it’s time to finally clean the outside. We know window cleaning is almost nobody’s favorite chore, but there’s no reason it should be more complicated than it is. To help keep window cleaning simple, here is our guide to cleaning your home’s windows, inside and out, like a professional.

Get the Windows Ready for Cleaning


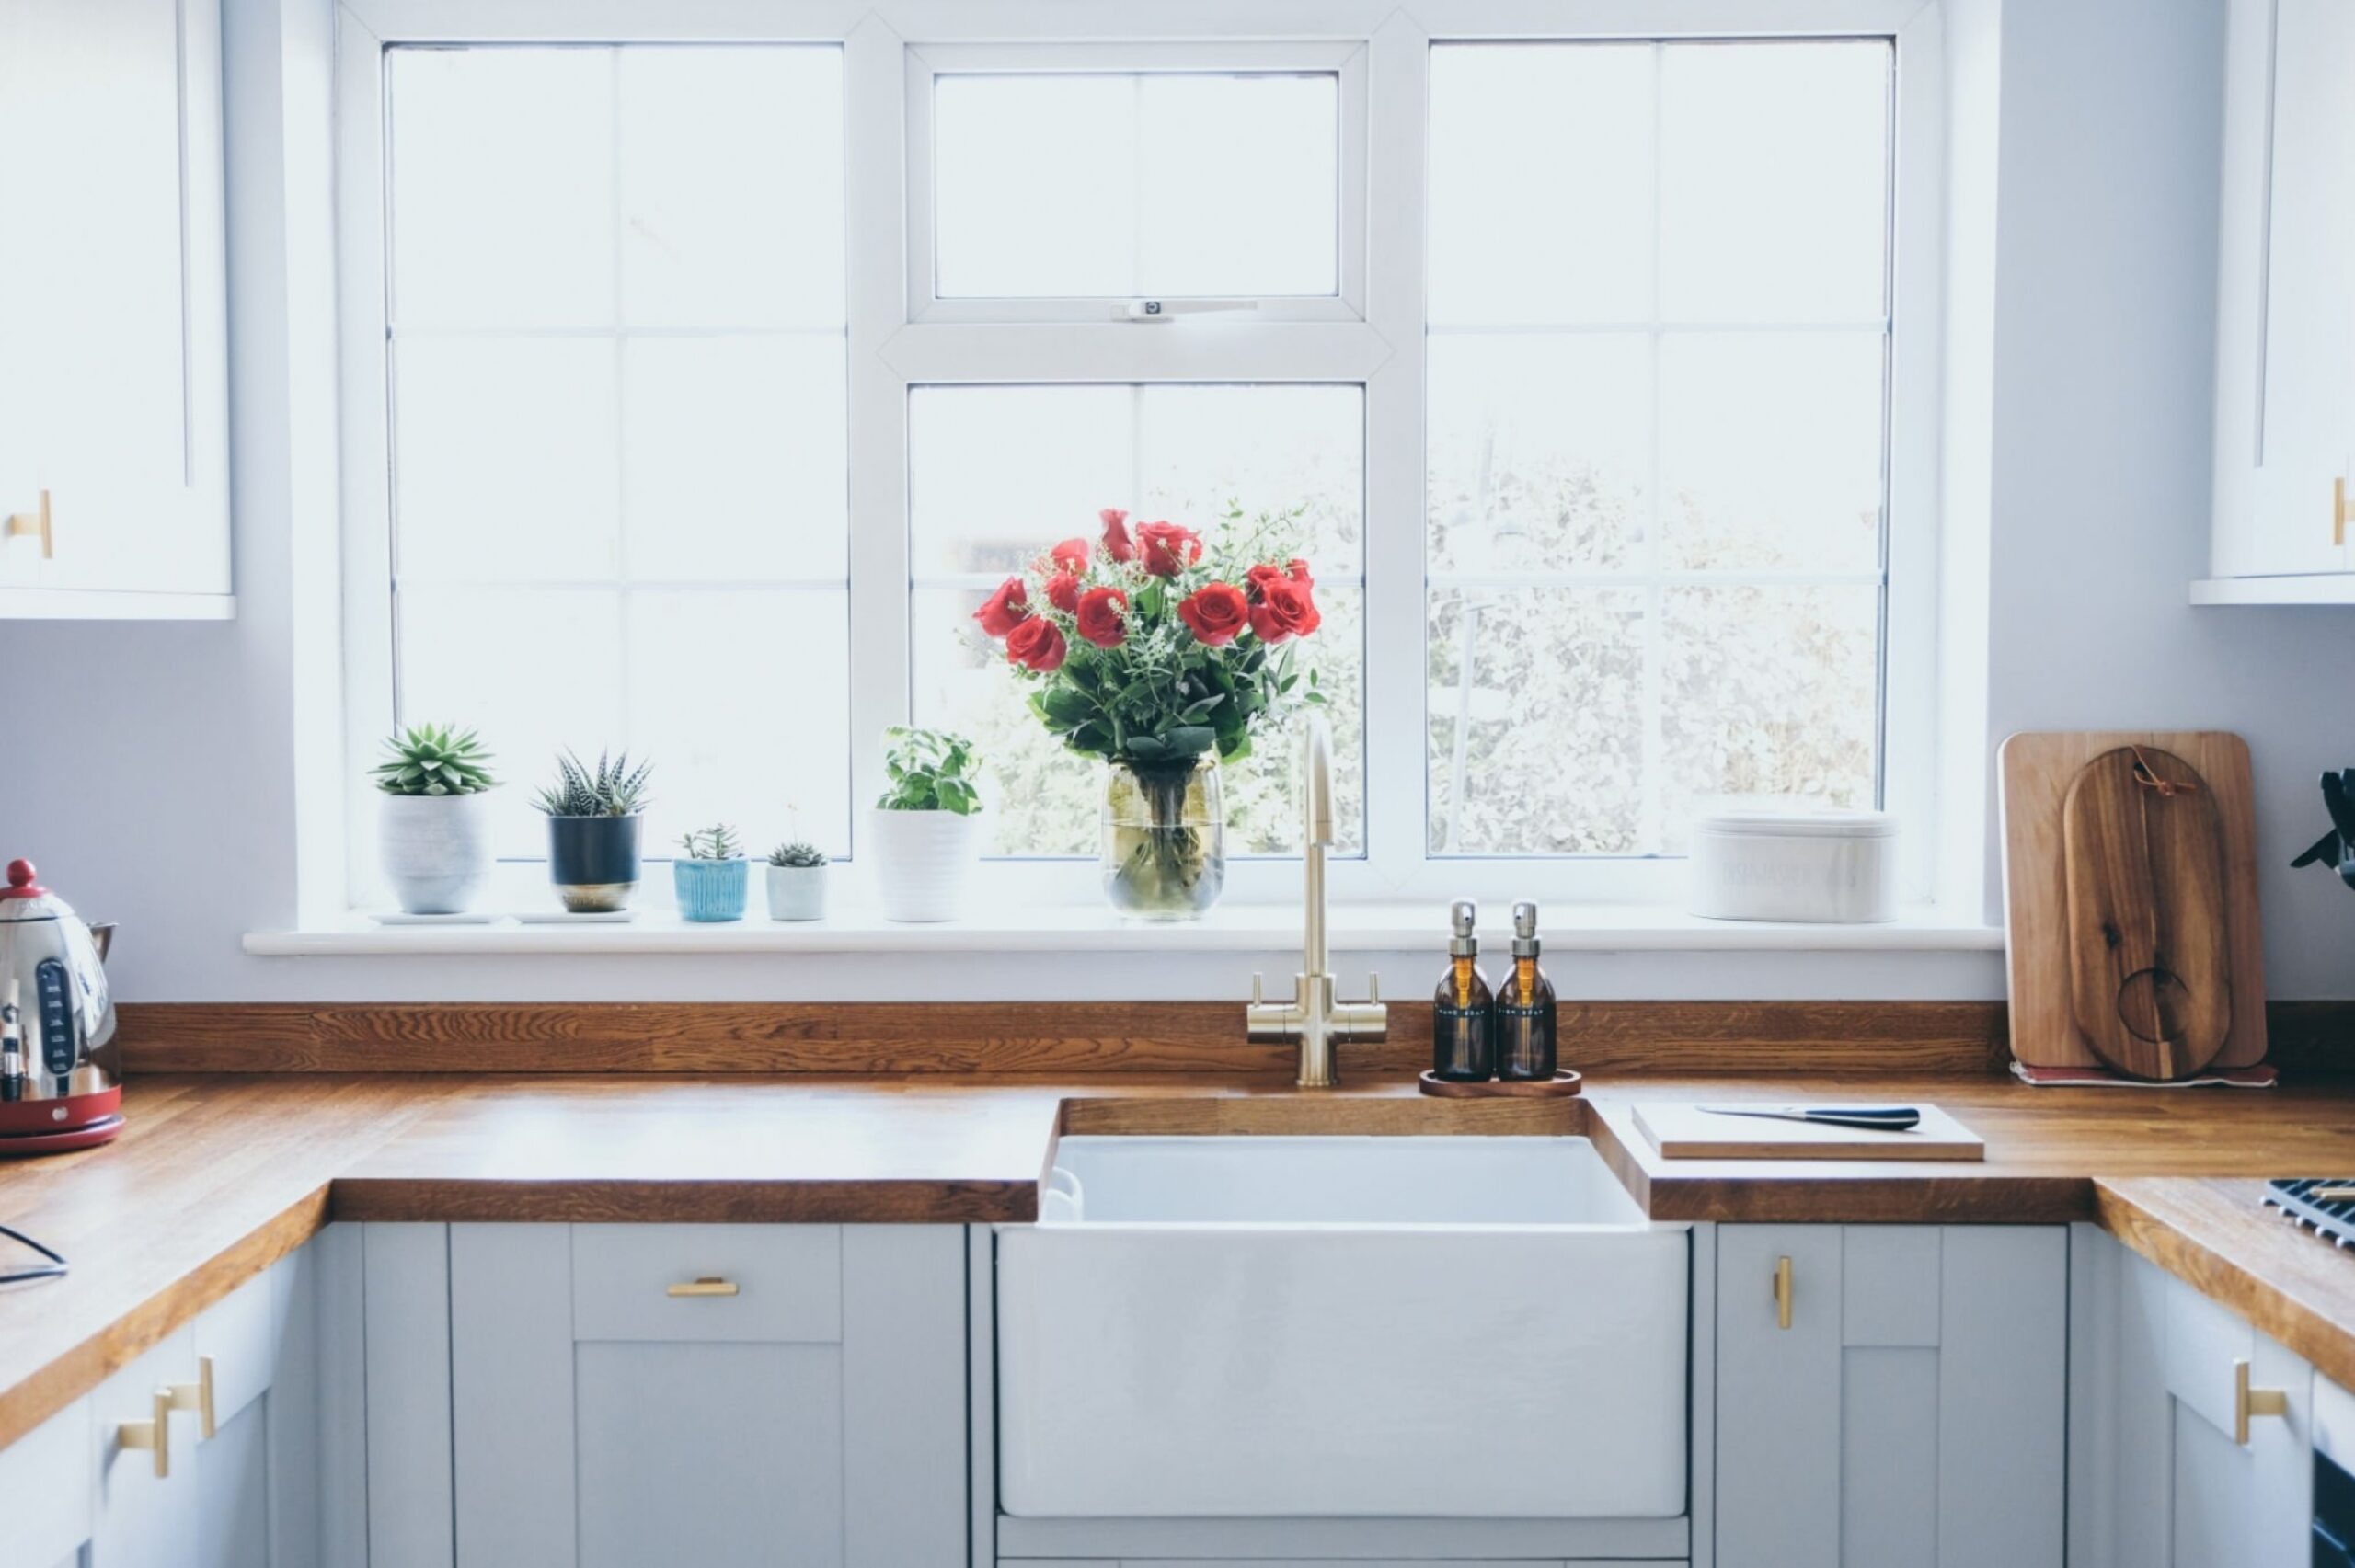
Modern domestic kitchen with succulent plants, herbs and roses on window sill


Before you start, you should ensure you and your home are prepped and ready for cleaning. Since you’ll be using cleaning products and water, you’ll need to protect the areas around your windows. Here are a few things to keep in mind when prepping:

  • Lay a towel down under the window you’ll be focusing on, and make sure you have a few extras on hand just in case.
  • Remove any dust and loose debris from around the windows with a vacuum or by wiping down the area with a damp cloth.
  • Pull up any blinds on the windows and give those a good dusting to keep them from redistributing debris on the newly cleaned windows later.
  • Move any curtains out of the way. Shake them out outside and maybe toss them in the wash or a quick tumble in the dryer if they are fabric.
  • If your windows have removable screens, you’ll want to get those out of the way. Make sure to label them so that you can put them back correctly. It could also be a good idea to rinse the
  • screens with a hose and allow them to dry in the open air before replacing them.
  • Have all your cleaning supplies ready. You’ll need: Microfiber cloths (Note: We don’t recommend paper towels or newspapers as these are more likely to leave streaks, haze, and lint on the glass.), a squeegee, a spray bottle, glass cleaner or cleaning solution of choice and water.


DIY Window Cleaner


If you’ve tried just about every glass cleaning product available and haven’t found one that works, you most likely have the solution at your fingertips. Here are some of our favorite DIY window and glass cleaning solutions:


1. Vinegar

This method is our best recommendation, and it’s super simple! All you’ll need is white distilled vinegar and some water, plus your spray bottle. In the spray bottle, combine 1 part vinegar with 2 parts water and then shake it gently to mix it together. The acidity of the vinegar is what makes this so effective as a glass cleaner, plus it can kill bacteria and cut through tough grime. We told you this method was easy!


2. Lemon Juice


Lemon squeezer and lemon juice on kitchen table.


If you don’t like using (or smelling) vinegar around the house, that’s okay. We know vinegar can be pretty strong and harsh on the nose, so here’s your solution. All you have to do for this DIY method is replace vinegar from the previous recipe with lemon juice. The acidity of the lemon juice is a bit stronger than vinegar, but it is just as effective and definitely smells better. Who doesn’t appreciate their home smelling lemony-fresh after cleaning?


3. Dish Soap

There are a few ways you can incorporate dish soap into DIY cleaning solutions. You can easily use it on its own by adding a few drops to some clean water, giving you an effective window cleaner. Another effective way to use dish soap is by adding a drop or two to either of the previous recipes for a pretty powerful cleaning boost.


4. Tea Tree Essential Oil

Another way to combat the scent of chemicals or vinegar is by adding essential oils to your DIY recipes. Our favorite essential oil to use is tea tree because not only does it smell amazing, but it also fights against bacteria and helps prevent mold growth. You only need to add a few drops to your DIY cleaner to see the difference, so we suggest using essential oil with our favorite vinegar method for the ultimate cleaning solution.


Cleaning Inside


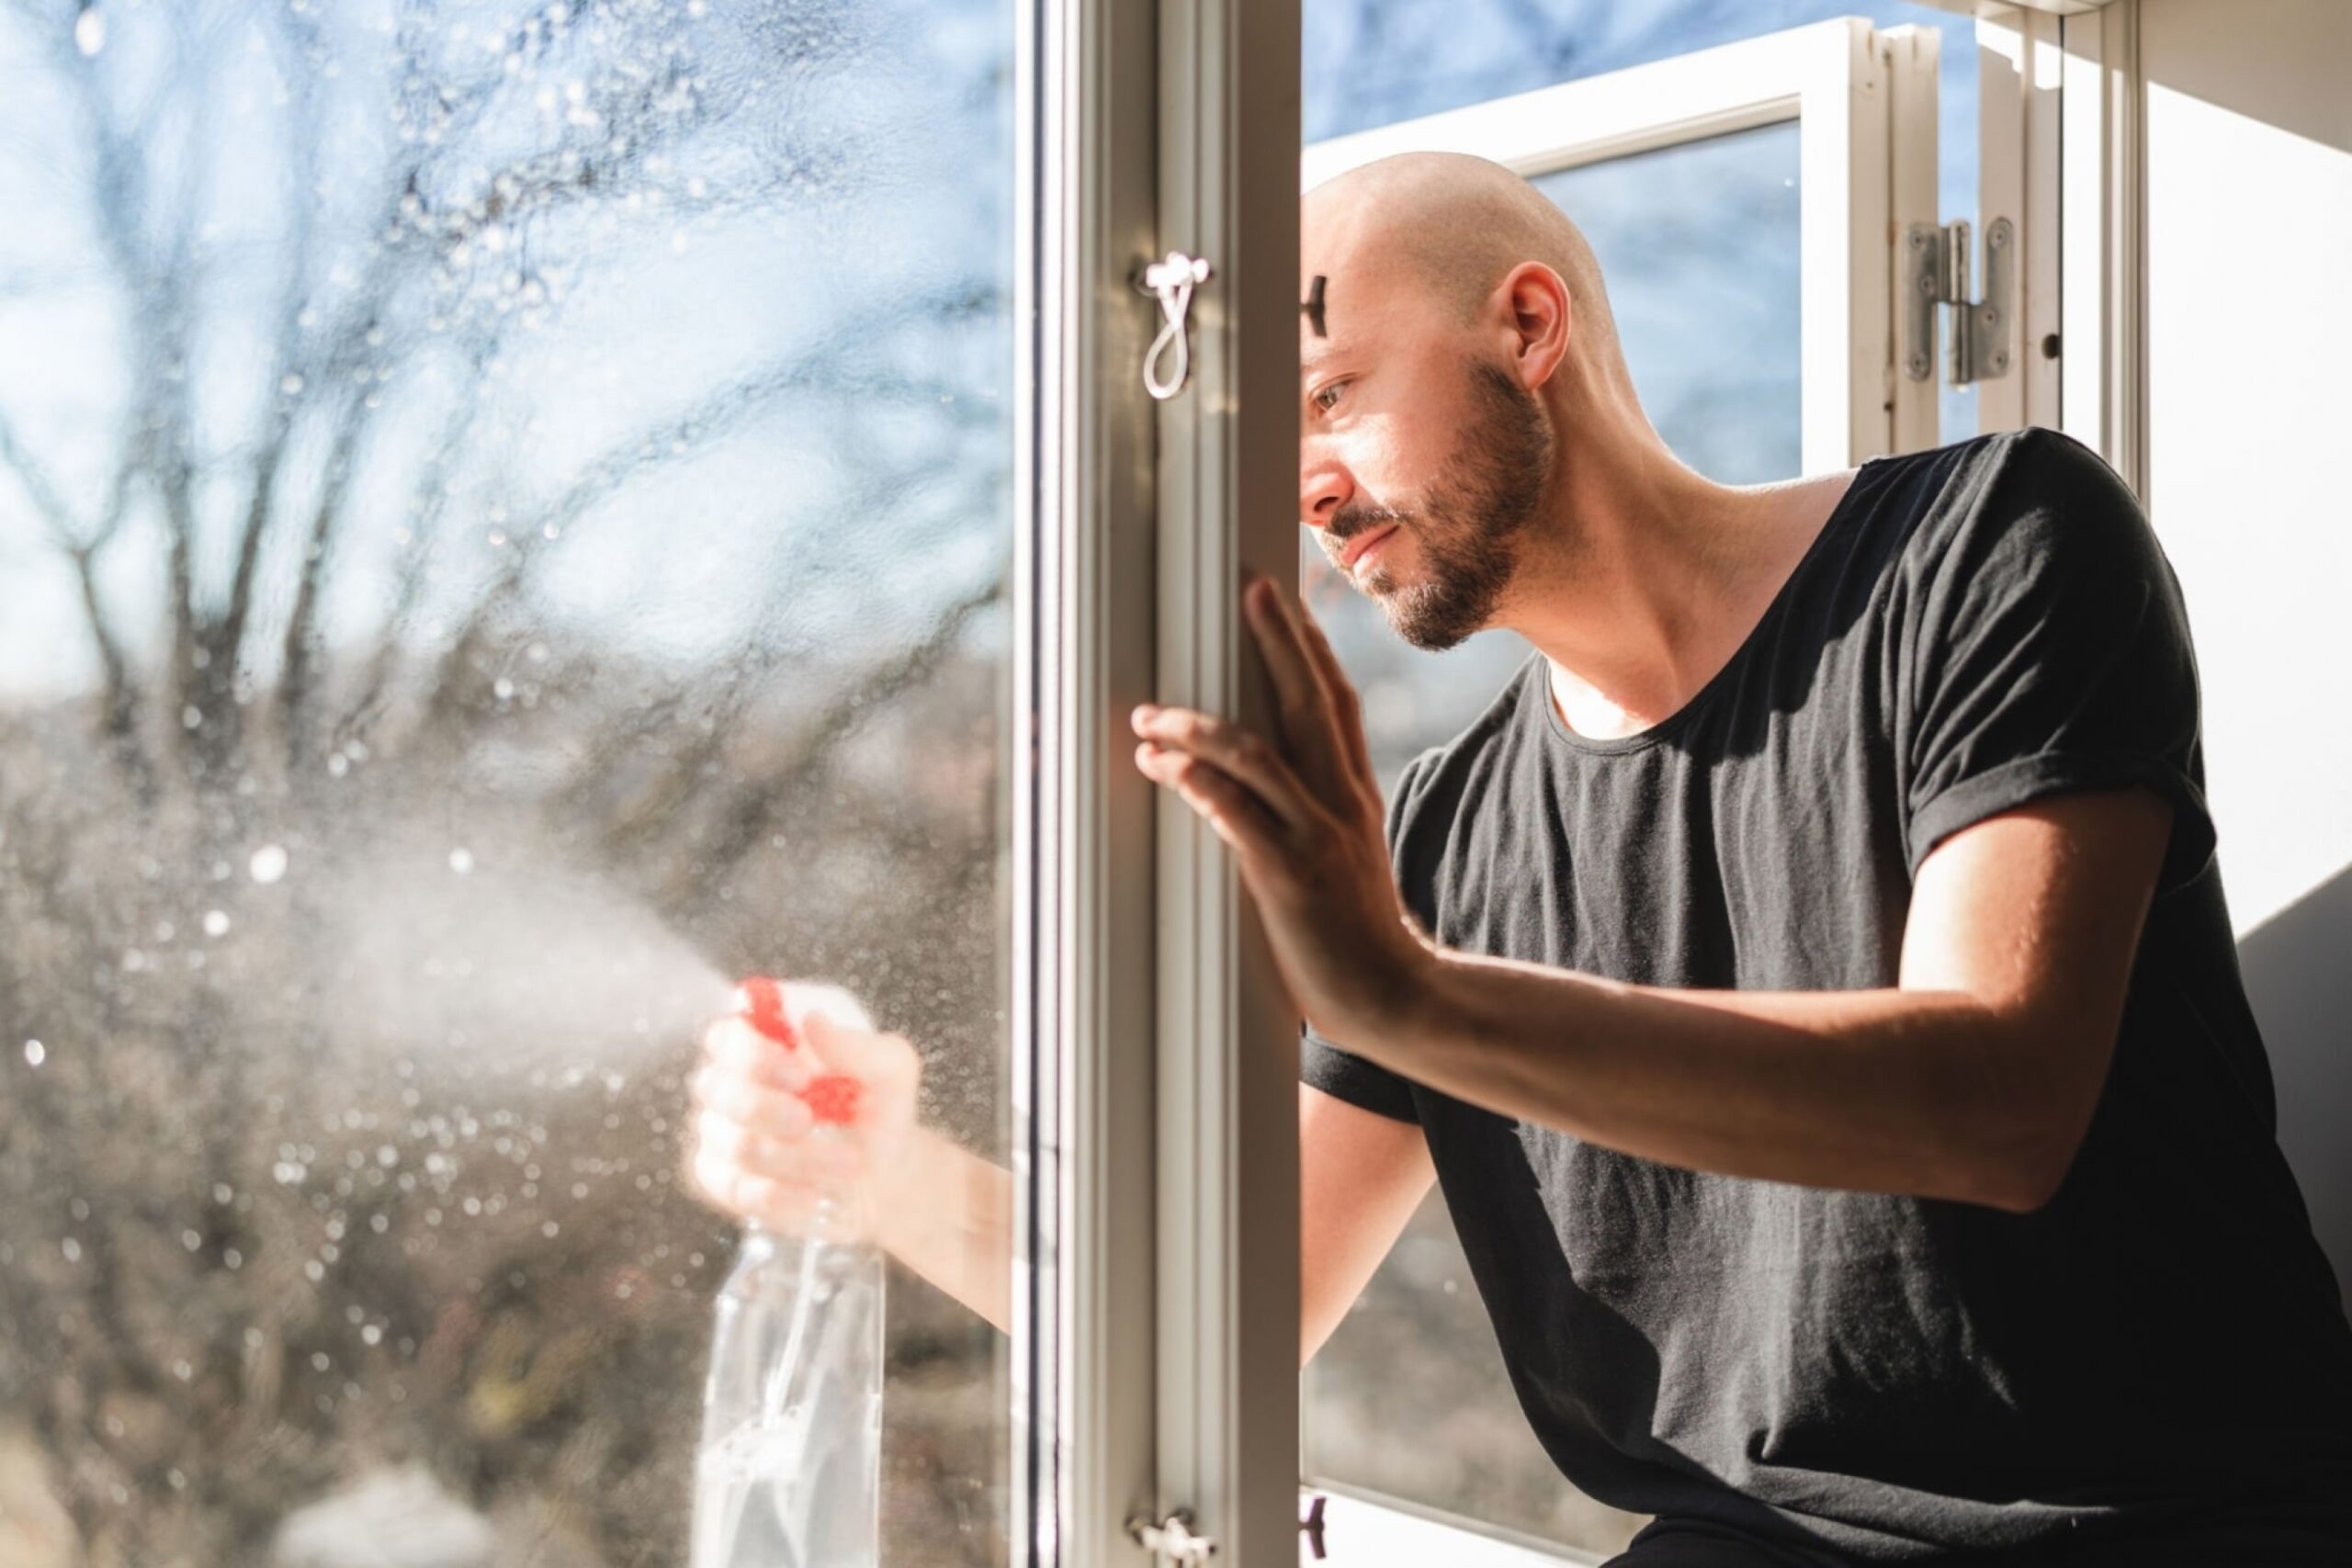
Man washing Window


Now that you have the area around your windows protected and your supplies at the ready, you can get started with the cleaning process from inside. Here is our quick guide to cleaning the interior of your windows like a pro:

  • Make sure you have wiped down the windows and window panes with a wet cloth to remove any loose dust and debris from the surface.
  • Using your chosen cleaning product or DIY solution, spray a small amount starting from the top of the window glass and moving down. (Note: Do your best to keep the cleaner away from surfaces that aren’t glass.)
  • Wipe the cleaner all around the glass with a dry microfiber cloth to clean the window using an S-motion to avoid the cleaner drying on the glass while you clean it.
  • Spray a small amount of cleaner on any stubborn areas of grease or grime around the window. Only use the cleaner in small amounts and do your best to not allow the cleaner to pool at the base of the window.
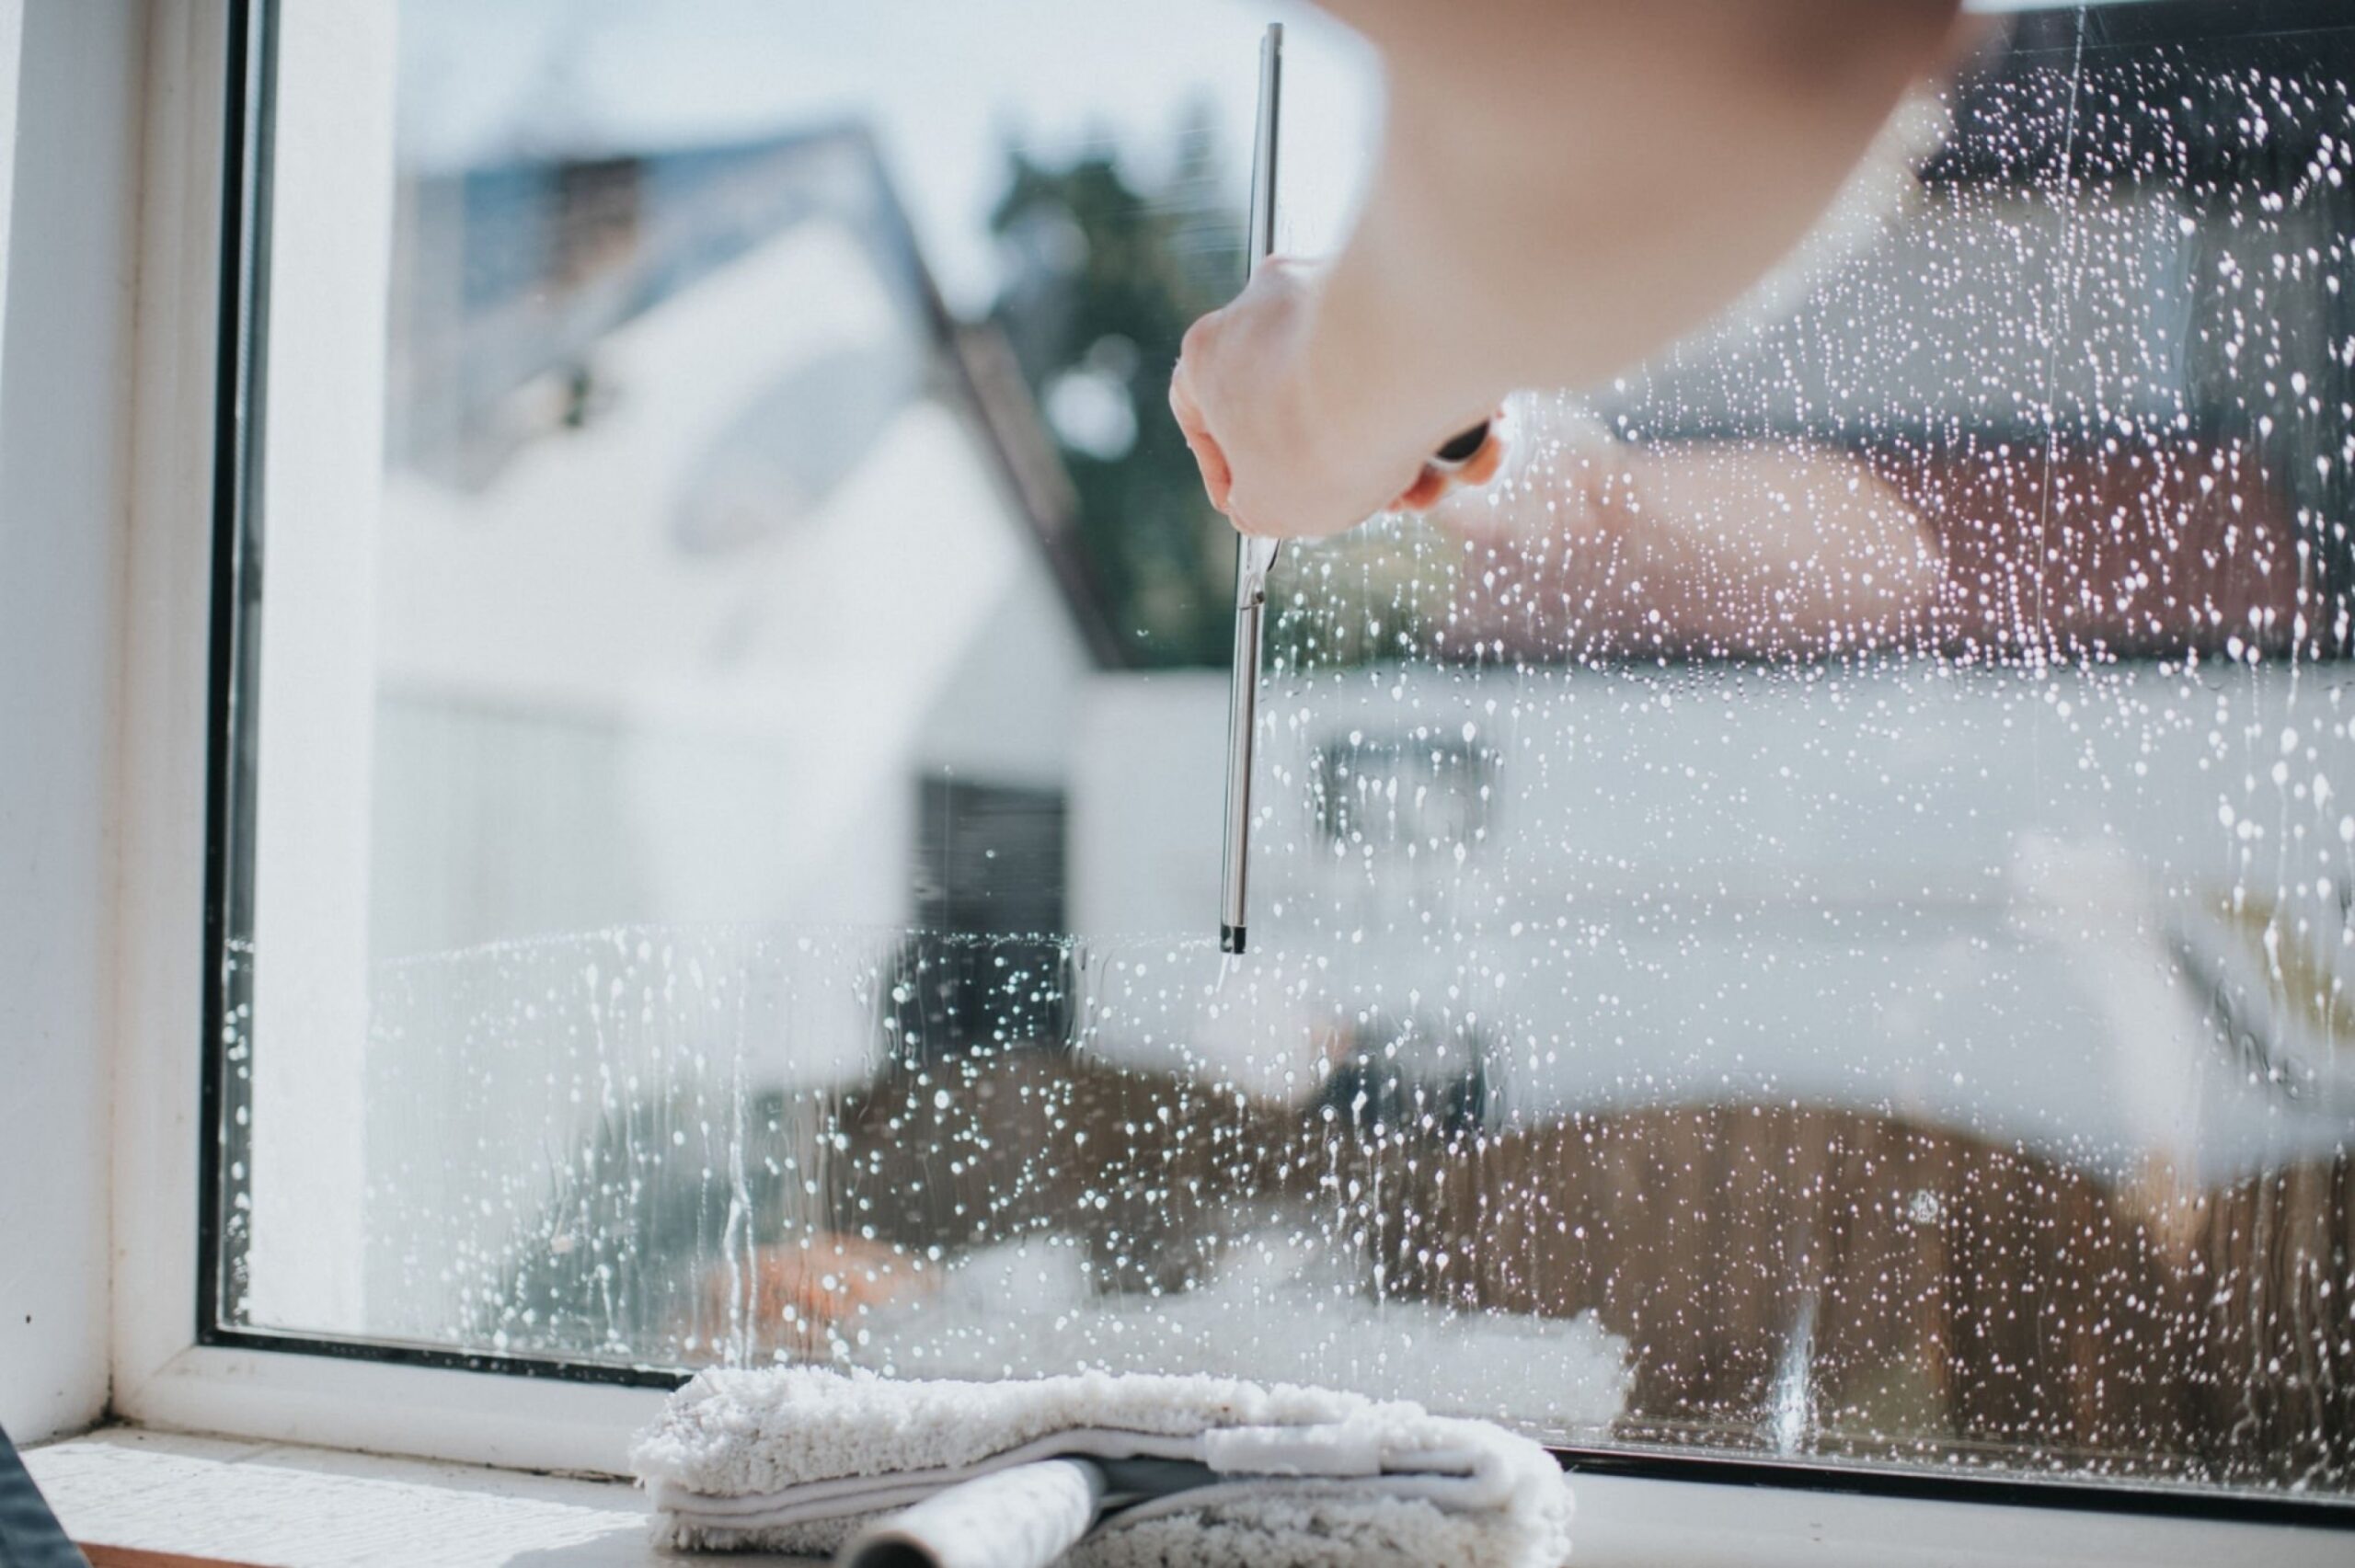
  • Using a fresh microfiber cloth or a squeegee, wipe away the remaining cleaner once the glass has been cleaned completely. If you are using a squeegee, make sure you keep the blade in contact with the glass to avoid leaving streaks and drips.
  • Check the glass for any streaks or stray marks. You can use a fresh microfiber towel to buff these from the surface of the glass for a shiny and streak-free finish.


Cleaning Outside


Once all of your windows are now shiny and clean on the inside, make sure they’re all closed because it’s time to shift your focus to the outside. For the best results when cleaning your windows from the outside, here is our go-to method:

  • Ensure that all windows are securely closed and surrounding areas inside are protected from potential leaks.
  • Use your garden hose to spray away the surface layers of dirt and grime that have accumulated.
  • To scrub and remove stubborn grime, we recommend using an extendable pole that you can attach microfiber cleaning cloths to. Climbing up and down a ladder to clean your windows is time-consuming and even dangerous especially if you are cleaning them on your own.
  •  Apply your cleaning solution to the cloth on the extendable pole to clean high-up and hard-to-reach windows. (Note: There are some hose-attachable window cleaners available to purchase, so you can look into one of those to shave off some time when cleaning.)
  • Rinse the cleaner away thoroughly with your hose.
  • Use a fresh microfiber cloth or extendable squeegee to dry the windows.


How Often to Clean Windows


A man Cleaning the windows at home


We know cleaning your windows can be a time-consuming chore to take on, especially when you’re cleaning both inside and out. Thankfully, you should only have to clean both sides of your windows about 2 or 3 times a year, depending on the environment where you live. Pollen levels, rainy weather, tree sap, and even birds can add to the debris that collects on and around your windows. Make sure to regularly check the state of your windows from the outside in order to stay on top of their cleanliness.


FAQ


What should you not do to clean windows?


When cleaning your windows, you should not use an ammonia-based cleaner and avoid cleaning them in direct sunlight as both of these can create excessive streaking and haze. You should also aim to use a squeegee when drying them and removing excess cleaner and water.


What causes windows to get dirty inside?


Windows can get dirty inside because of dust, grease, and other particulates that accumulate and stick to the glass. Windows in the kitchen are especially susceptible to grease build-up and can be particularly difficult and stubborn to clean.


Can vinegar damage glass windows?


Vinegar won’t damage and is completely safe to use on glass windows and mirrors. In fact, we encourage it! Just remember not to use vinegar to clean anything like electronics or stone such as granite and marble.


What do professional window cleaners use in their water?


Many professional window cleaners use purified and treated water, but they can also use simple cleaning agents like a few drops of dish soap in water. This solution is super simple but highly effective when cleaning windows, which is why we suggest trying it out for yourself.


What is the best time of day to clean windows?


Woman in kitchen opening the window


The best time of day to clean your windows is early in the morning before the sun is fully up so that it doesn’t hit your windows directly. You can also save window cleaning for an overcast day without rain, as long as there is no direct sunlight on your windows. This is because the sunlight can cause your cleaning solution and water to evaporate more quickly and leave water stains and streaks on the window while you clean.


Why do my windows look worse after cleaning?​​


Your windows can look worse than when you started often because of the amount of sunlight hitting them or even if you leave the solution for too long and it dries on the glass. Your home’s water can also be a contributing factor to streaks and haze as hard water leaves cloudy mineral deposits on most surfaces.


How do your windows look after cleaning then? What kind of cleaning tips and tricks do you use when cleaning your windows? Share your thoughts in the comments below, we love hearing from you! If your windows have become too much of a struggle to keep clean and shiny on a regular basis, don’t worry. You can check out cleanzen.com/philadelphia to find out what kind of services we offer that can help you keep your home looking its best.

The post The Ultimate Guide to Cleaning Your Windows appeared first on Cleanzen.

from Cleanzen https://cleanzen.com/blog/how-to-clean-windows/
via IFTTT

from Cleanzen Cleaning Services https://cleanzencleaningservices0.blogspot.com/2023/02/the-ultimate-guide-to-cleaning-your.html
via IFTTT

from
https://cleanzencleaningservices0.wordpress.com/2023/02/08/the-ultimate-guide-to-cleaning-your-windows/

from Gabriela Bragg https://gabrielabragg.blogspot.com/2023/02/the-ultimate-guide-to-cleaning-your.html
via IFTTT

from Gabriela Bragg https://gabrielabragg.wordpress.com/2023/02/09/the-ultimate-guide-to-cleaning-your-windows/
via IFTTT

from Emilio Butler https://emiliobutler.blogspot.com/2023/02/the-ultimate-guide-to-cleaning-your.html
via IFTTT

from
https://emiliobutler.wordpress.com/2023/02/09/the-ultimate-guide-to-cleaning-your-windows/

from Cindy Roberts https://cindyroberts0.blogspot.com/2023/02/the-ultimate-guide-to-cleaning-your.html
via IFTTT


from
https://cindyroberts00.wordpress.com/2023/02/09/the-ultimate-guide-to-cleaning-your-windows/

How to Get Oil Out of Clothes (Without Ruining Them!)

  A nice big bite of a juicy hamburger or hovering over a cooking pan without an apron can catch anyone by oily surprise, it happens to us...